Introduction
This is a write-up of my photo capture workflow for photogrammetry scans. I’ve played around quite a bit with different approaches, but this is where I eventually landed. I feel that it is a good balance between quality and efficiency/speed, since I’ve been able to automate much of it.
Camera
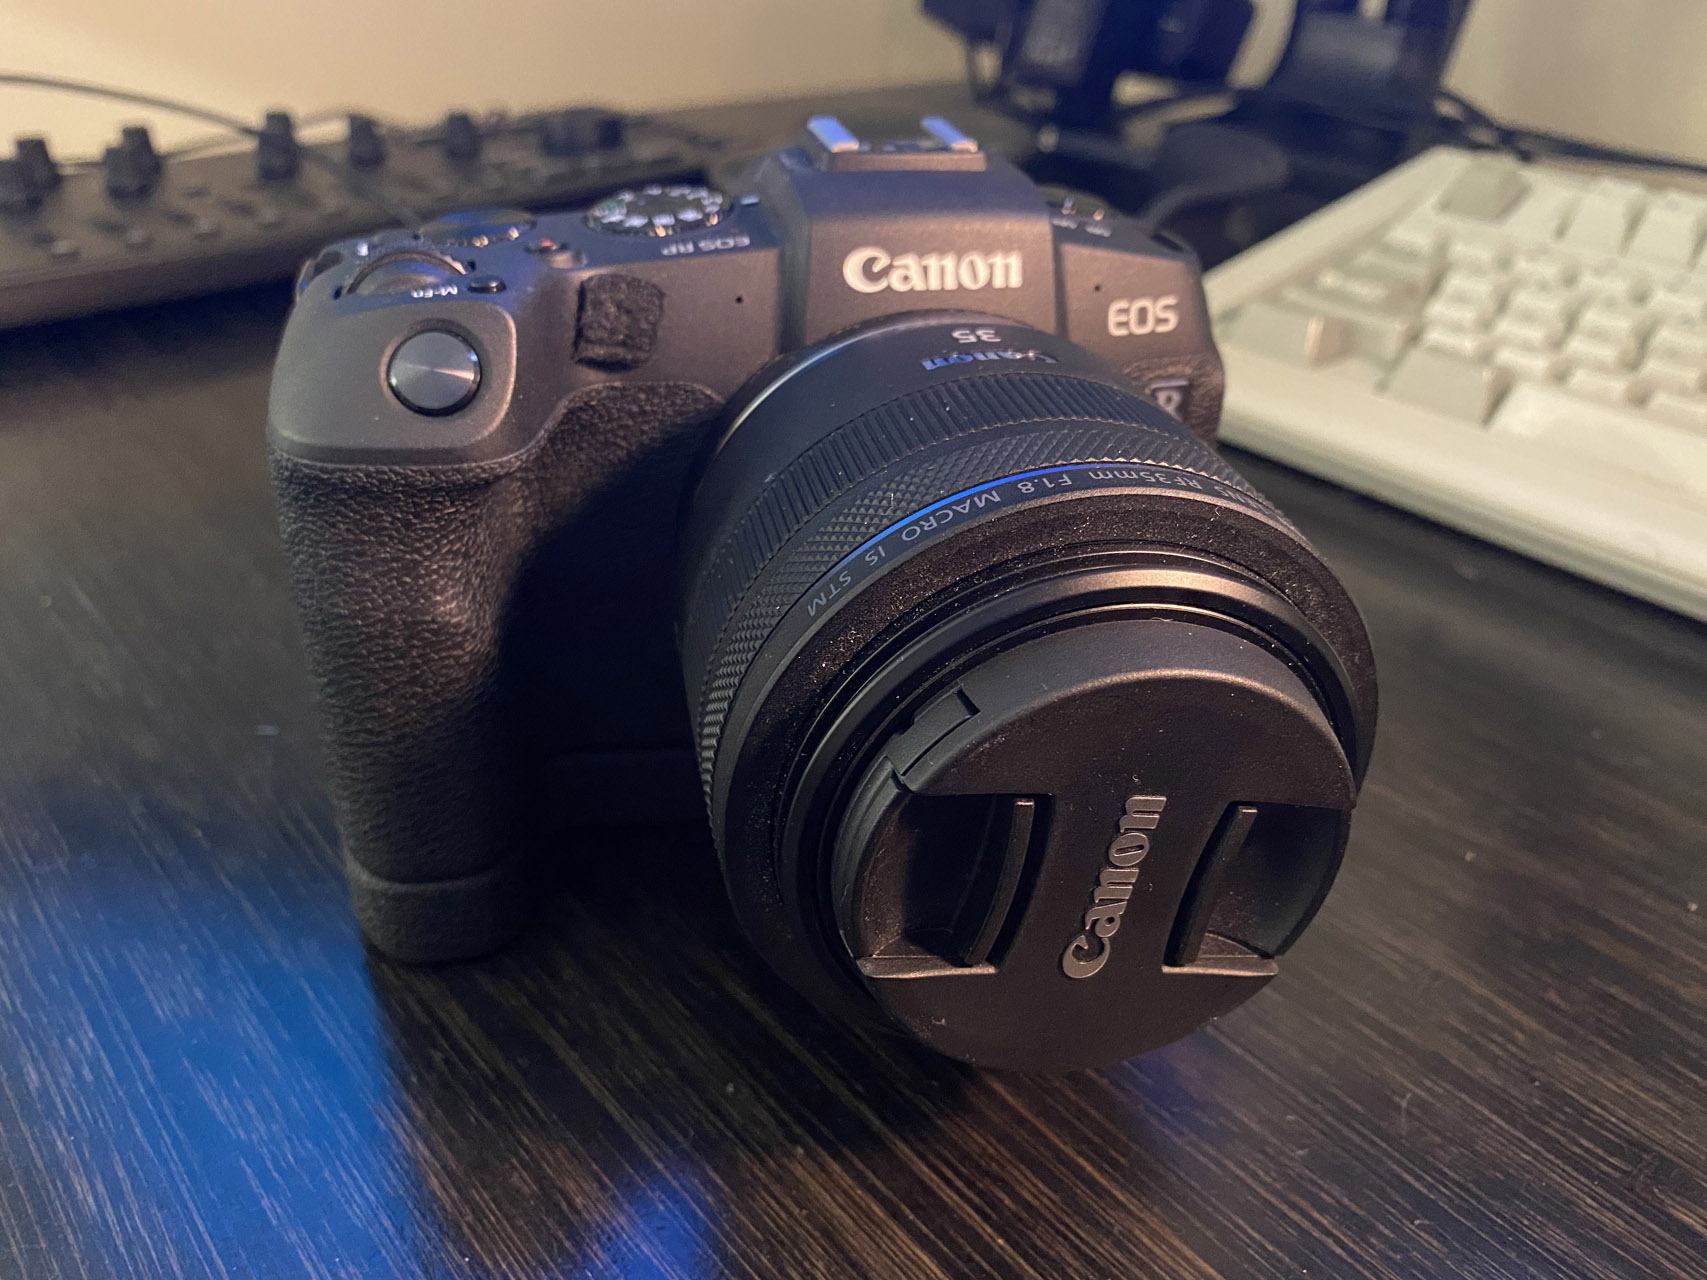
The camera that I use is a Canon RP mirrorless camera. I’ve experimented with different lenses and feel that my Canon R 35mm 1.8 Macro IS STM lens takes sharp photos with good depth of field. I usually use f/11 or f/16 aperture, not sure which gives better results, though.
Lighting
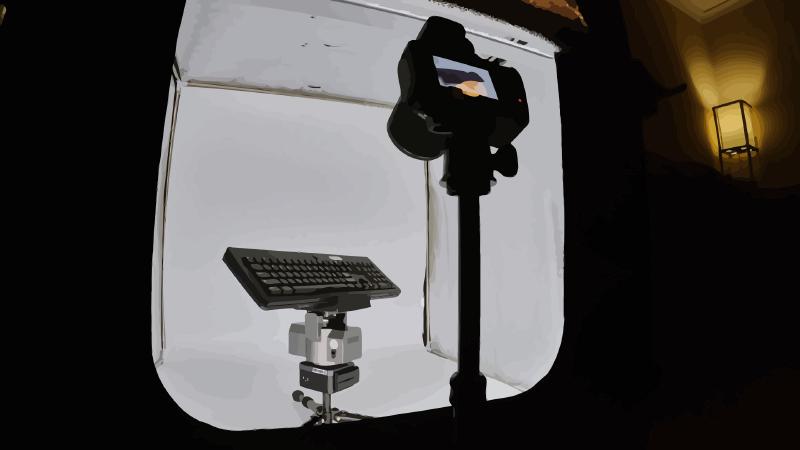
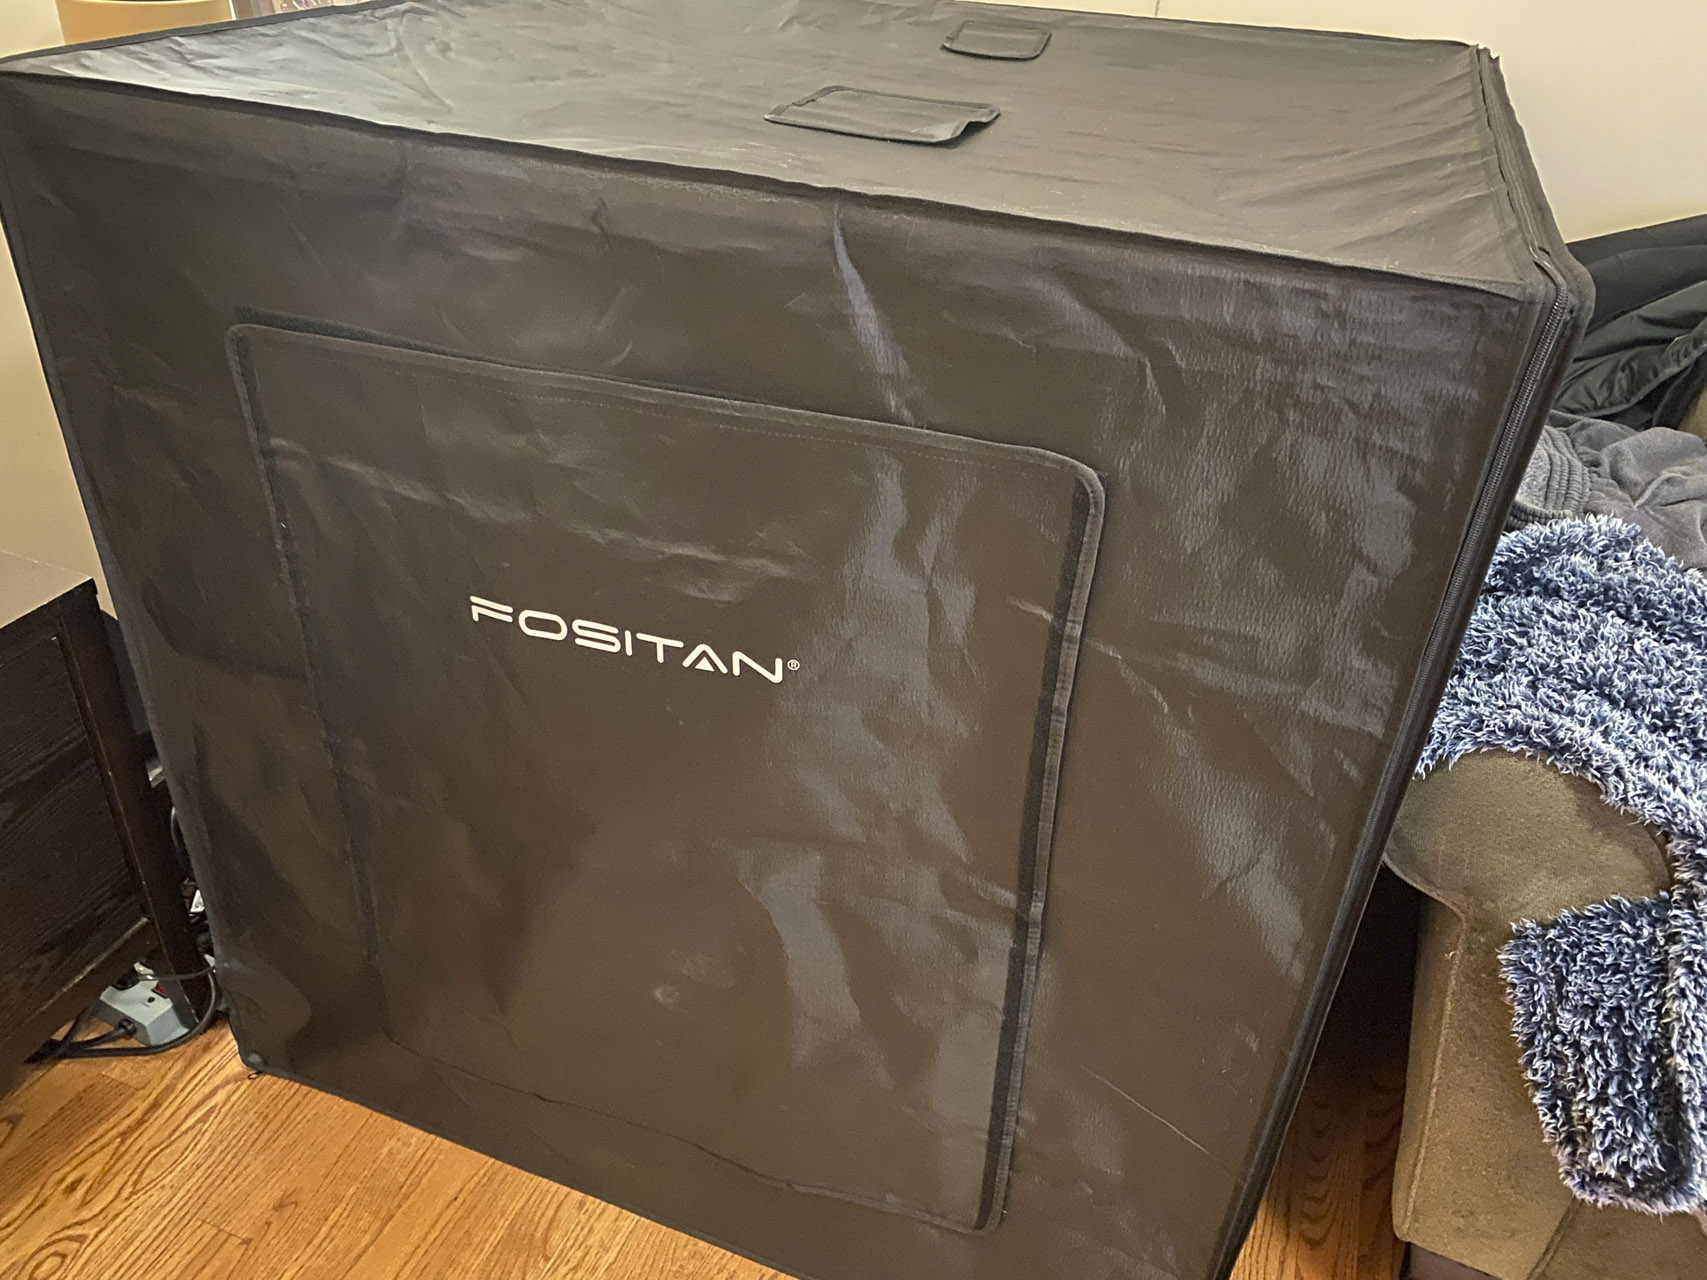
For the last several scans, I’ve used a large lightbox which I call a hut because that’s how big it is. It provides somewhat even light around the object and minimizes shadows. Some people have also had success with flashes, which I’ve never tried (but would be much easier to setup). I use this Fositan 39" light box.
Rotation
There are many different options for rotating the object being captured. I’ve tried three different methods and gradually automated and matured my process. I’ll break down the three methods that I’ve tried.
Method 1: Turntable
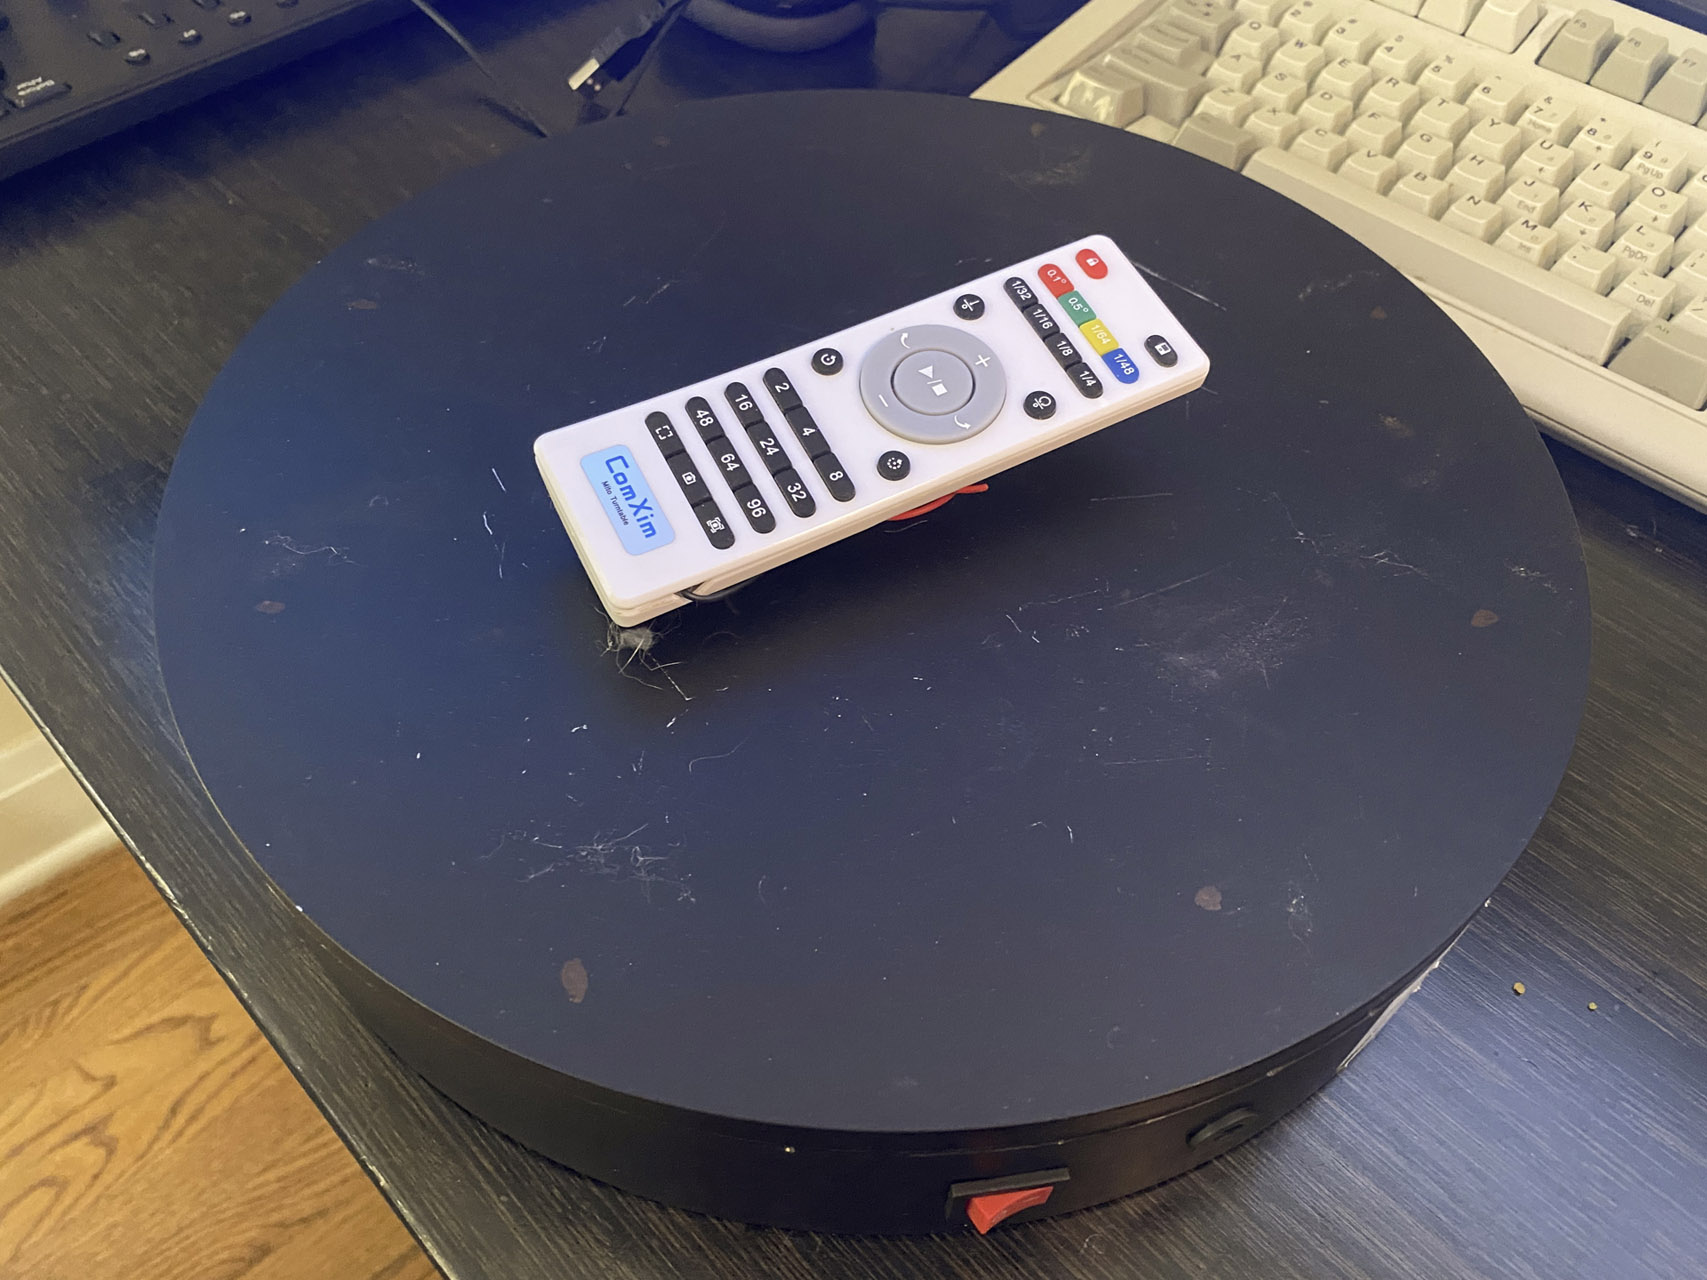
The simplest and most affordable option for rotation is a remote controlled turntable. I have used this ComXim 360 Degree Remote Control Turntable which allows you to set how much the turntable should rotate per remote press. The technique is to have a camera remote in one hand and the turntable remote in the other. Then just alternate between the two. The wires coming out of the remote are from a previous automation that I played with.
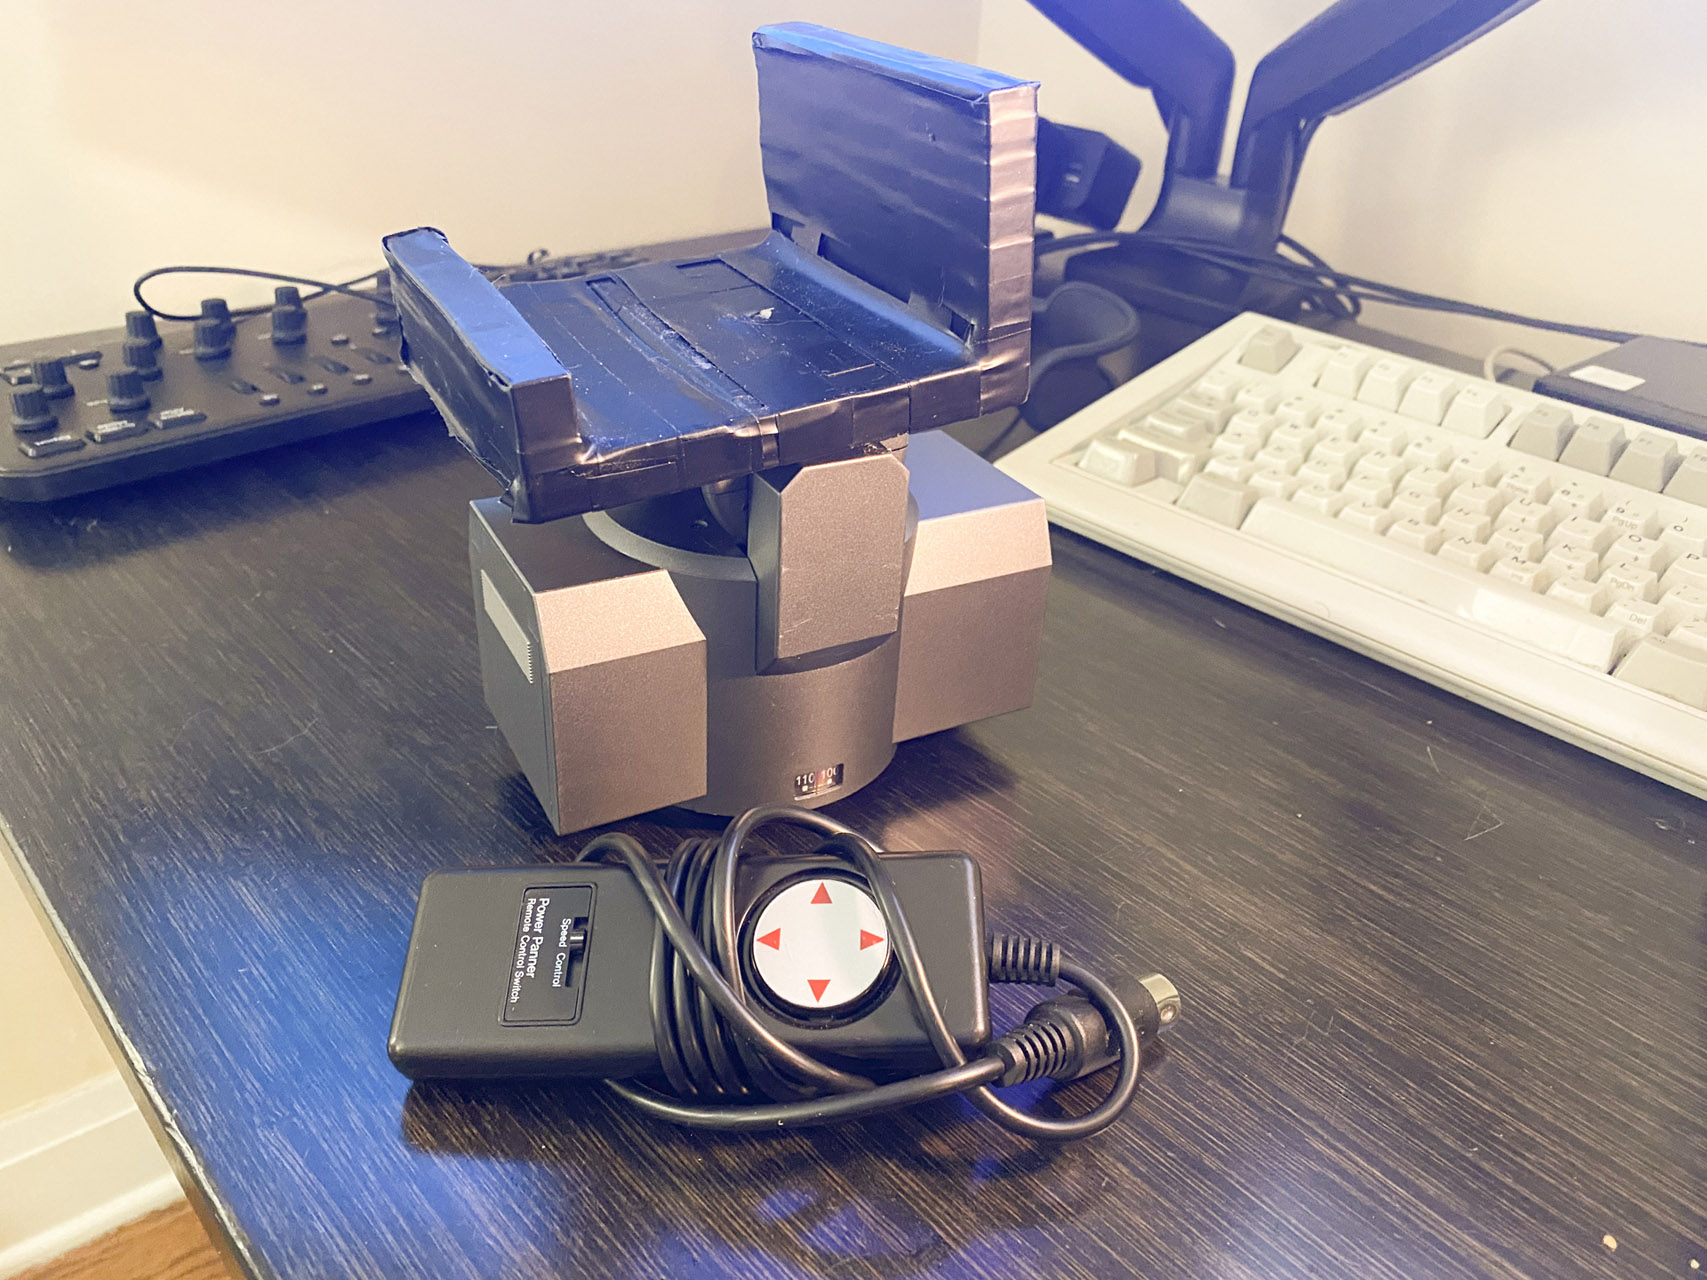
Method 2: Motorized Pan Head
I have also experimented with a very basic pan/tilt camera head called the Bescor MP-101. It too is remote controlled, though, the remote for this head requires a cable be attached to the head. I attached a stand to this head so that I could angle keyboards in different positions to take the photos. I eventually automated the capture process with this head by using an Arduino to control the head, which would be triggered by the flash hot shoe on top of the camera. It worked but it was messy and not worth the setup effort. But that concept brought me eventually to method 3.
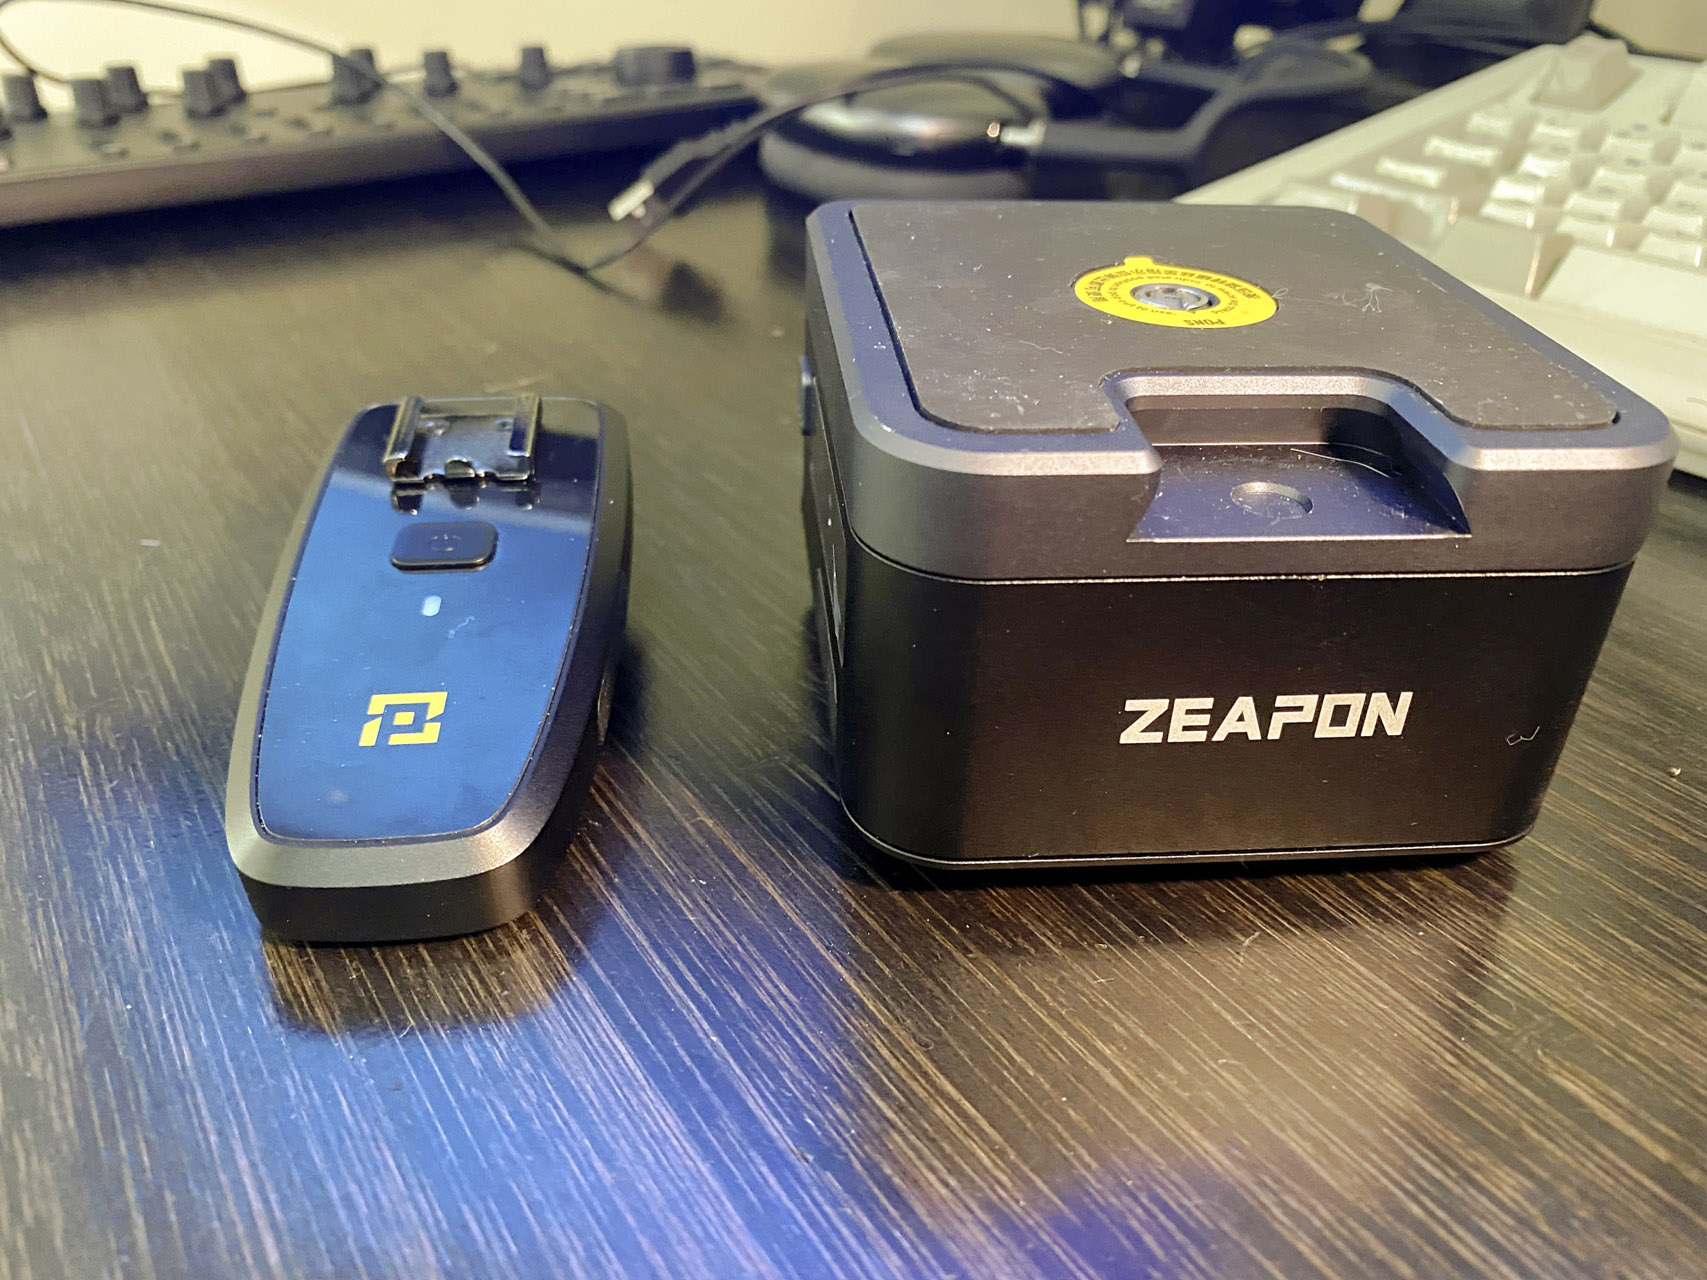
Method 3: Automatic Pan Head
I purchases this Zeapon PS-E1 Pons Motorized Pan Head originally for time-lapse photography and eventually swapped out my MP-101 in my photogrammetry workflow. Using it for two things made me feel better about the price tag. The device has the ability to trigger the camera shutter via remote cable, but Zeapon also makes a time-lapse trigger which allows you to do the reverse (i.e. set the interval timer on your camera and trigger the rotation after a photo is taken).
Conclusion
Specifically about the rotation aspect, you can achieve the same results with any of those three methods. The only real differentiator between them is how much overhead you’ll need to deal with by doing repetitive steps manually. I’ve found that by automating the repetitive steps, I’m able to focus more on other aspects of the process like lighting and planning out different positions.
Model
Created with Agisoft Metashape Standard v1.8.0 using 234 photos.