Introduction
This is a write-up summary of my thread about this keyboard build on Deskthority.
Having never built a custom keyboard from the ground up, this was a fun experience for me. Well, close to an entirely custom keyboard. I didn’t design the case or the switches and caps. But I’d consider it pretty close.
PCB
Design
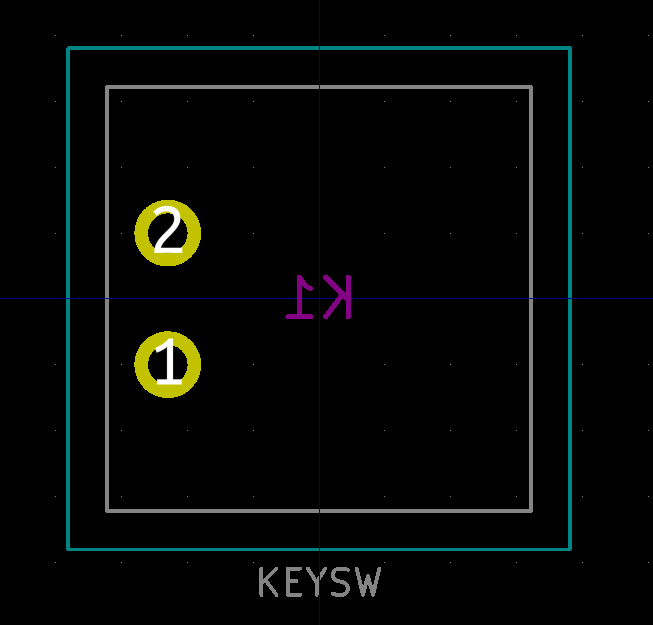
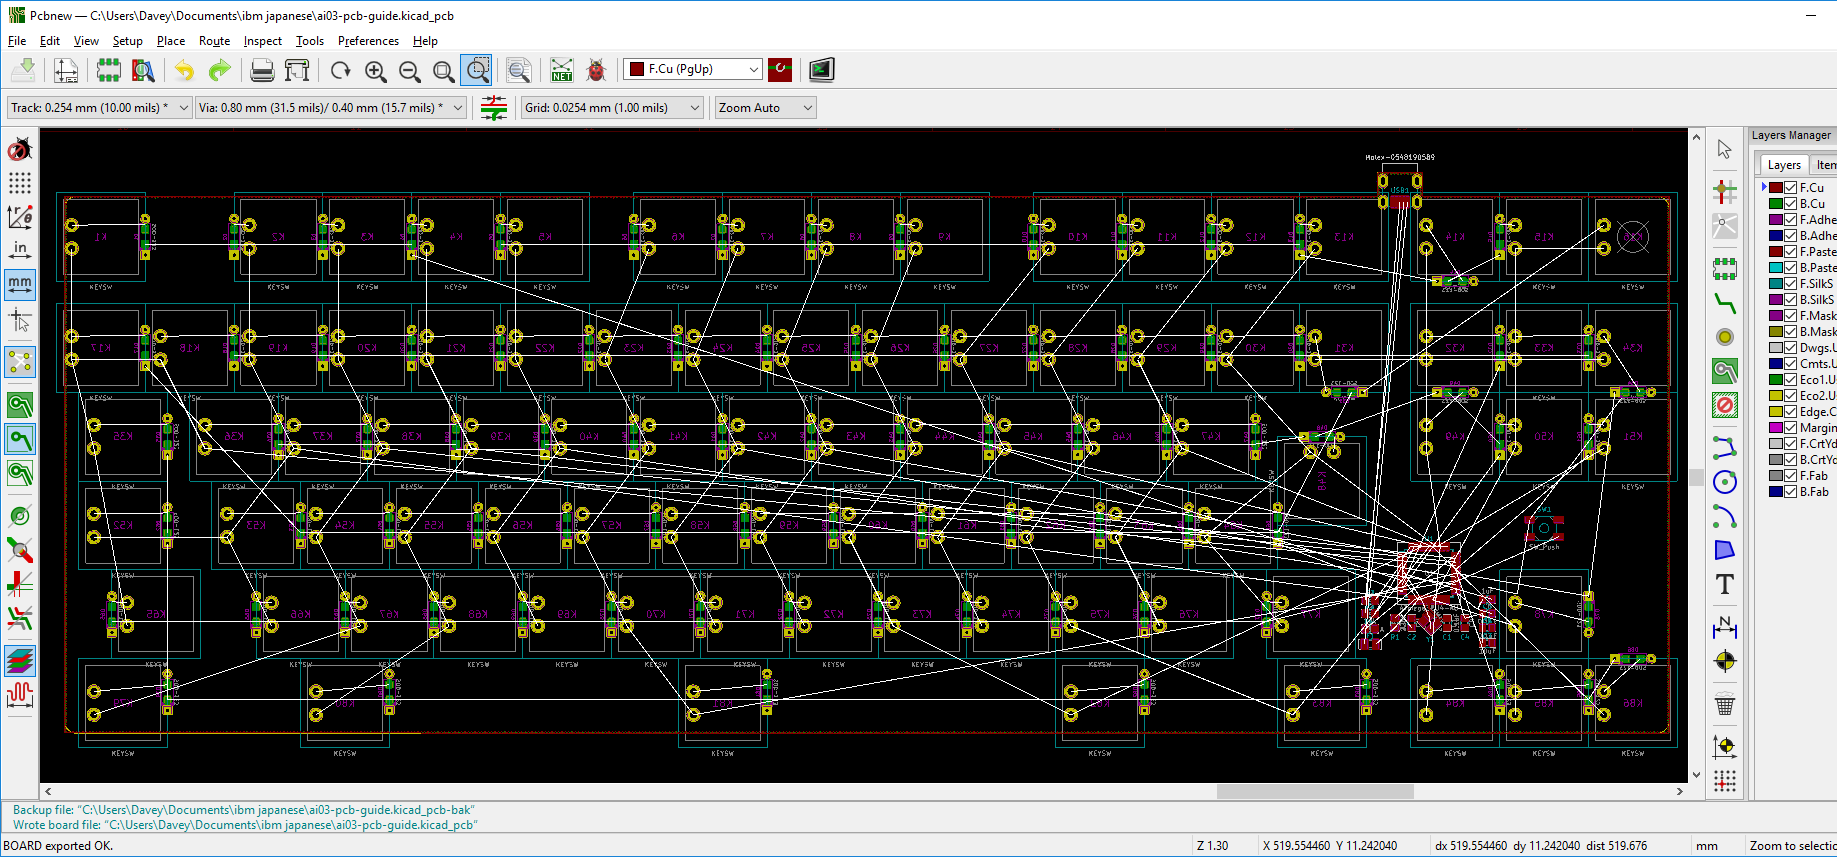
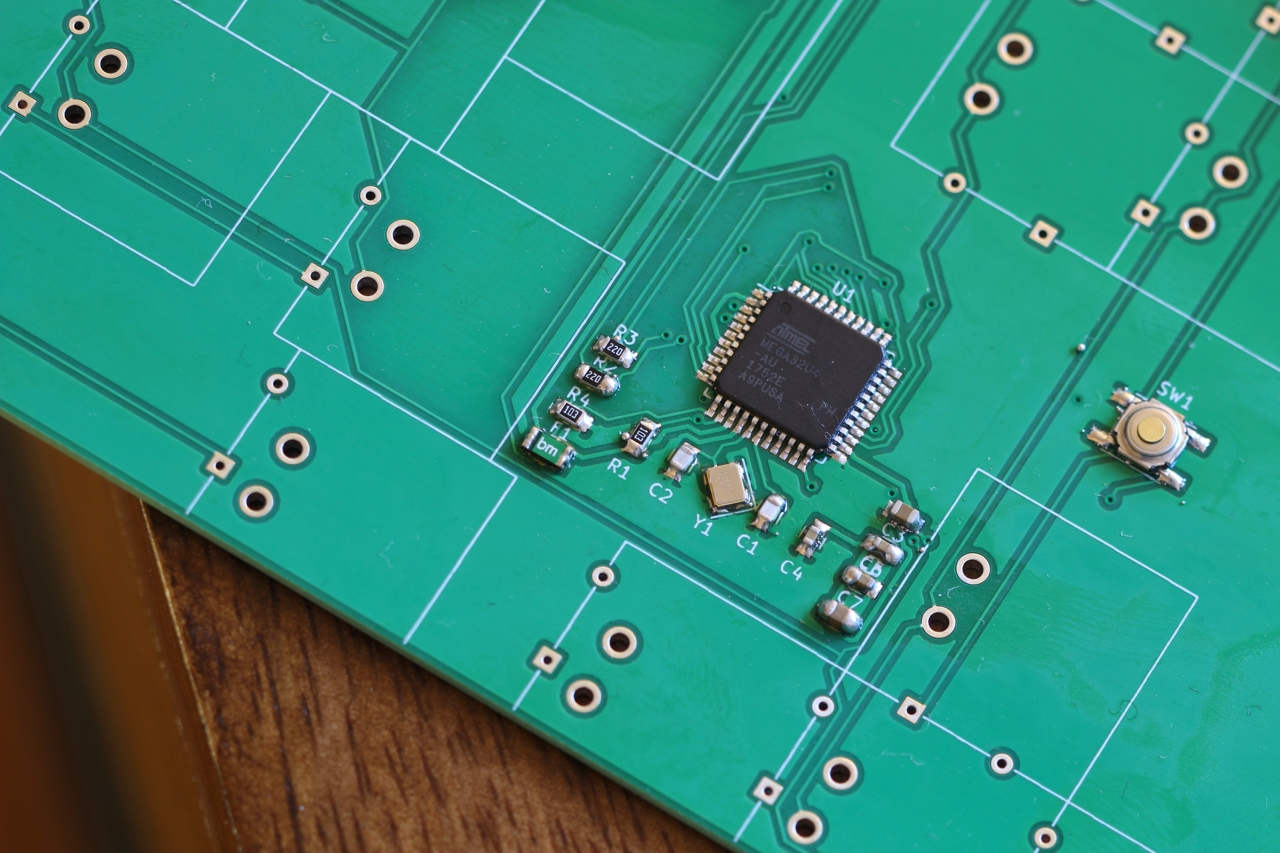
The first thing I had to learn about was PCB design. Previously I’d made very minor changes to a few existing designs, but had never done one myself. Luckily Hasu has a library of PCB parts which included the footprint for an Alps plate spring switch.
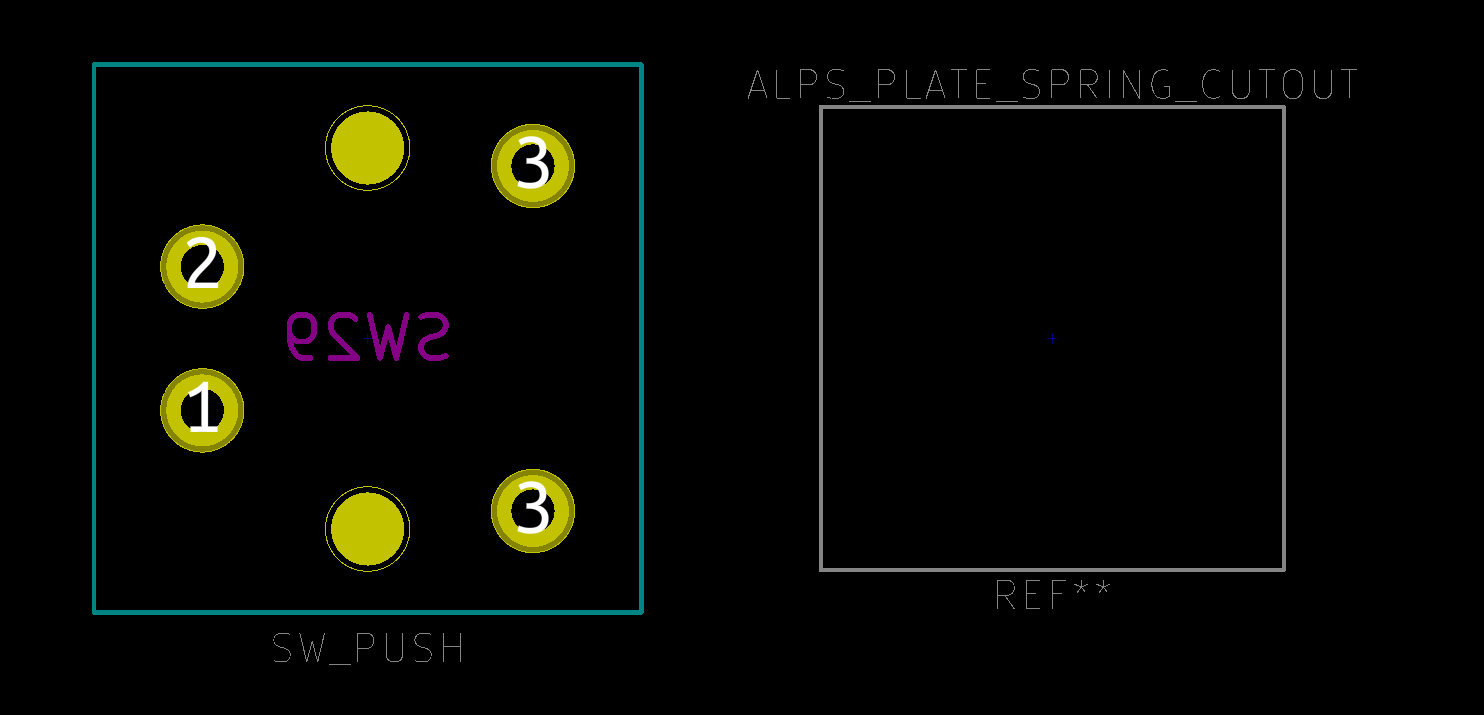
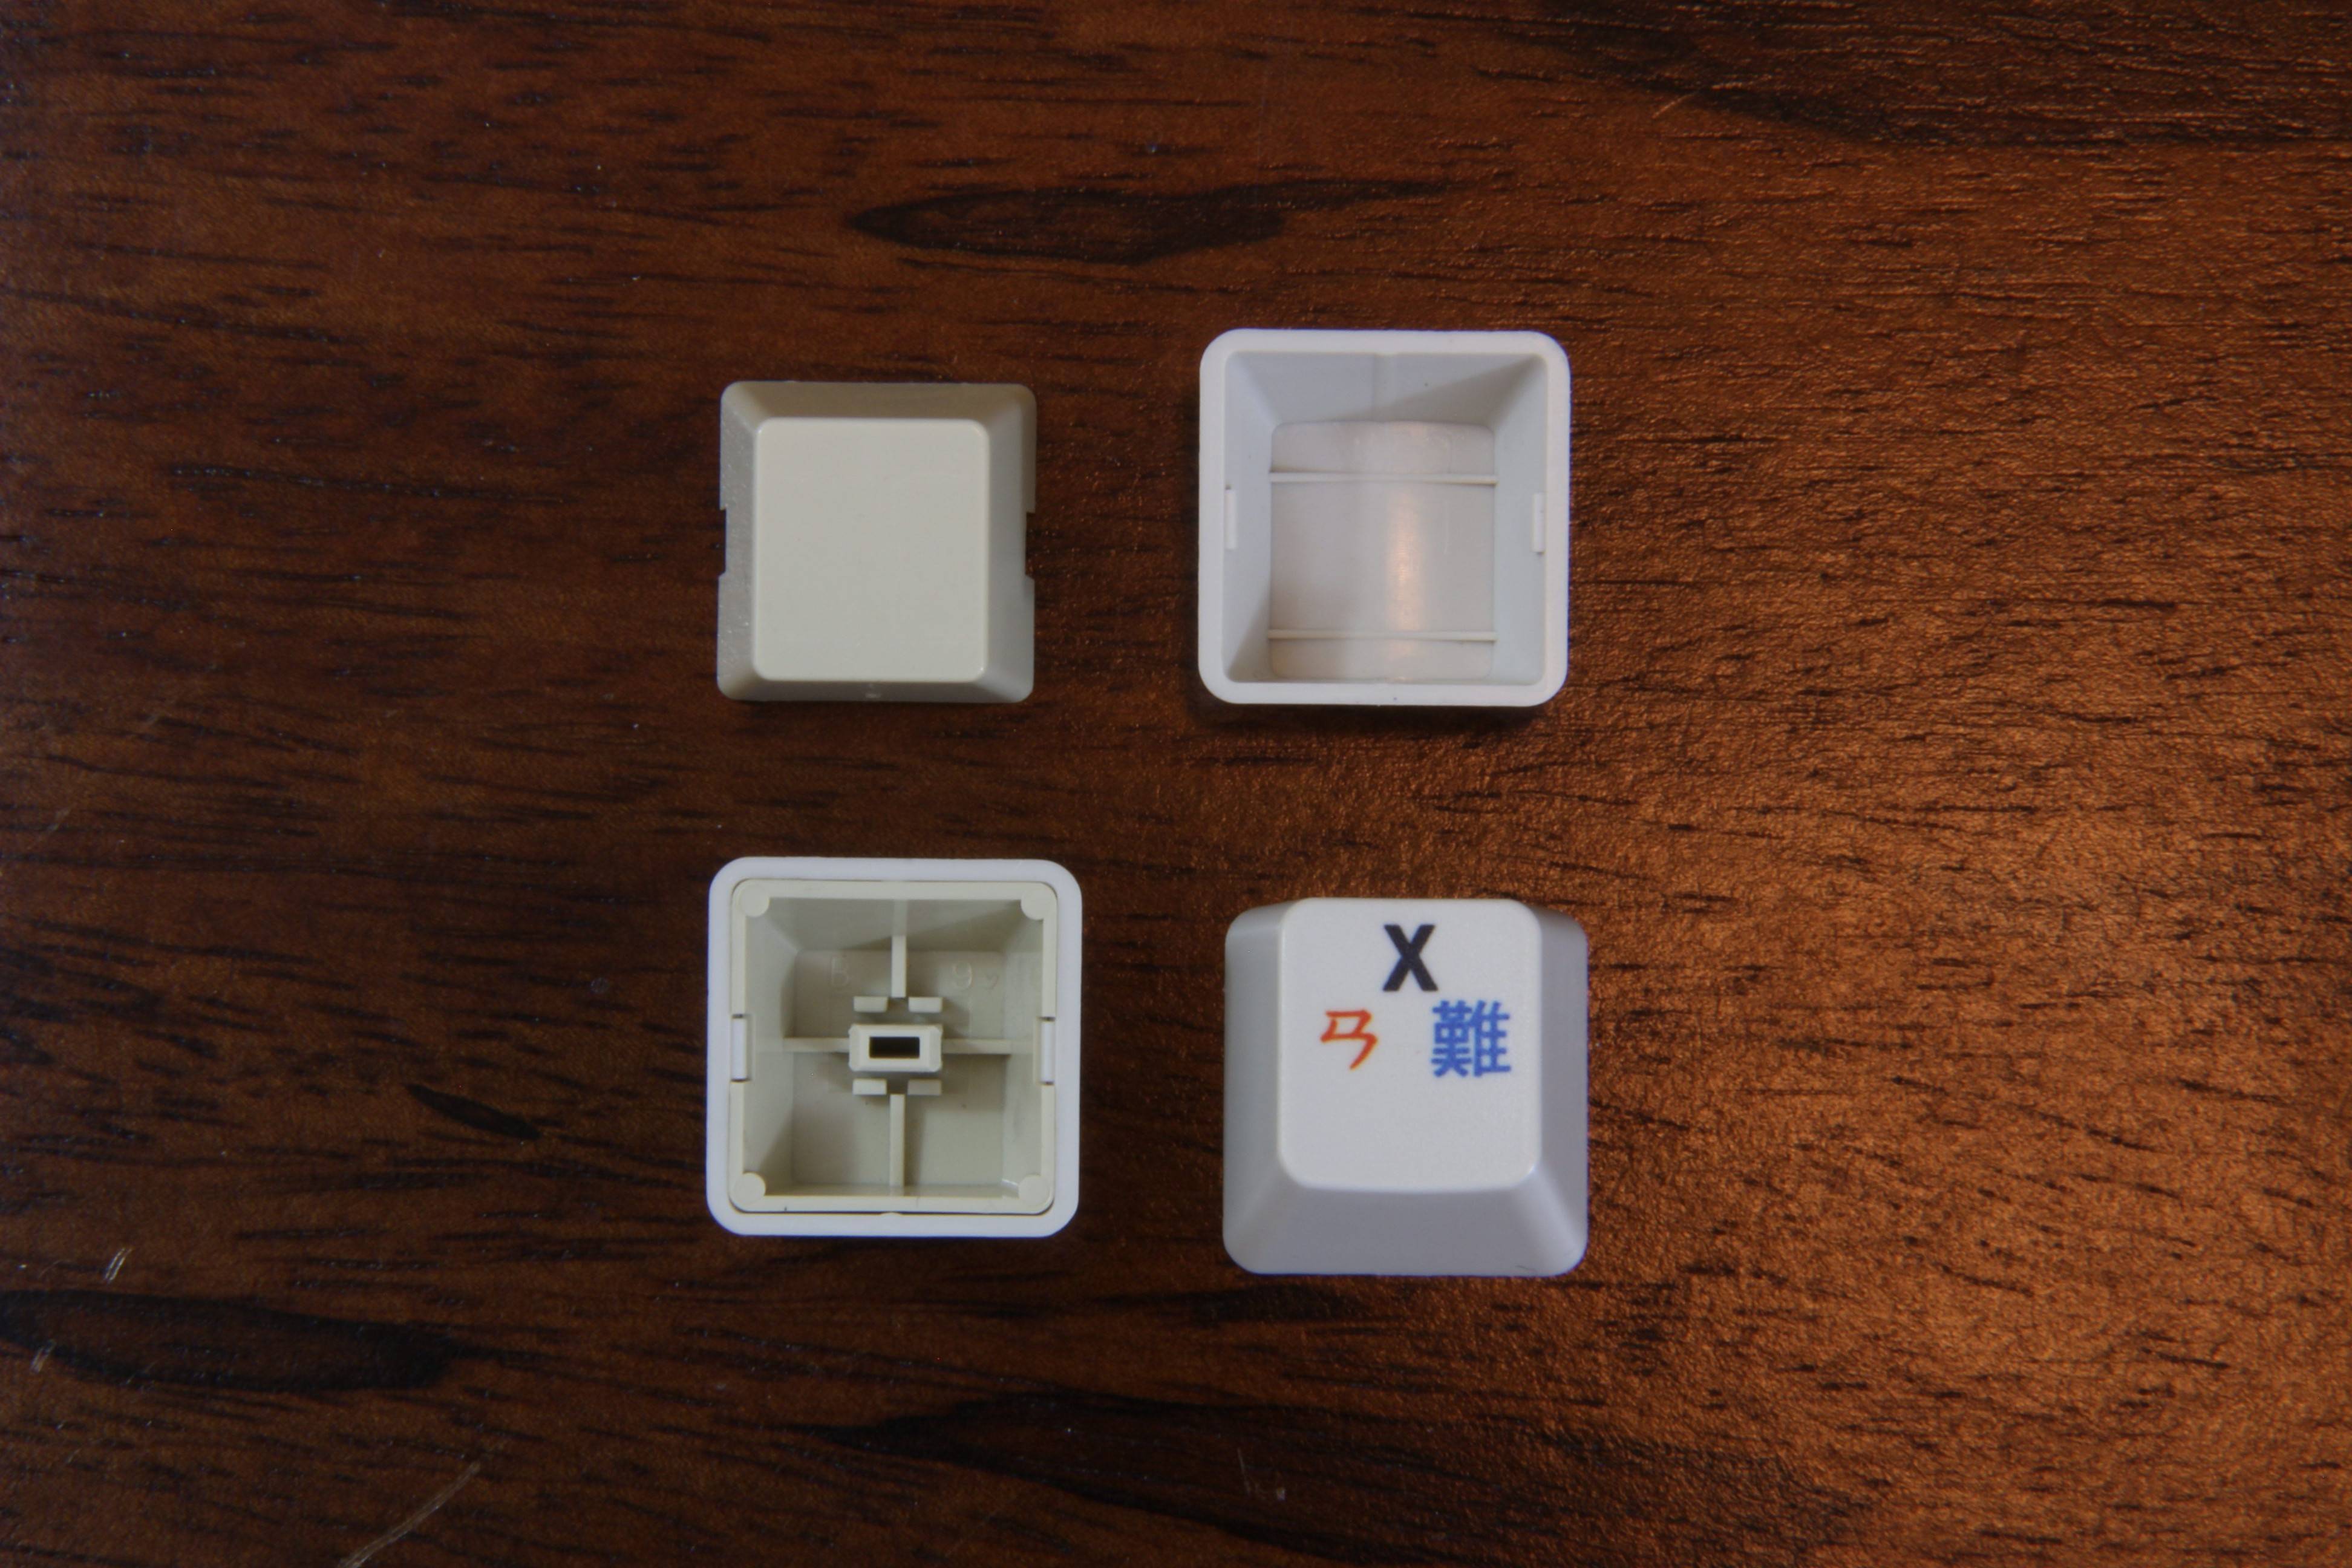
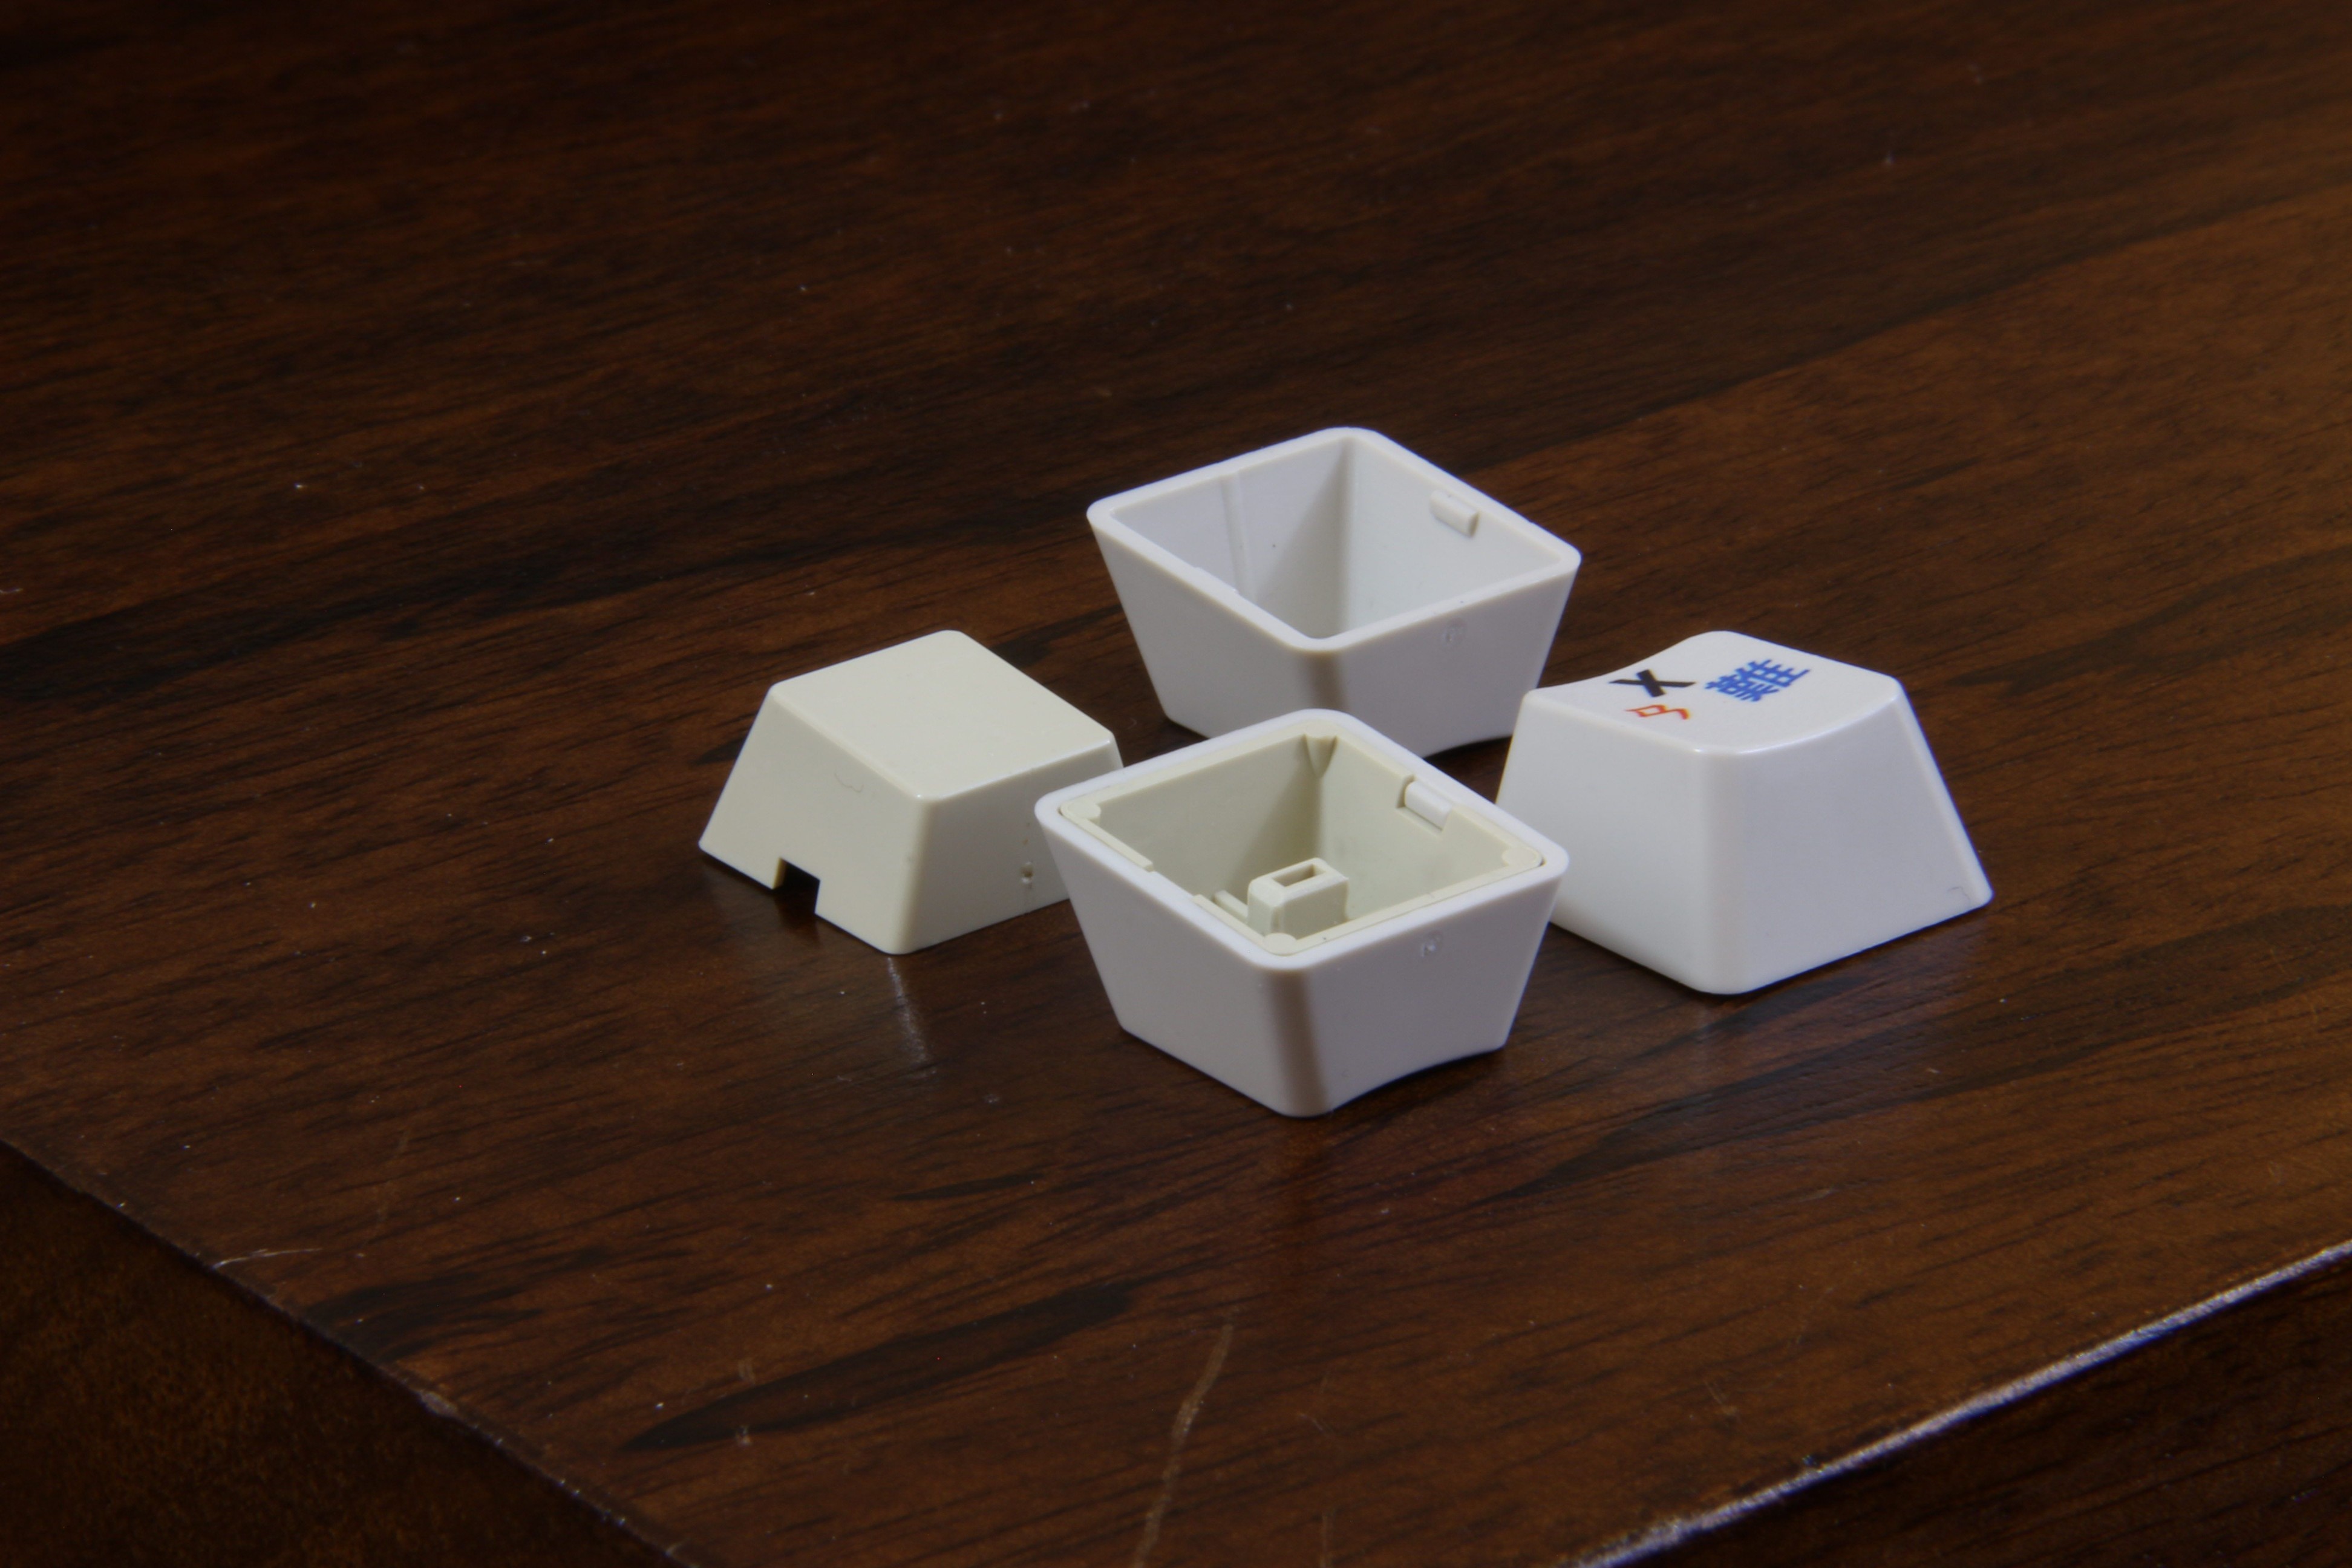
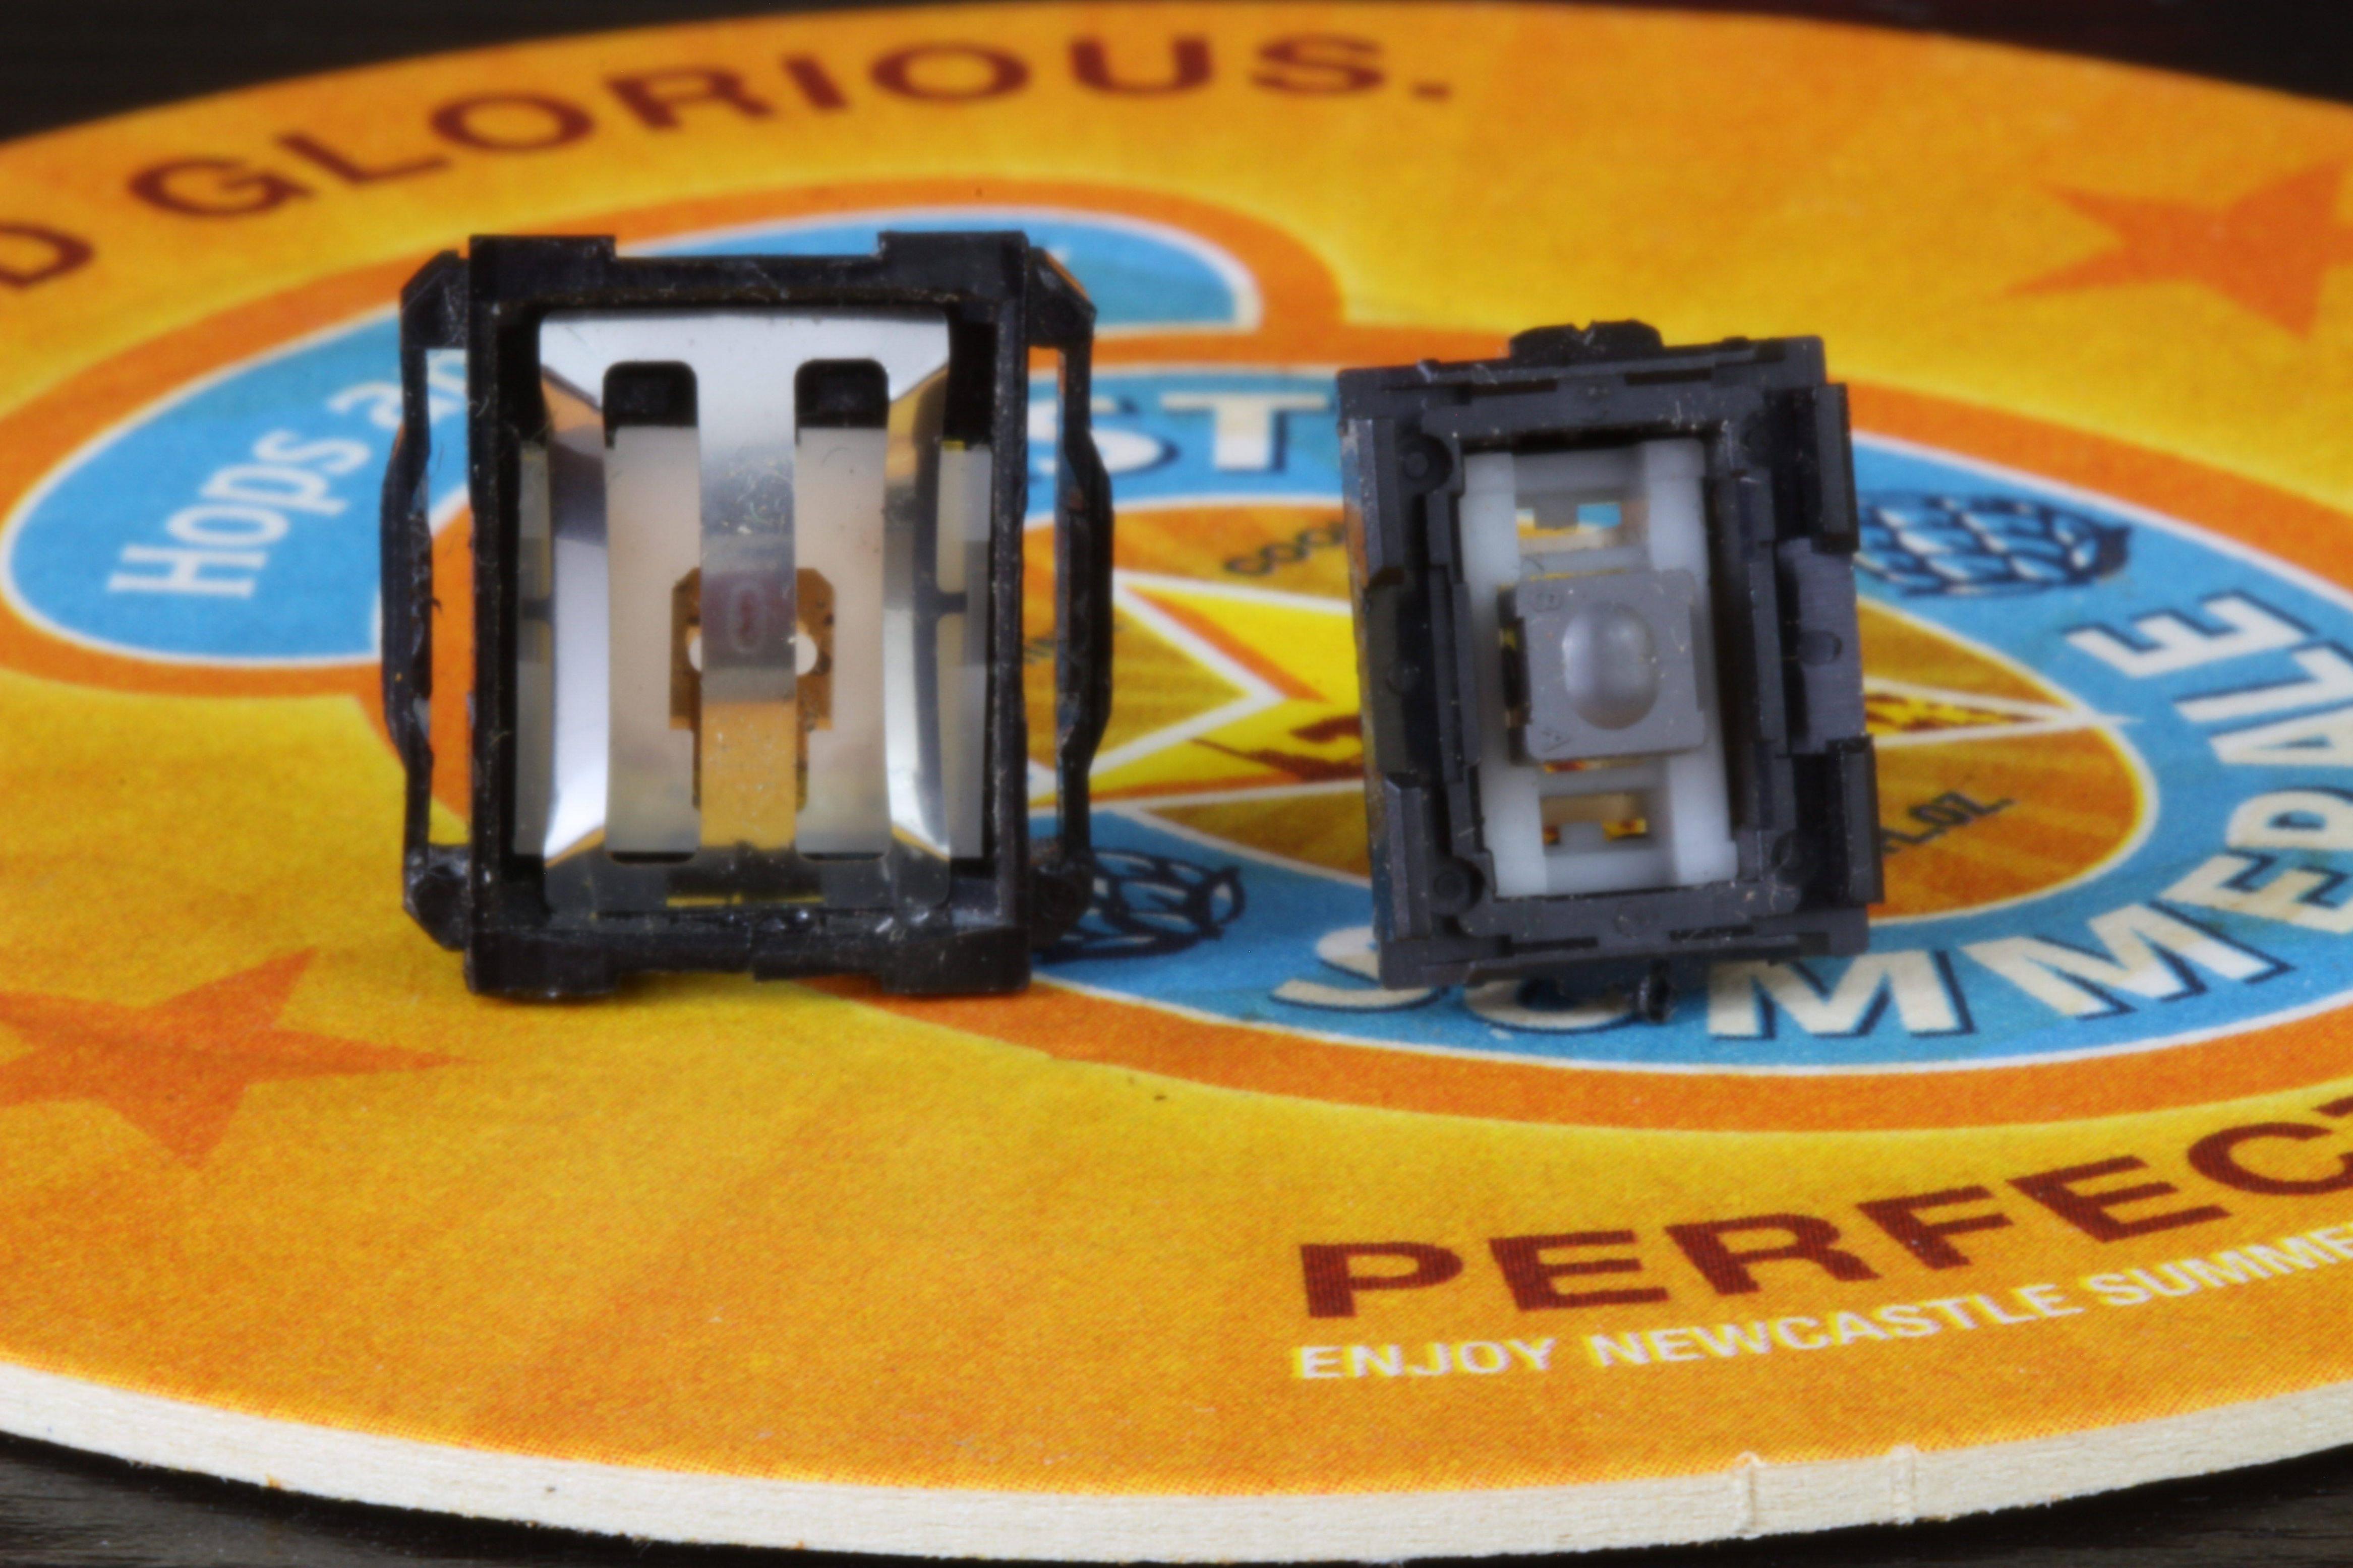
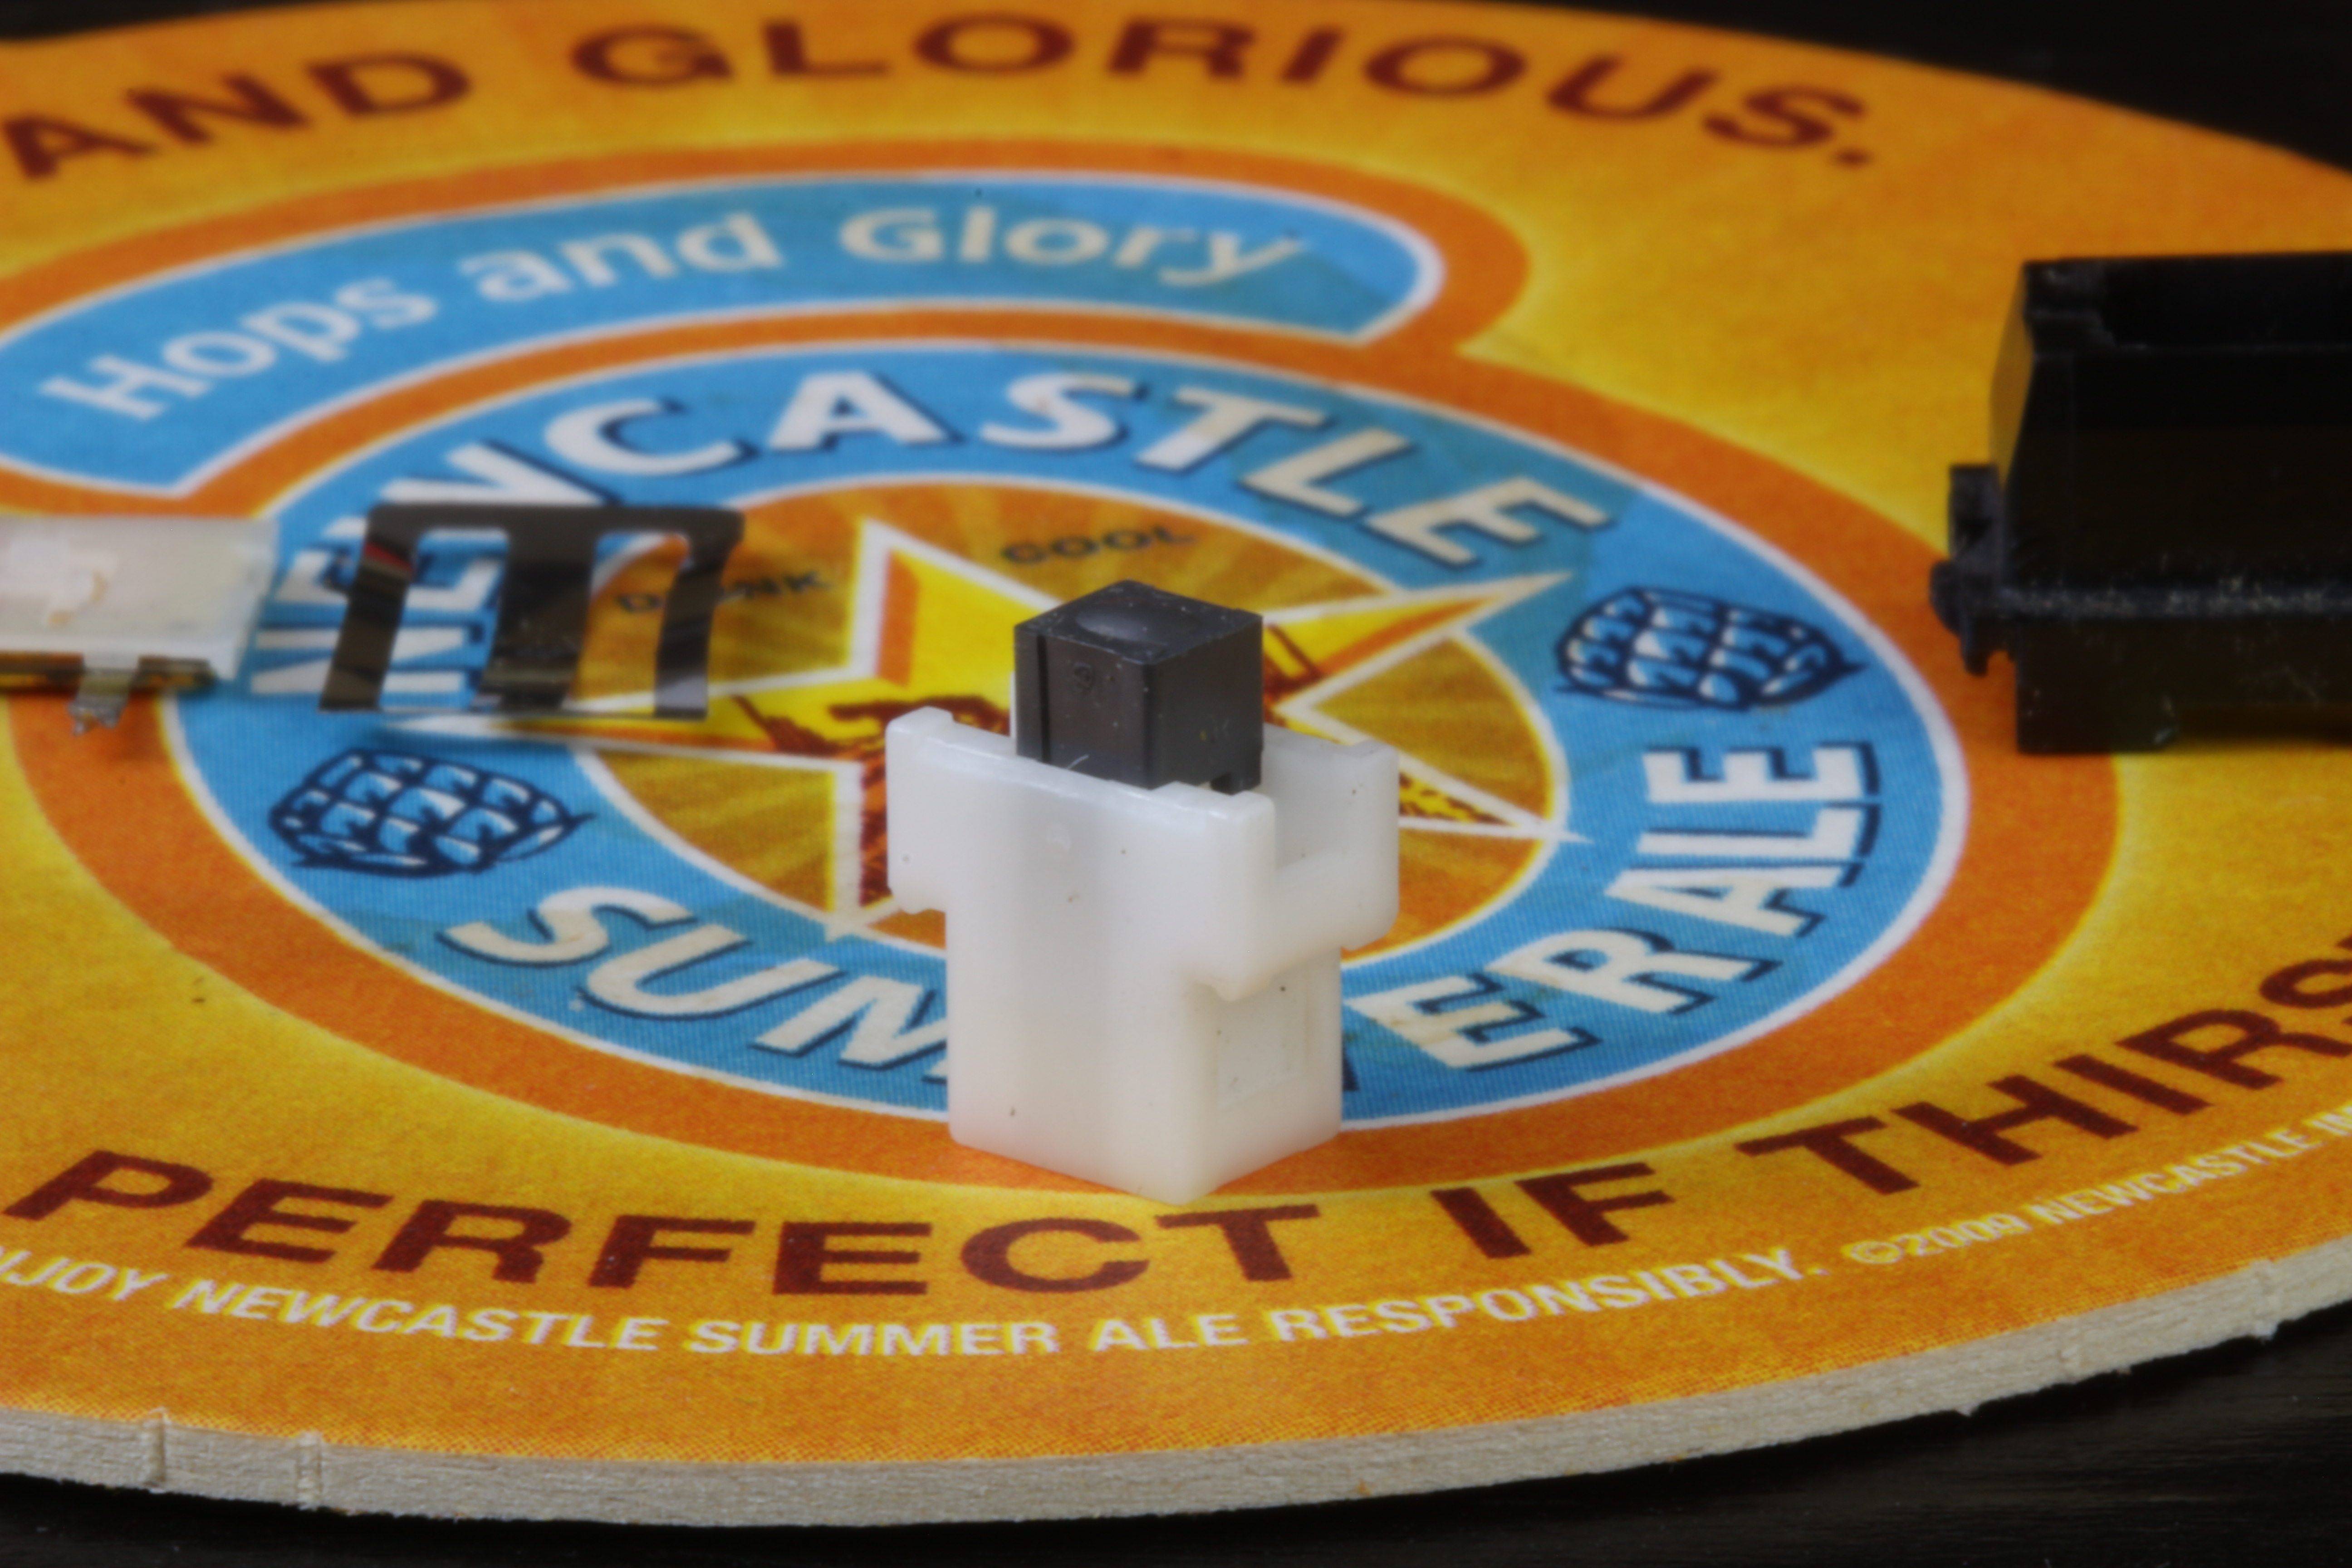
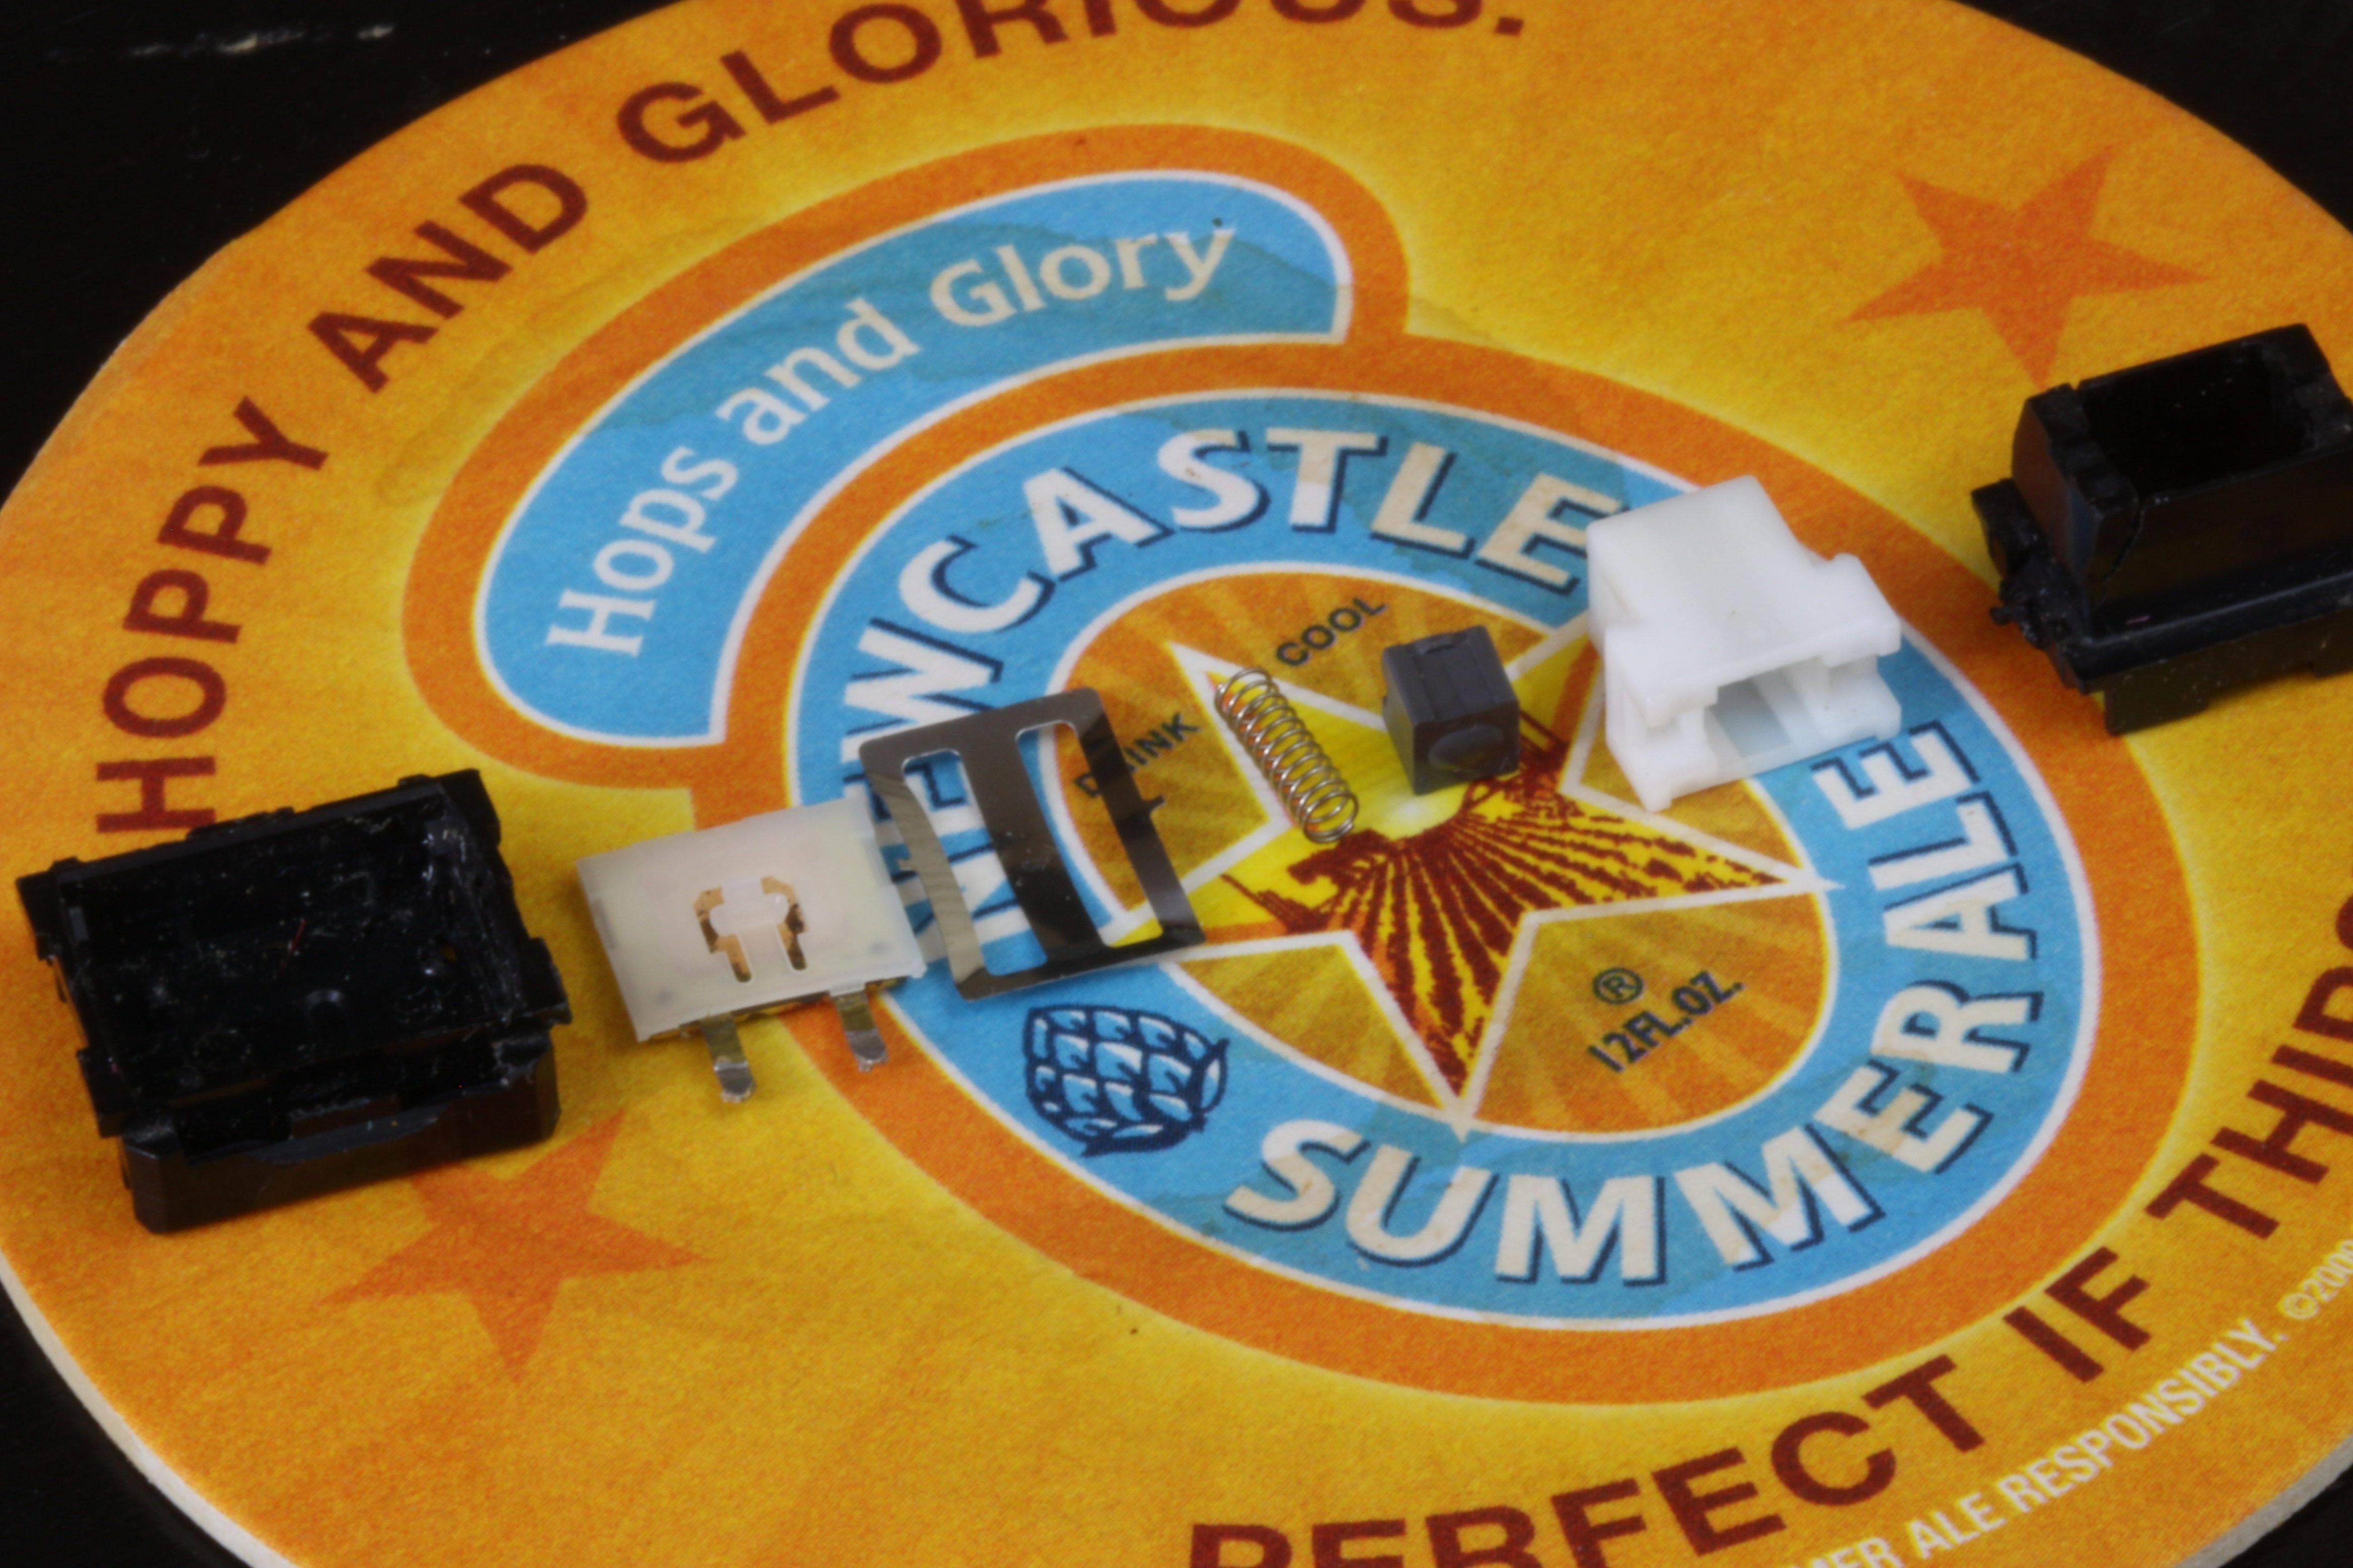
I was initially confused why my switches had 2 pins but the cut-out had 6. Until couple of people pointed out that there are a few varieties of Alps plate spring switches.
Delirious: … There are 3 types of alps plate springs but they are mostly just the usual inconsistency of Alps Electric. They function exactly the same from one to another. So you have:
- 2-pins Plate mount APS
- 6-pins Square pcb-mount APS, sometimes the top housings are black, sometimes they are grey
- 4-pins Battleship pcb-mount APS
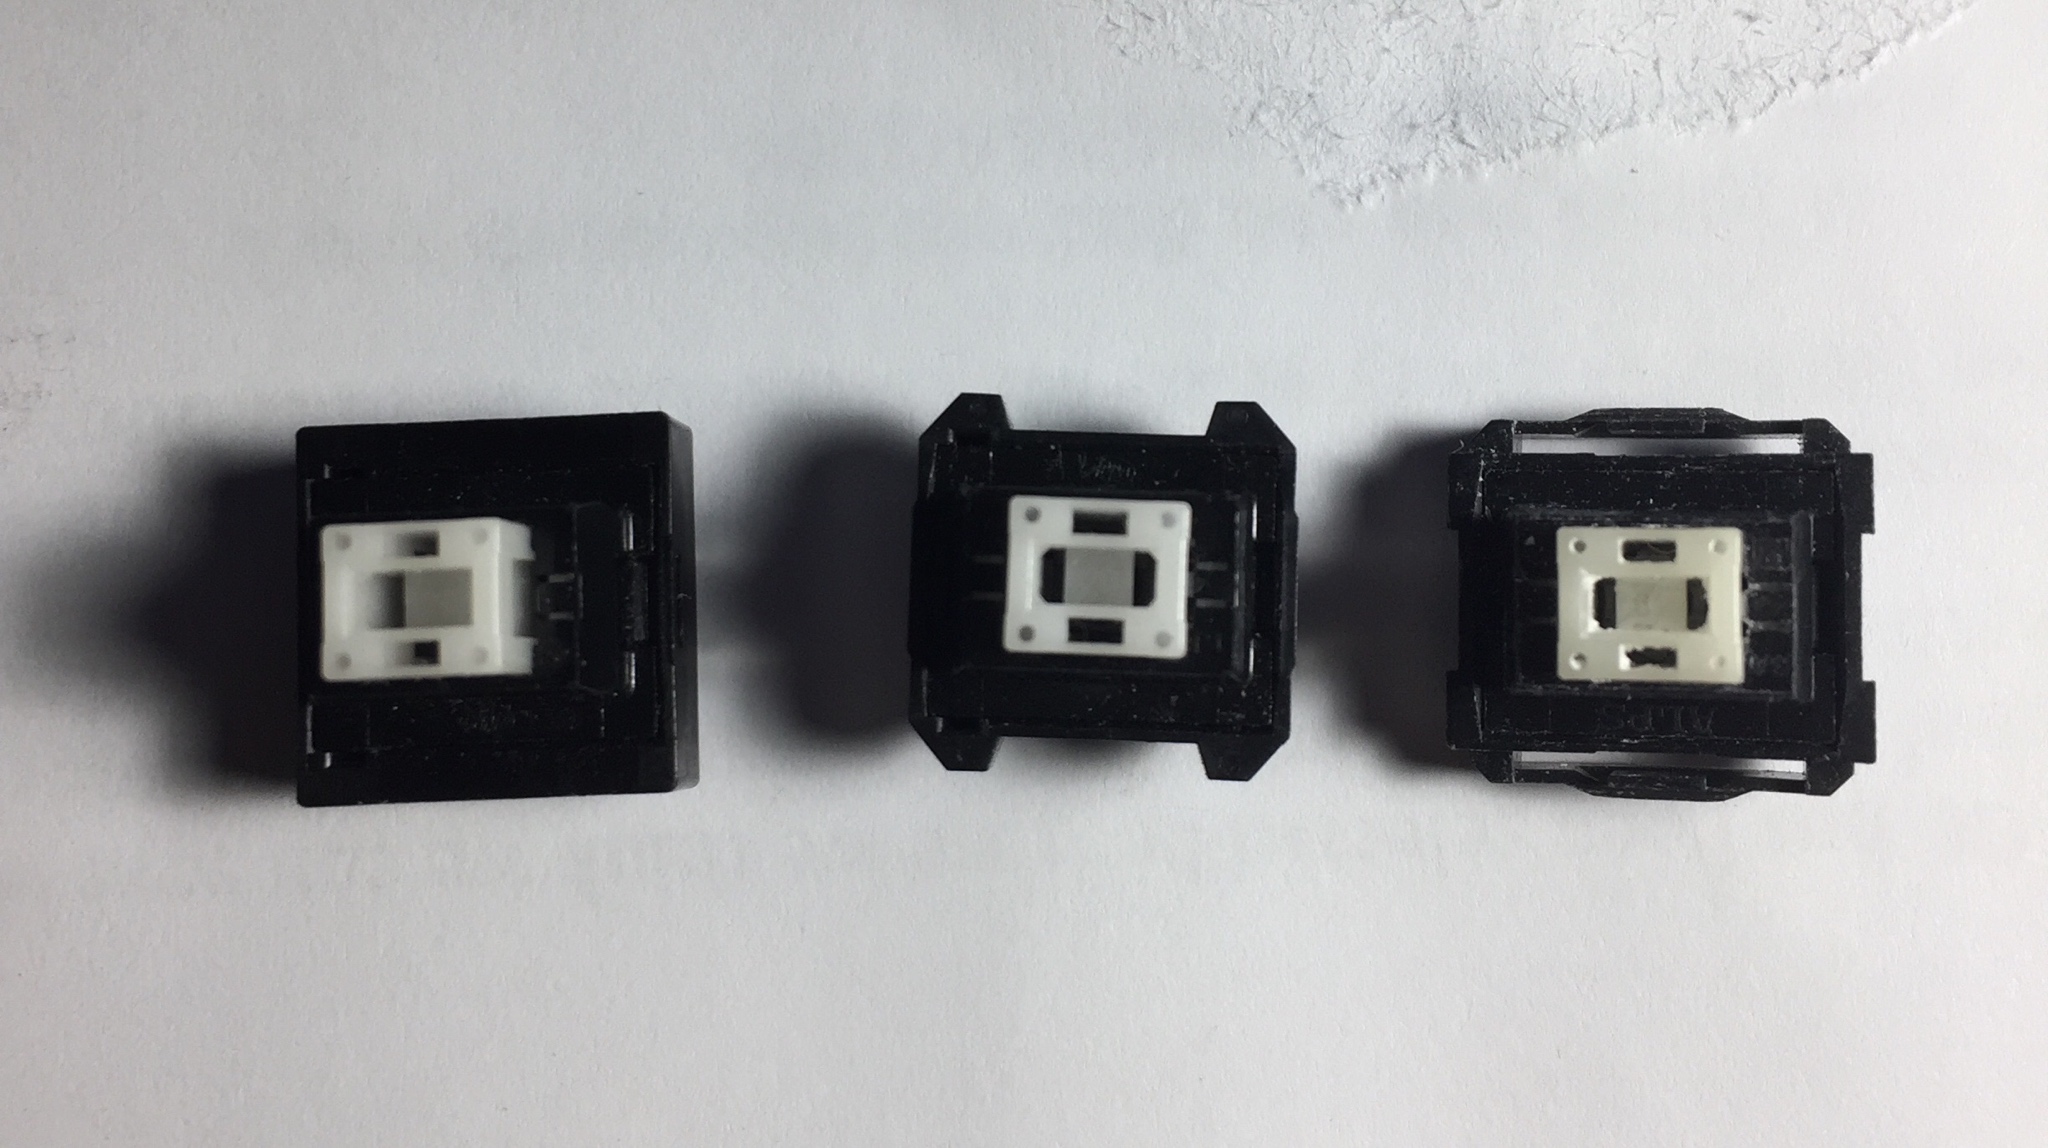
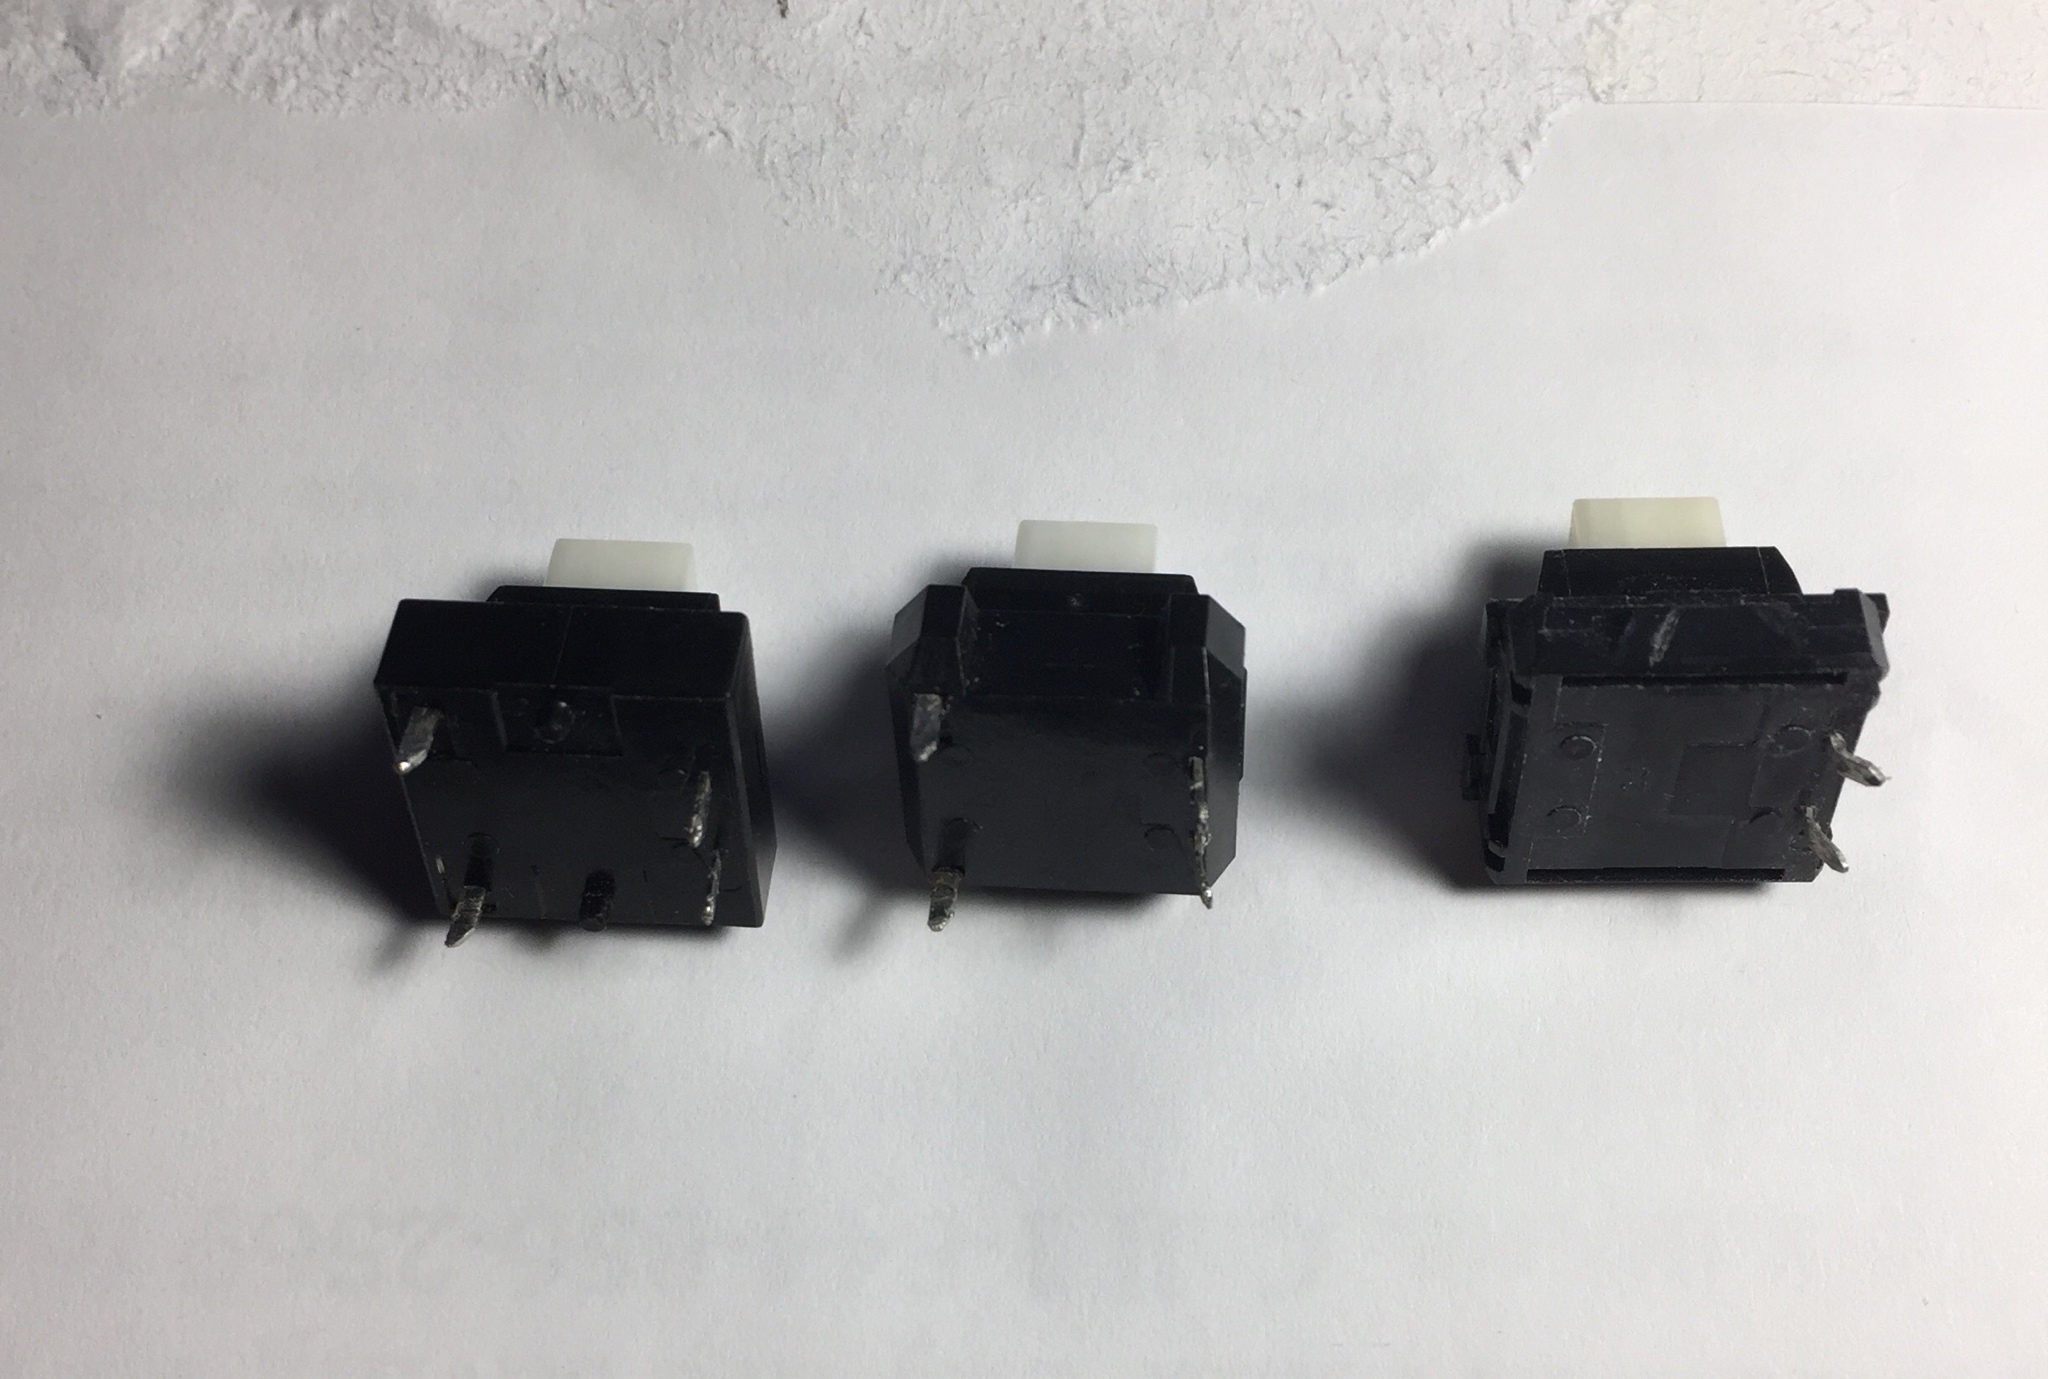
Since mine were the plate mounted variety, I removed the exra 4 pins from the switch cutout hoping that it might give me more room for routing the traces.
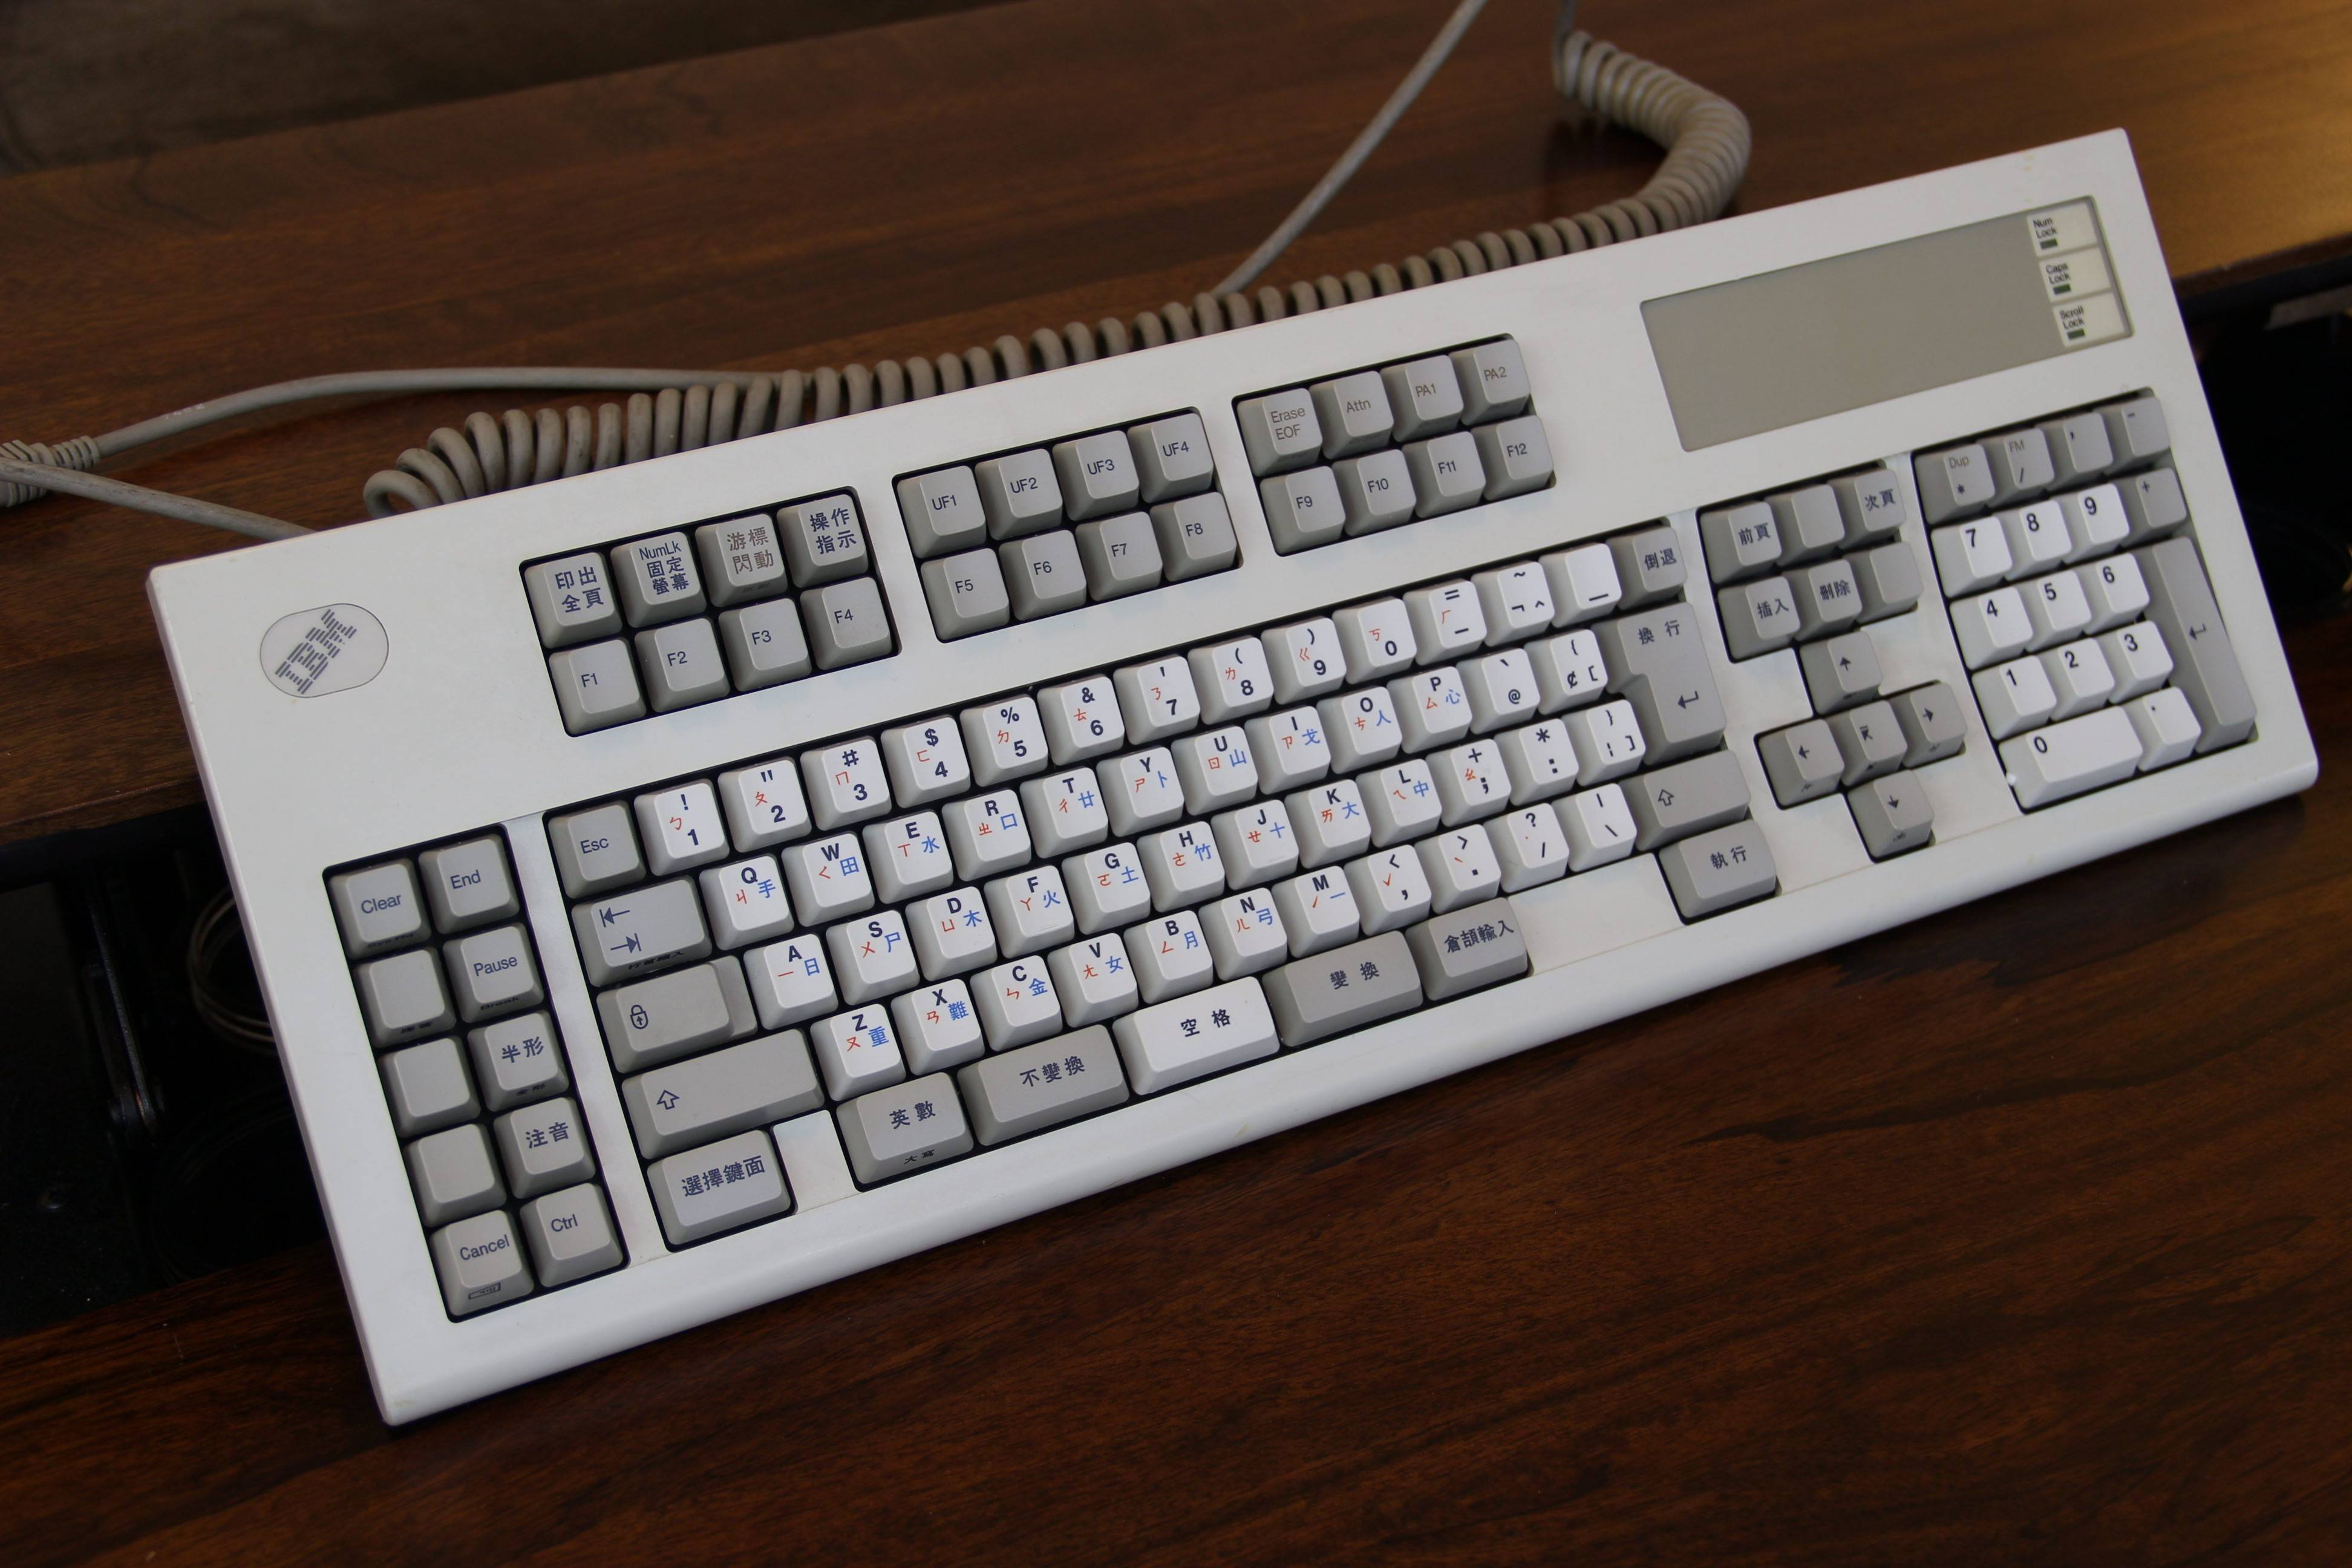
I intended to build this keyboard around a special set of triple dye sub keycaps, which meant that I wouldn’t be able to adjust the layout. So making a decision on that part was easy. Once I had my layout and dimensions, I placed all the key cut-outs in their spots. I also needed to arrange and place the board components and map out the schematic. There’s plenty info out there about how to design a keyboard PCB but anything that I could speak to now would probably be outdated (I was using Mini USB). So I won’t go into depth on the topic.
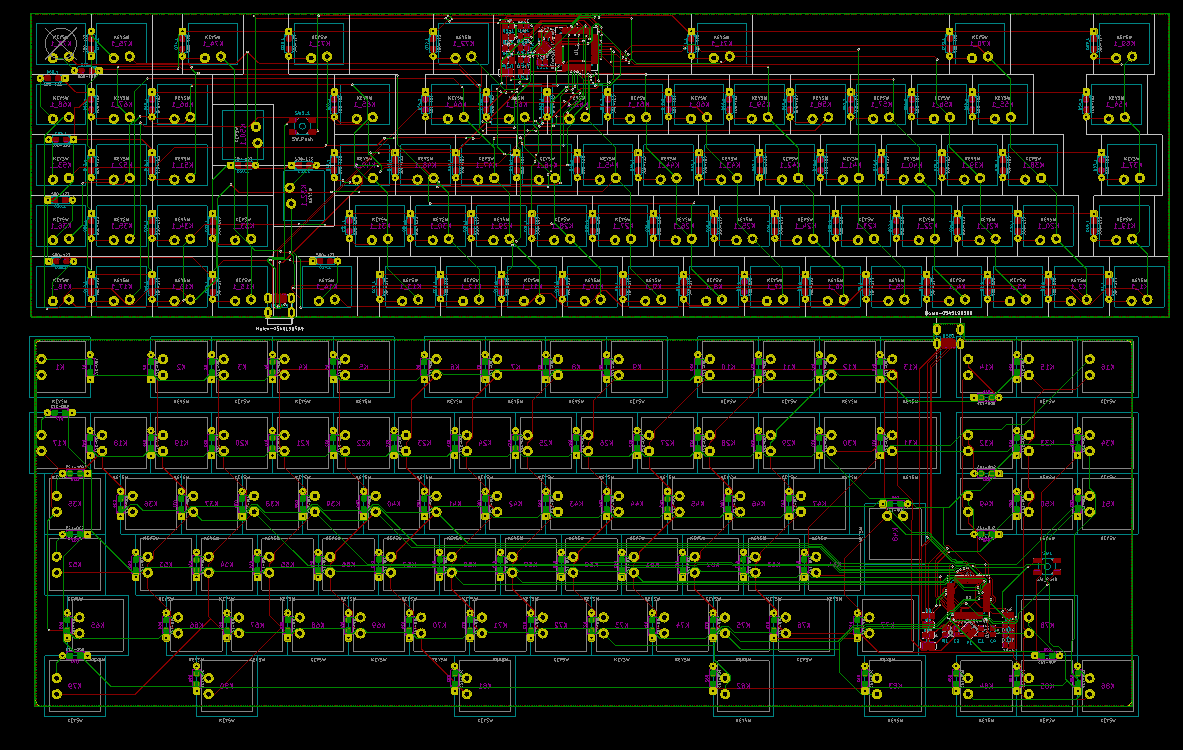
Routing
One fun experiment that I did during this process was try out auto-routing. That’s software that tries to automatically route all of the traces on the board. But I eventually came to the conclusion that doing it manually wasn’t that difficult and that the software just ended up confusing me.
Fabricating
To have to PCB made I used Gold Phoenix’s PCB Pool service, since I only wanted 1 board and it was possible with that option. I was really pleased with the quality.
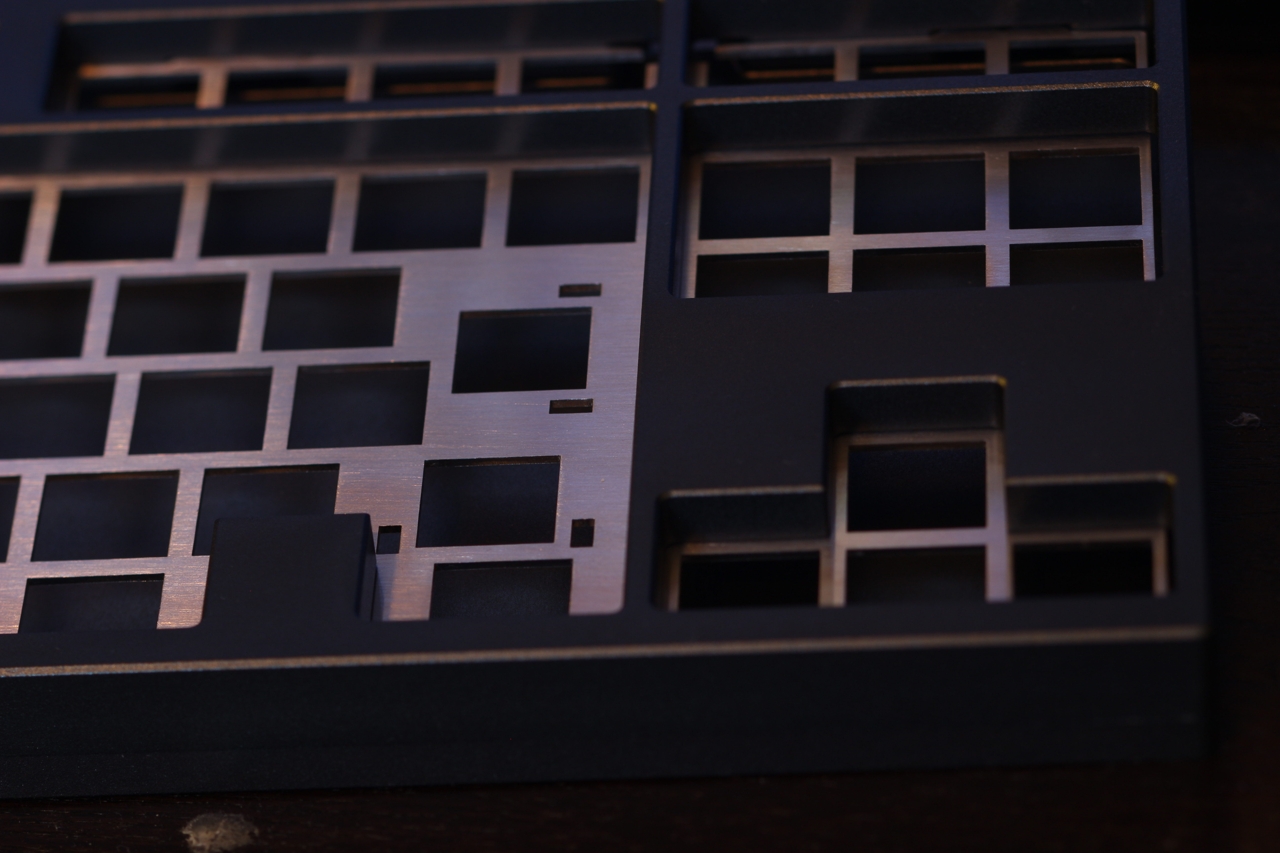
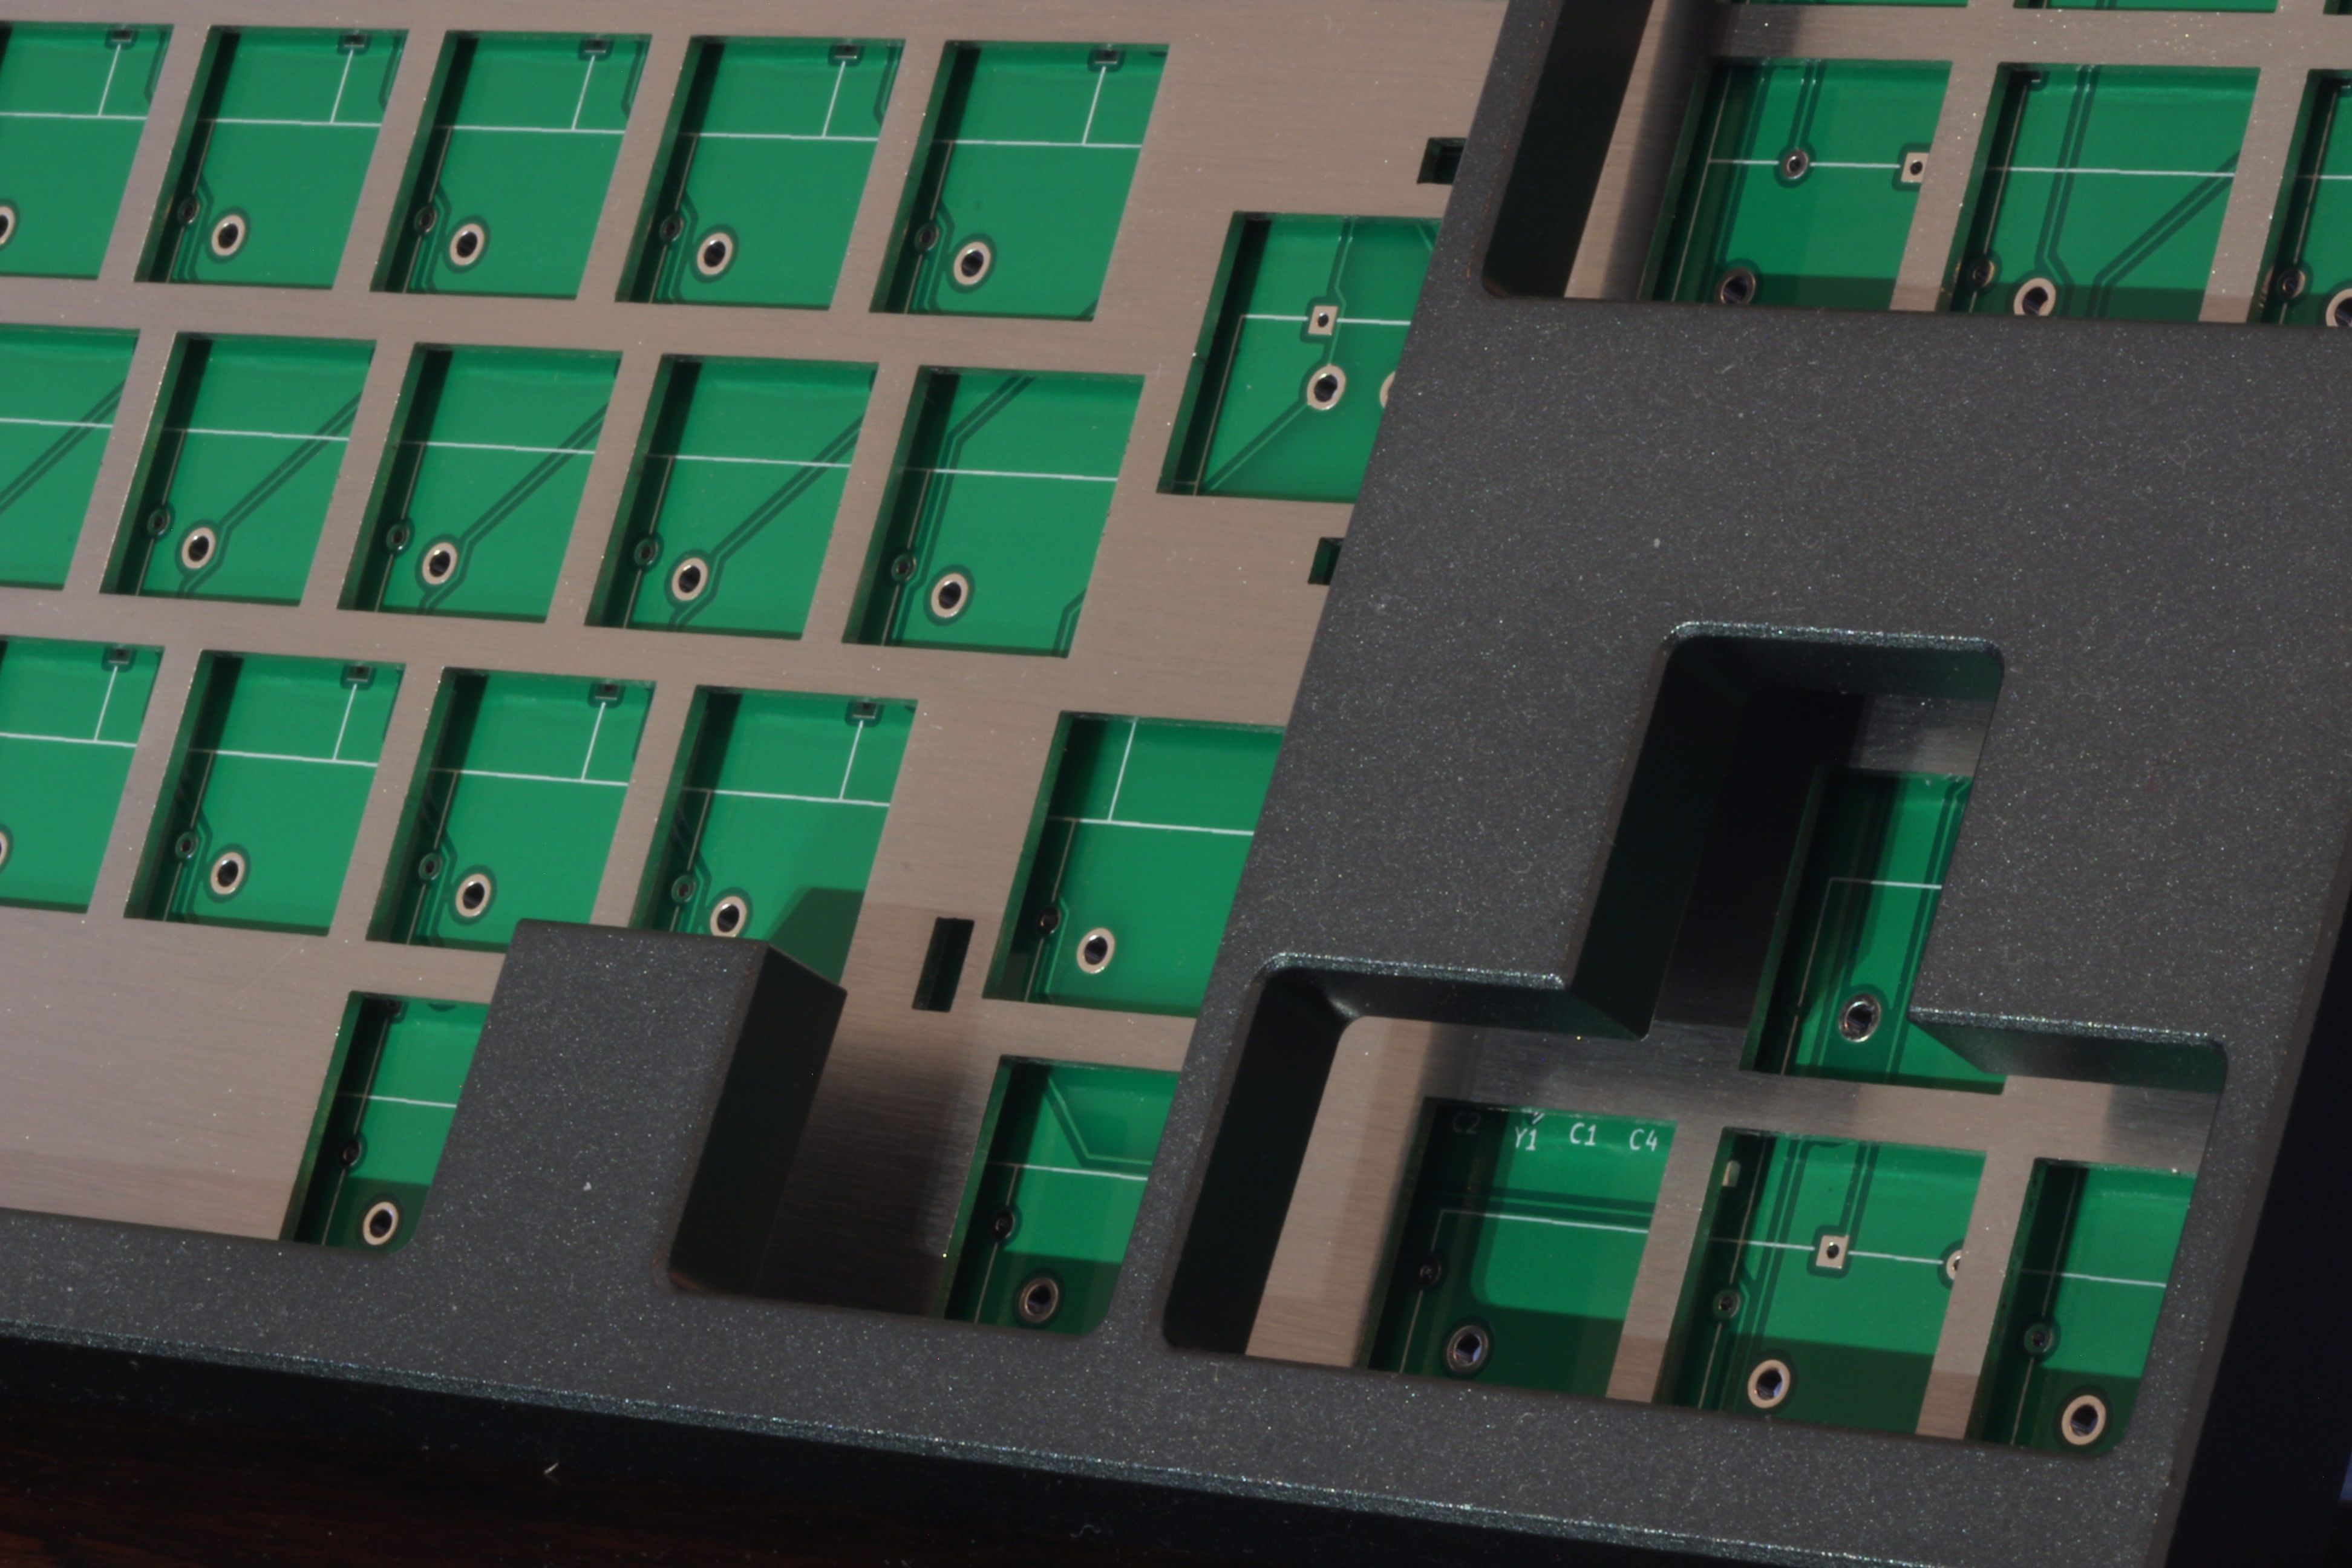
Plate
Design
Designing a plate is something I had done a few times before. But it was still difficult to make sure the details were were correct like the placement and size of the stabilizer cut-outs. I used the plate that the case came with as a stencil for the outside measurements.
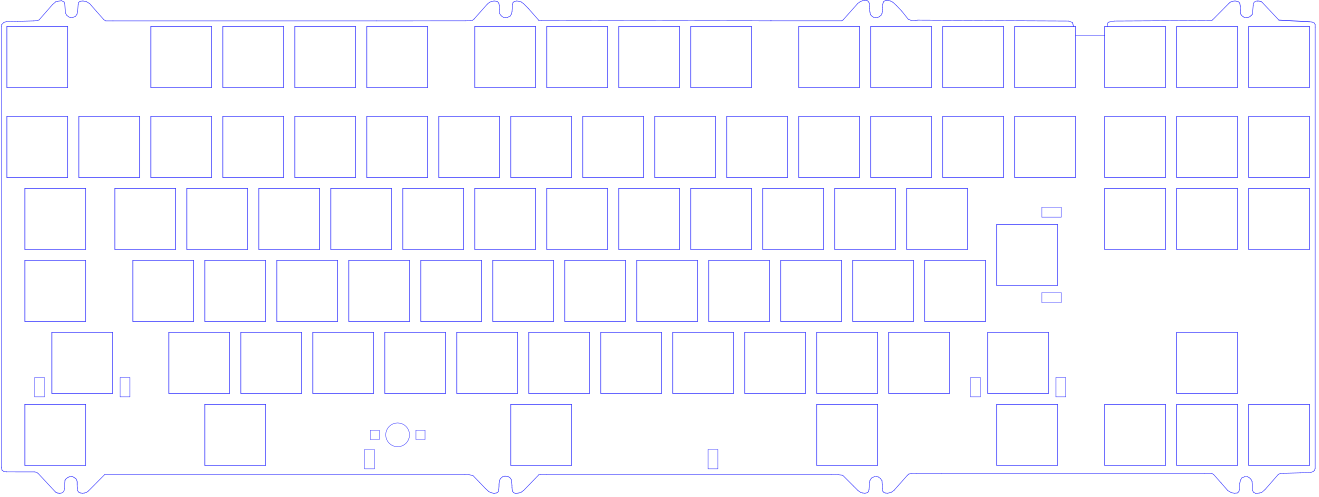
Fabricating
Since I was a bit hesitant about the things I just mentioned, I ended up ordering a prototype made from much cheaper PETG plastic. It was thing and flimsy but at least let me know that the measurements were good. I was really happy with how the final plate turned out. Ordered from LaserBoost.


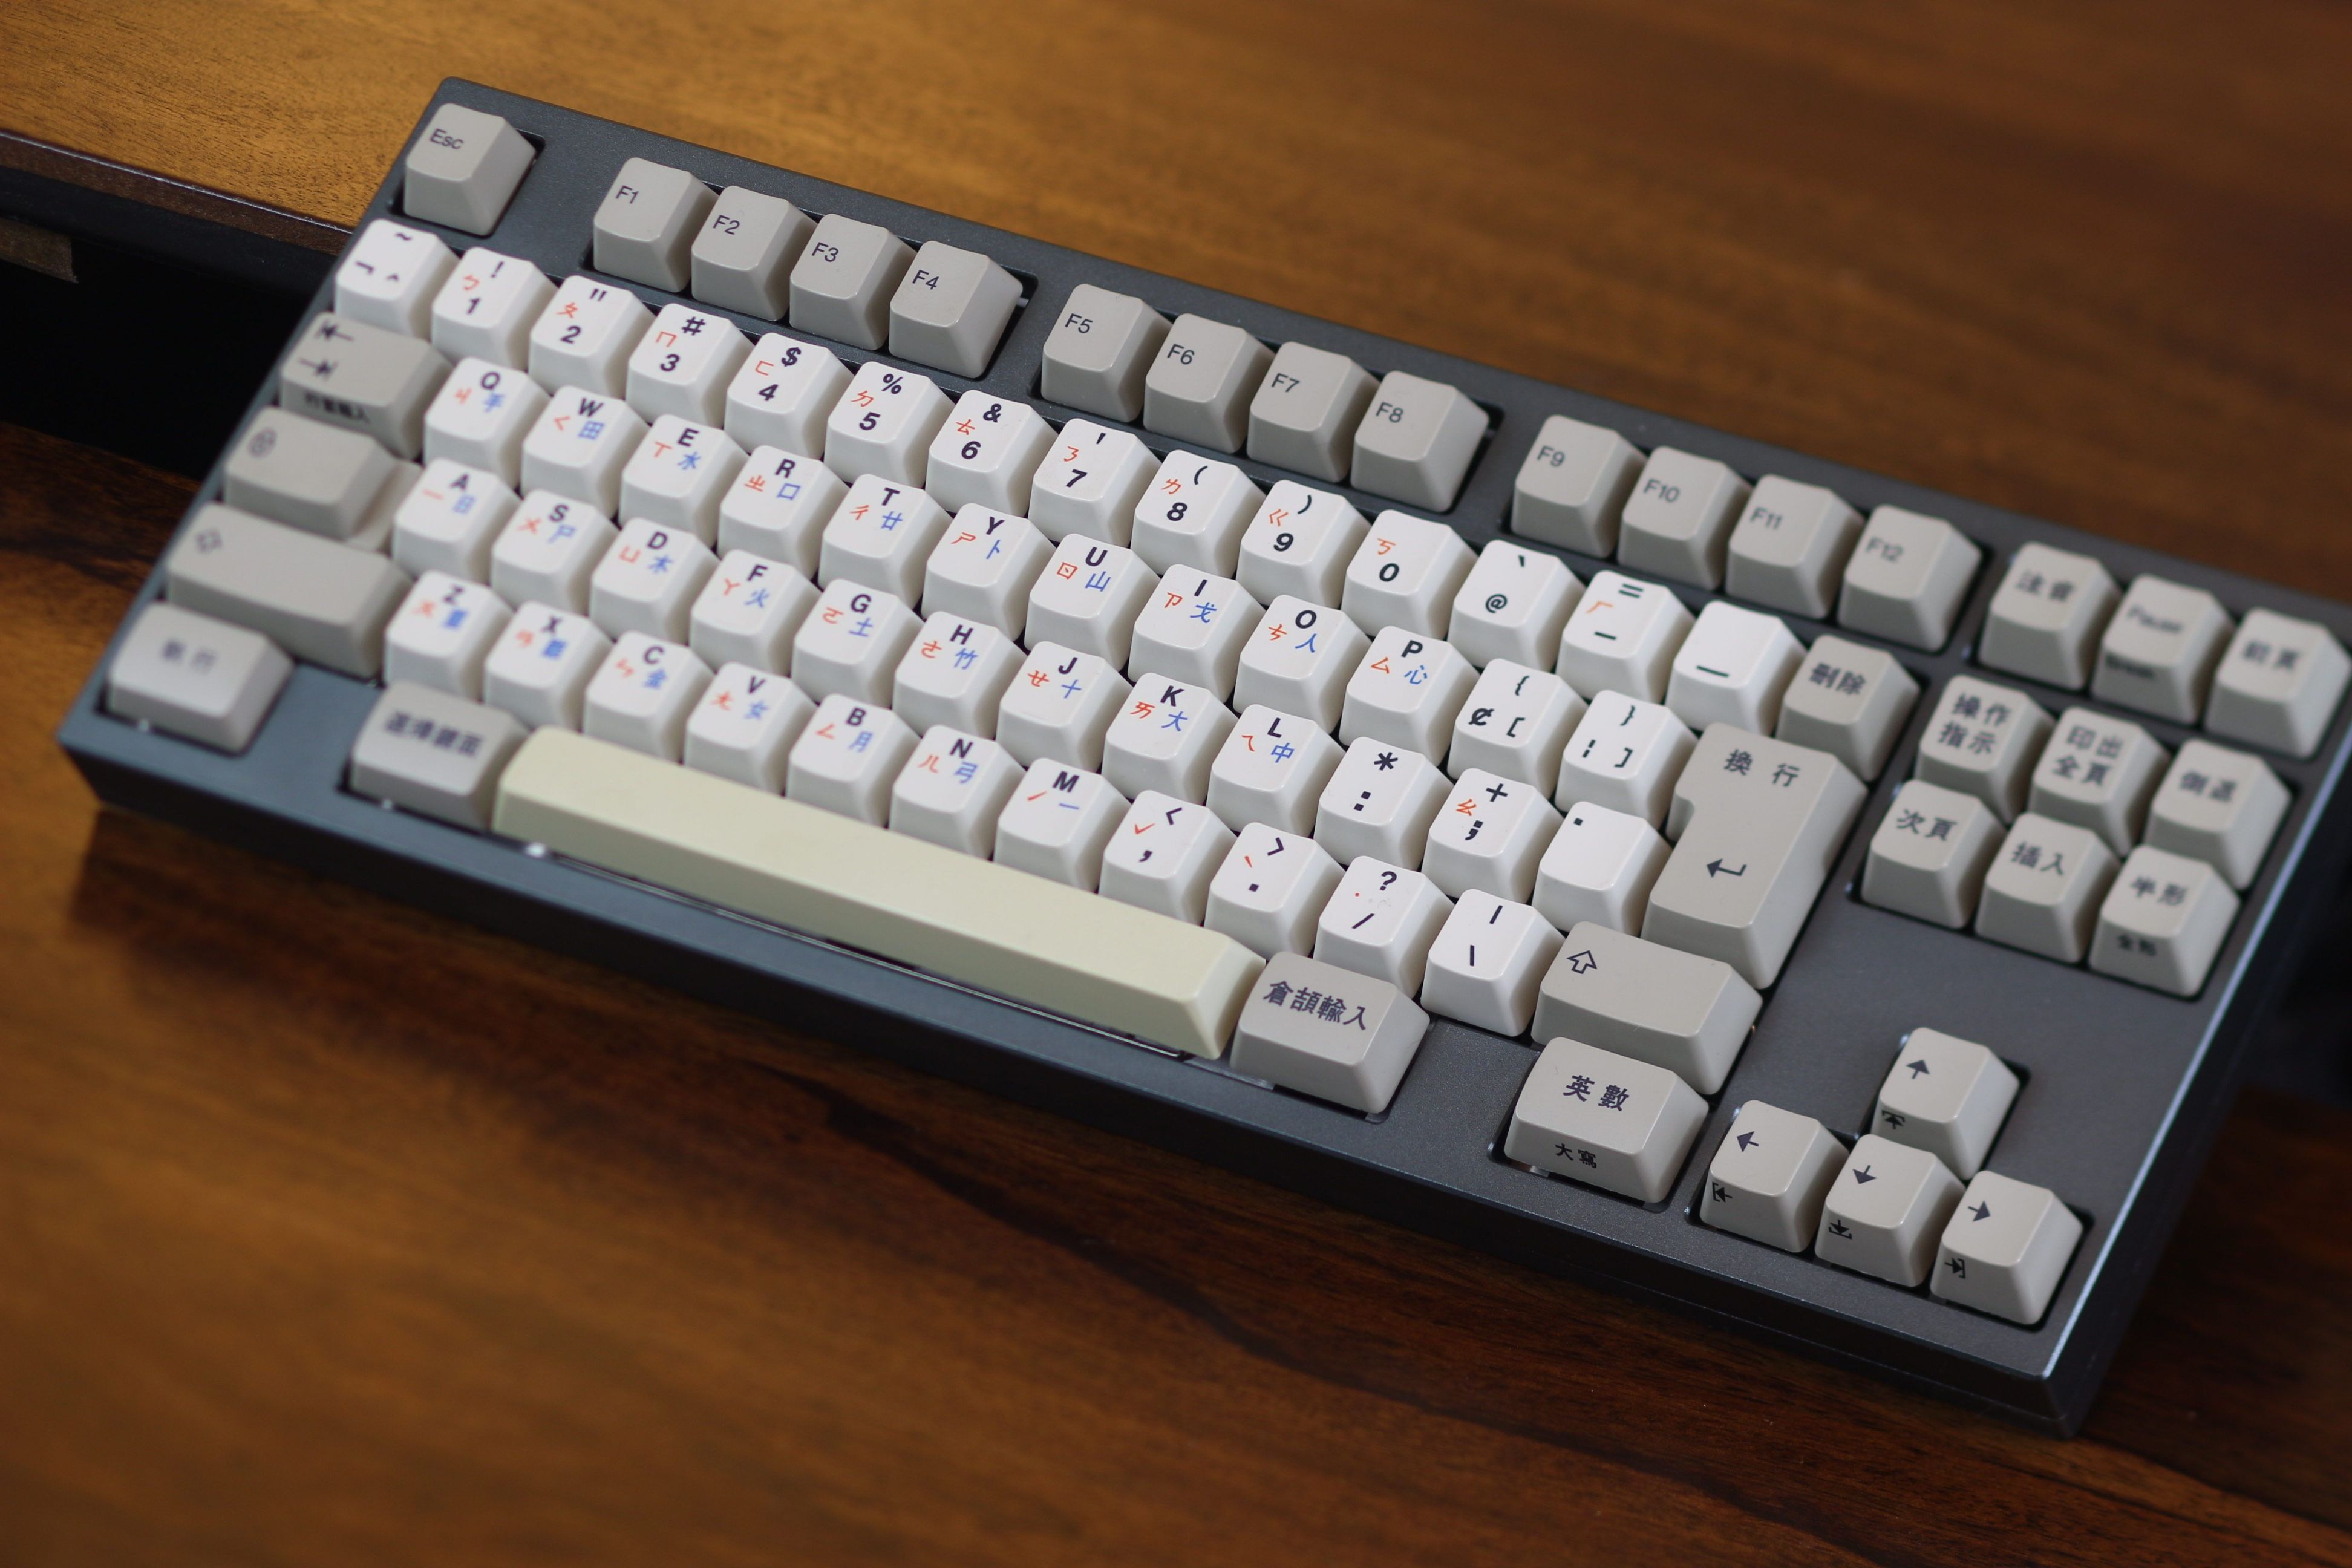
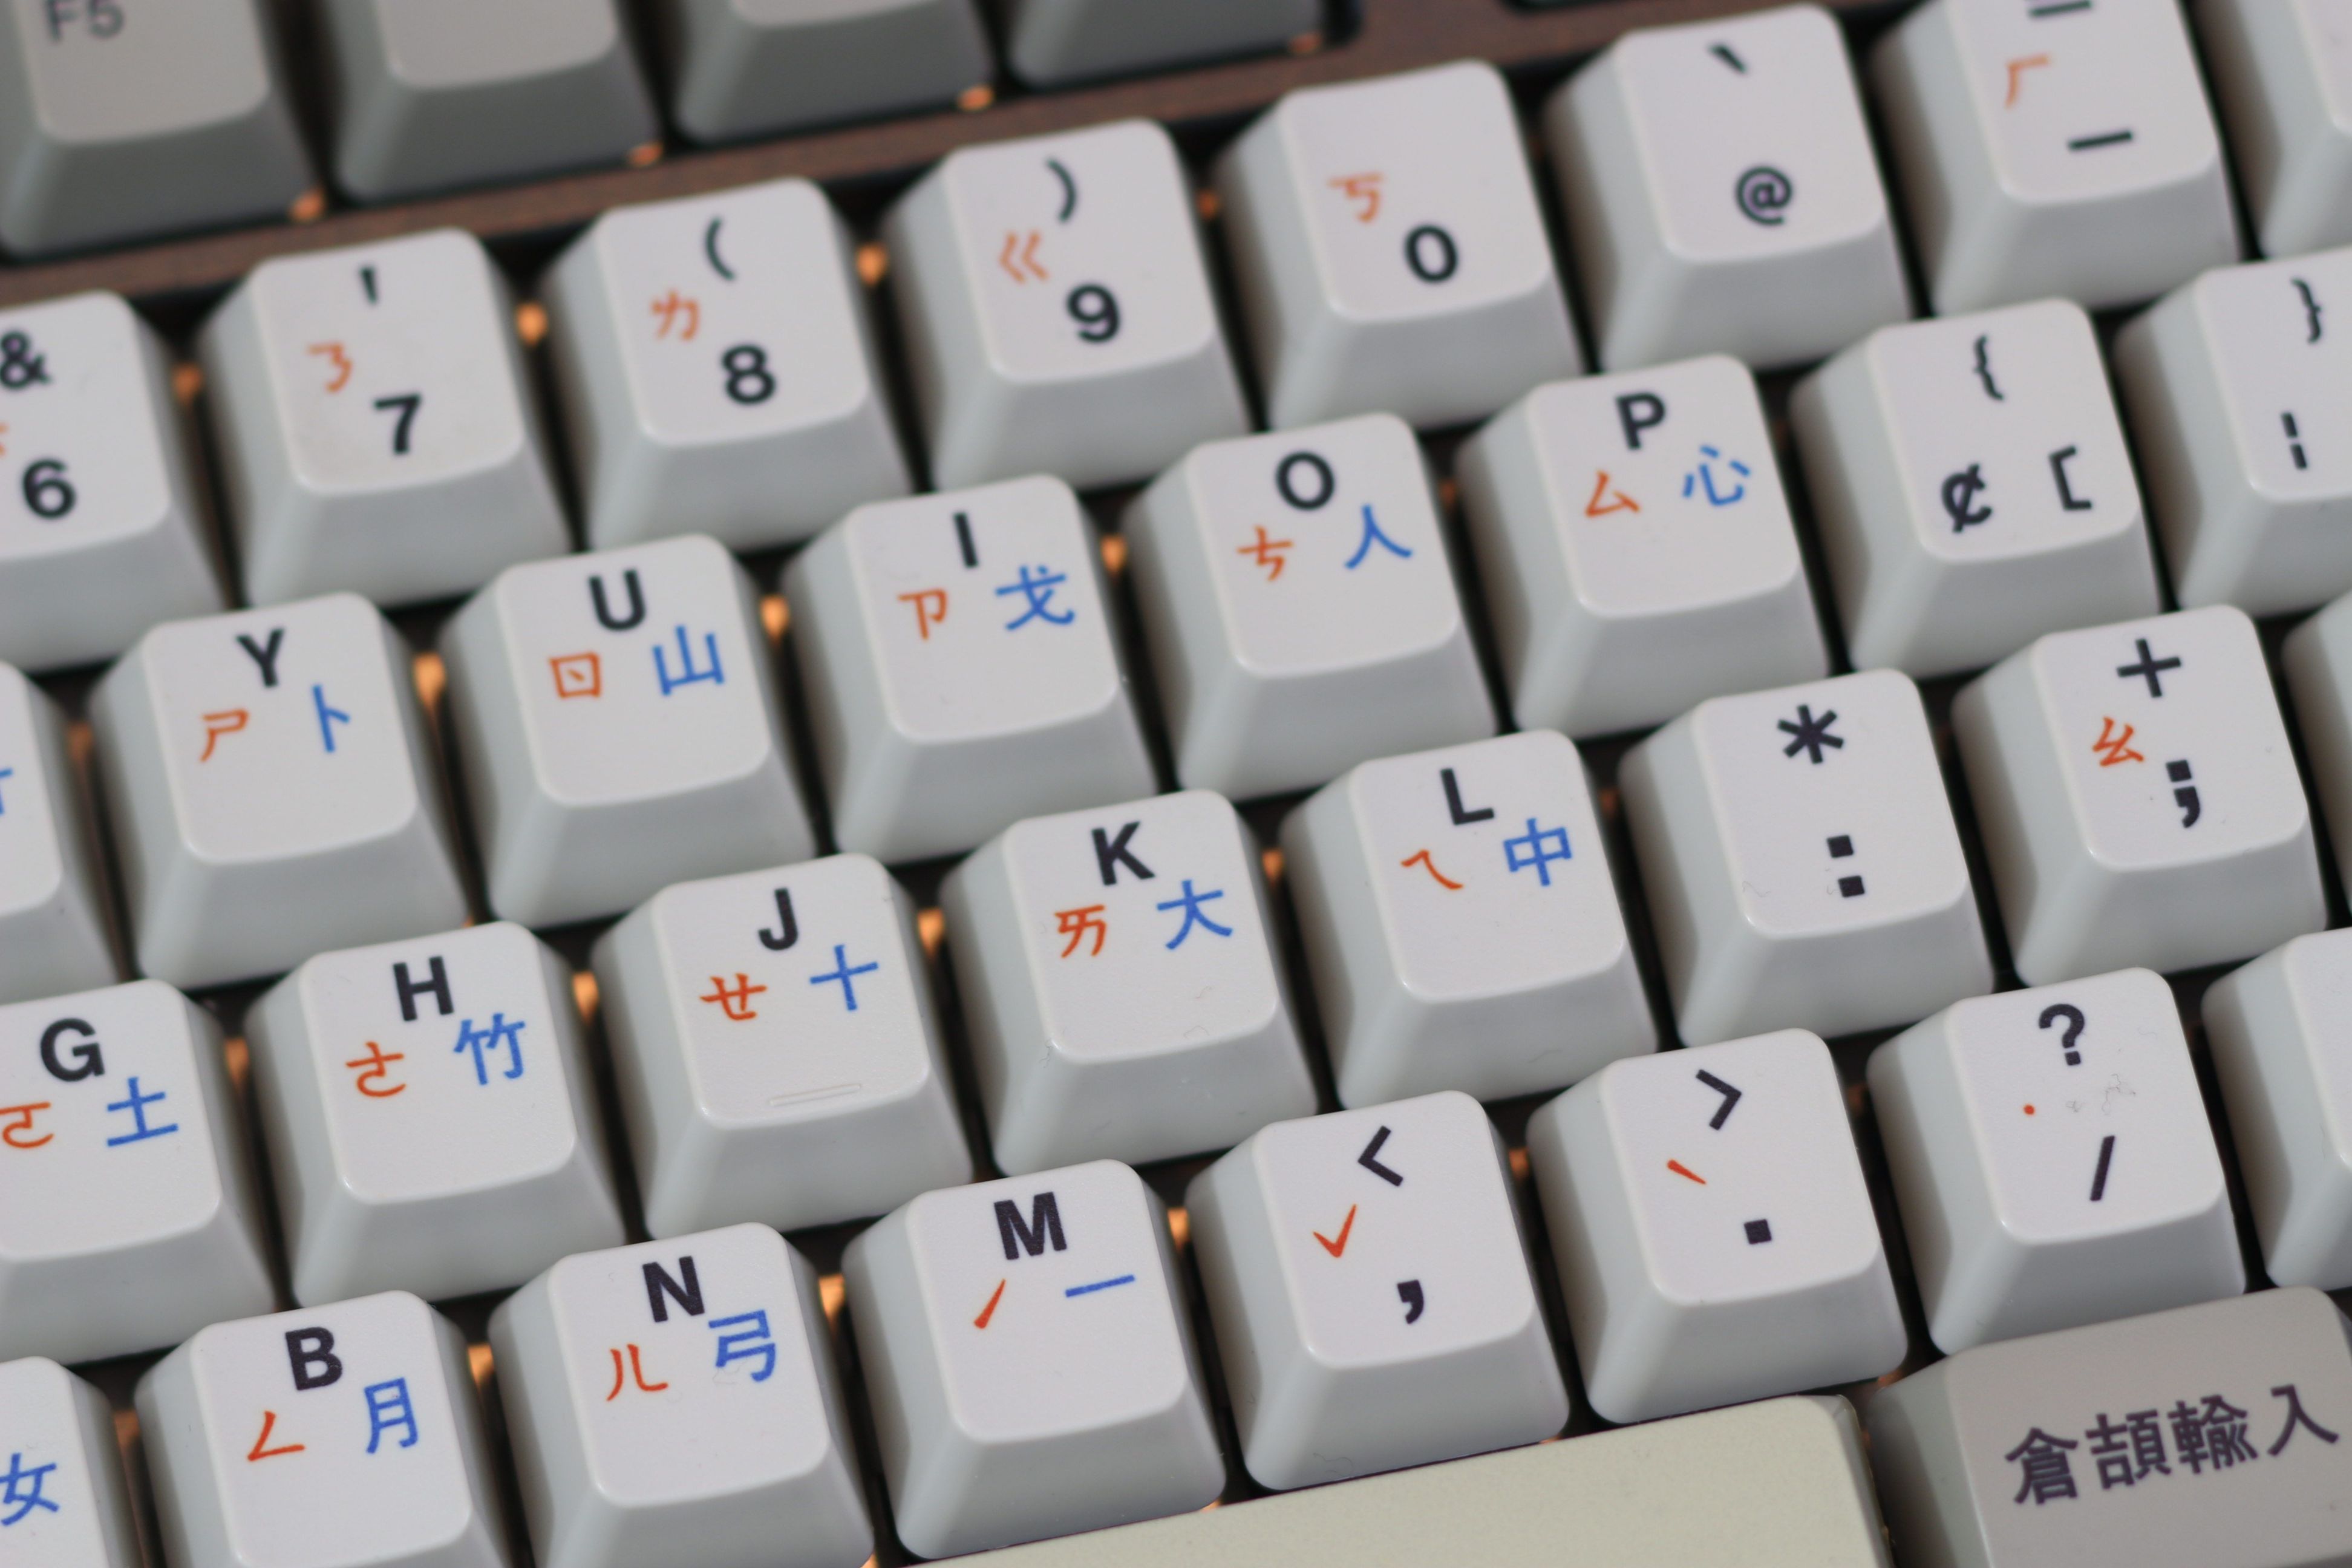
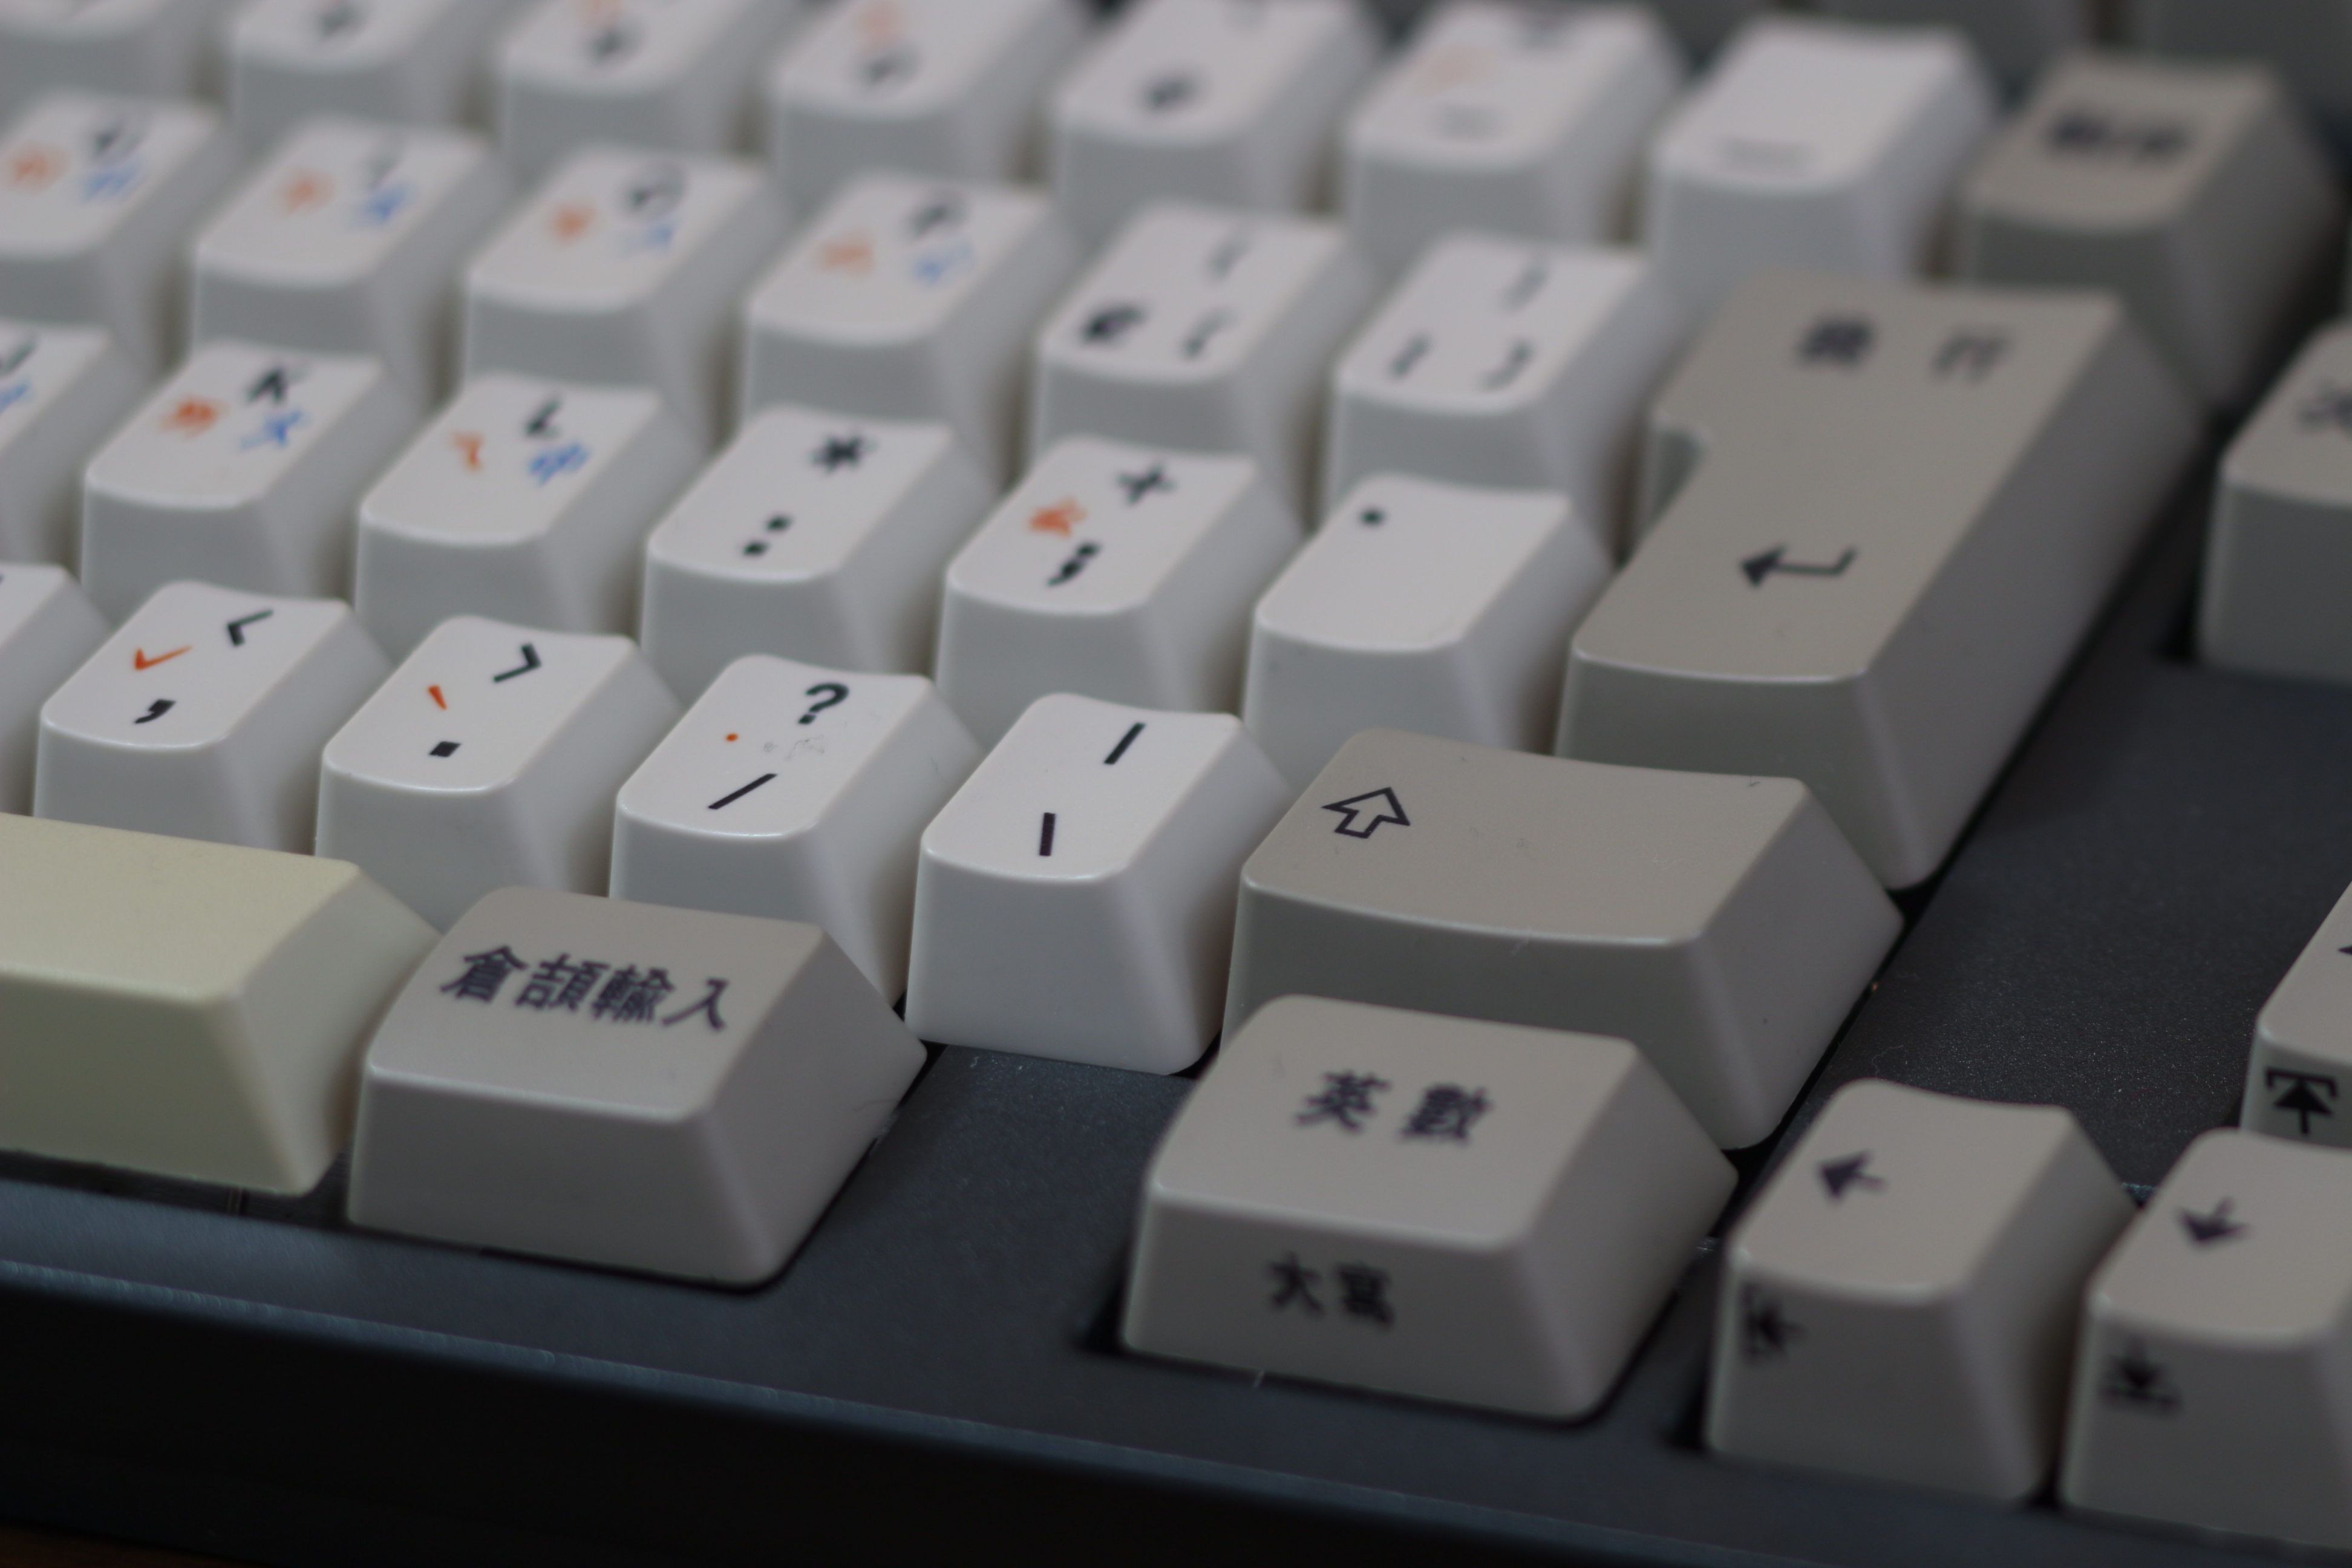
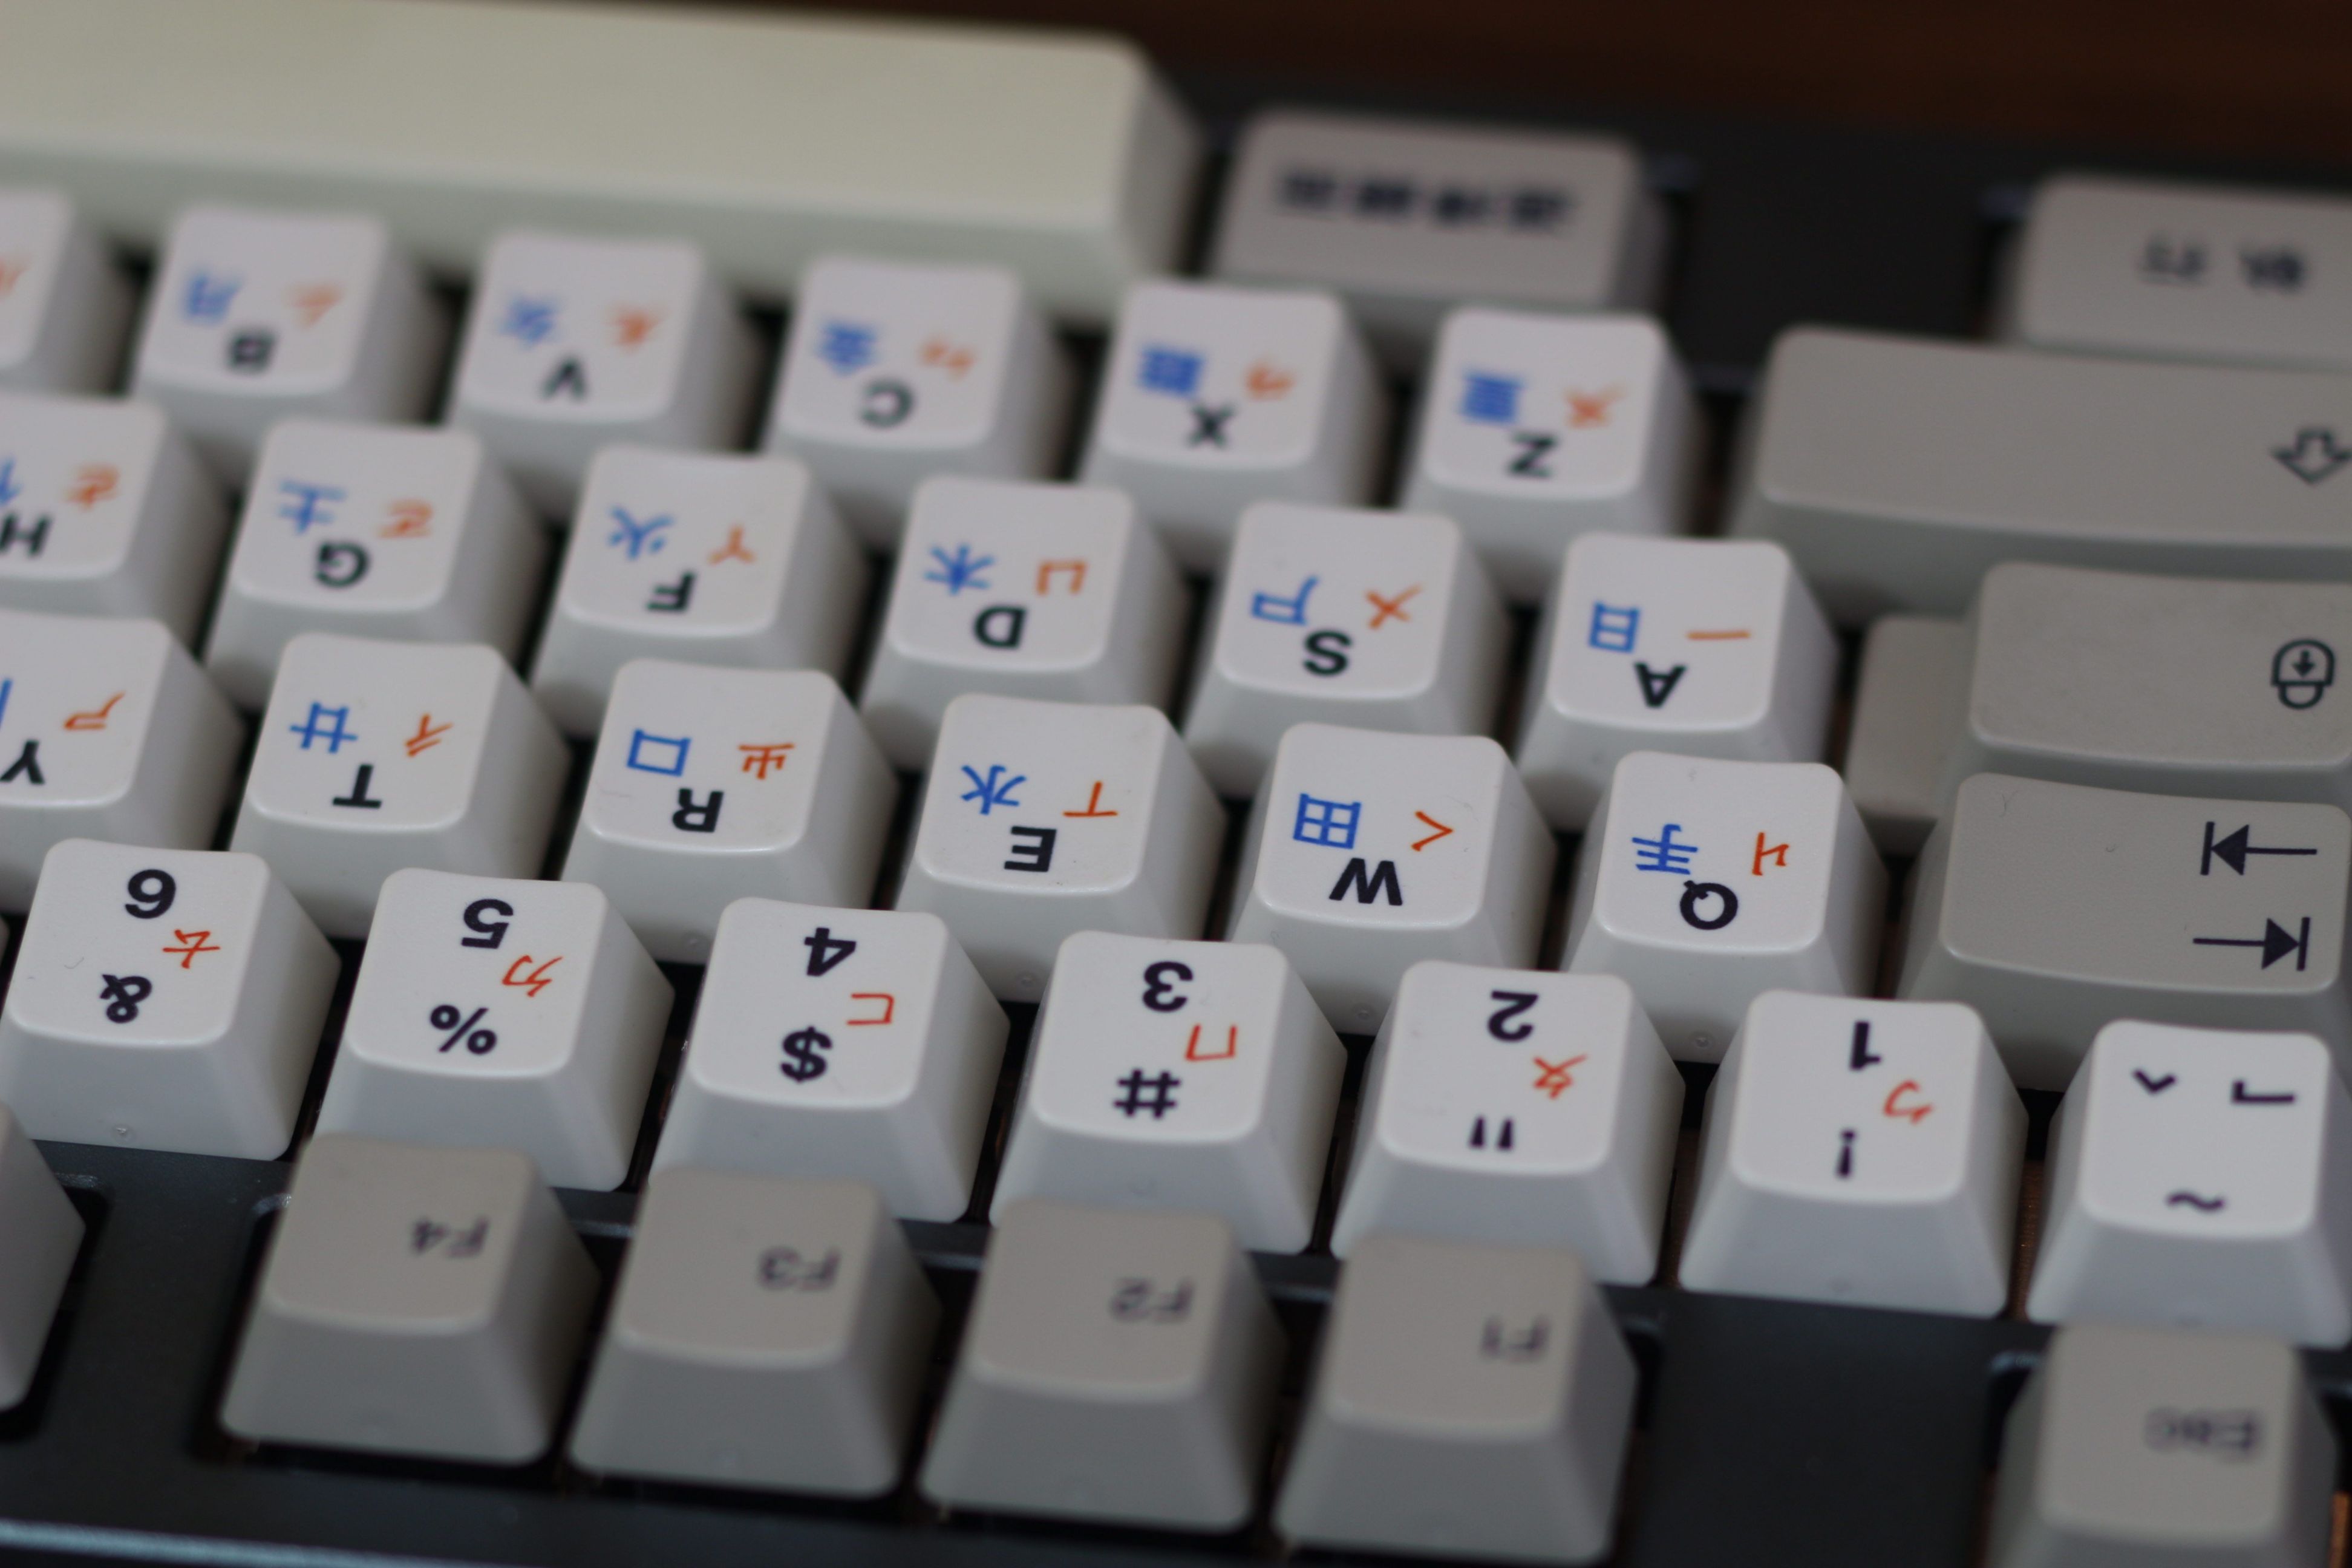
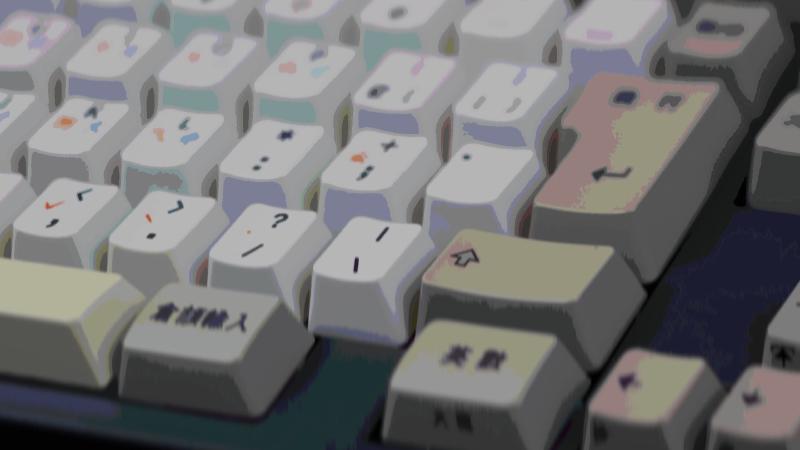
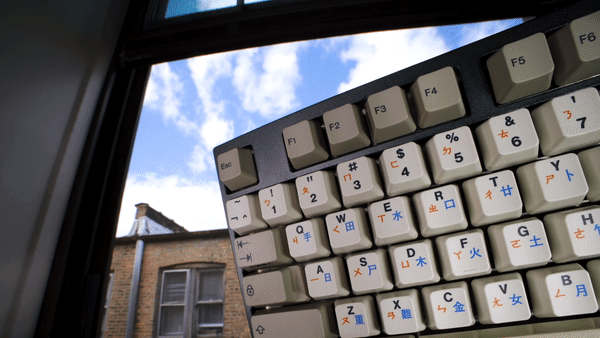
Keycaps
The keycaps come from an IBM 5576 keyboard. They’re 2-part caps, which I guess is common for Alps plate spring.
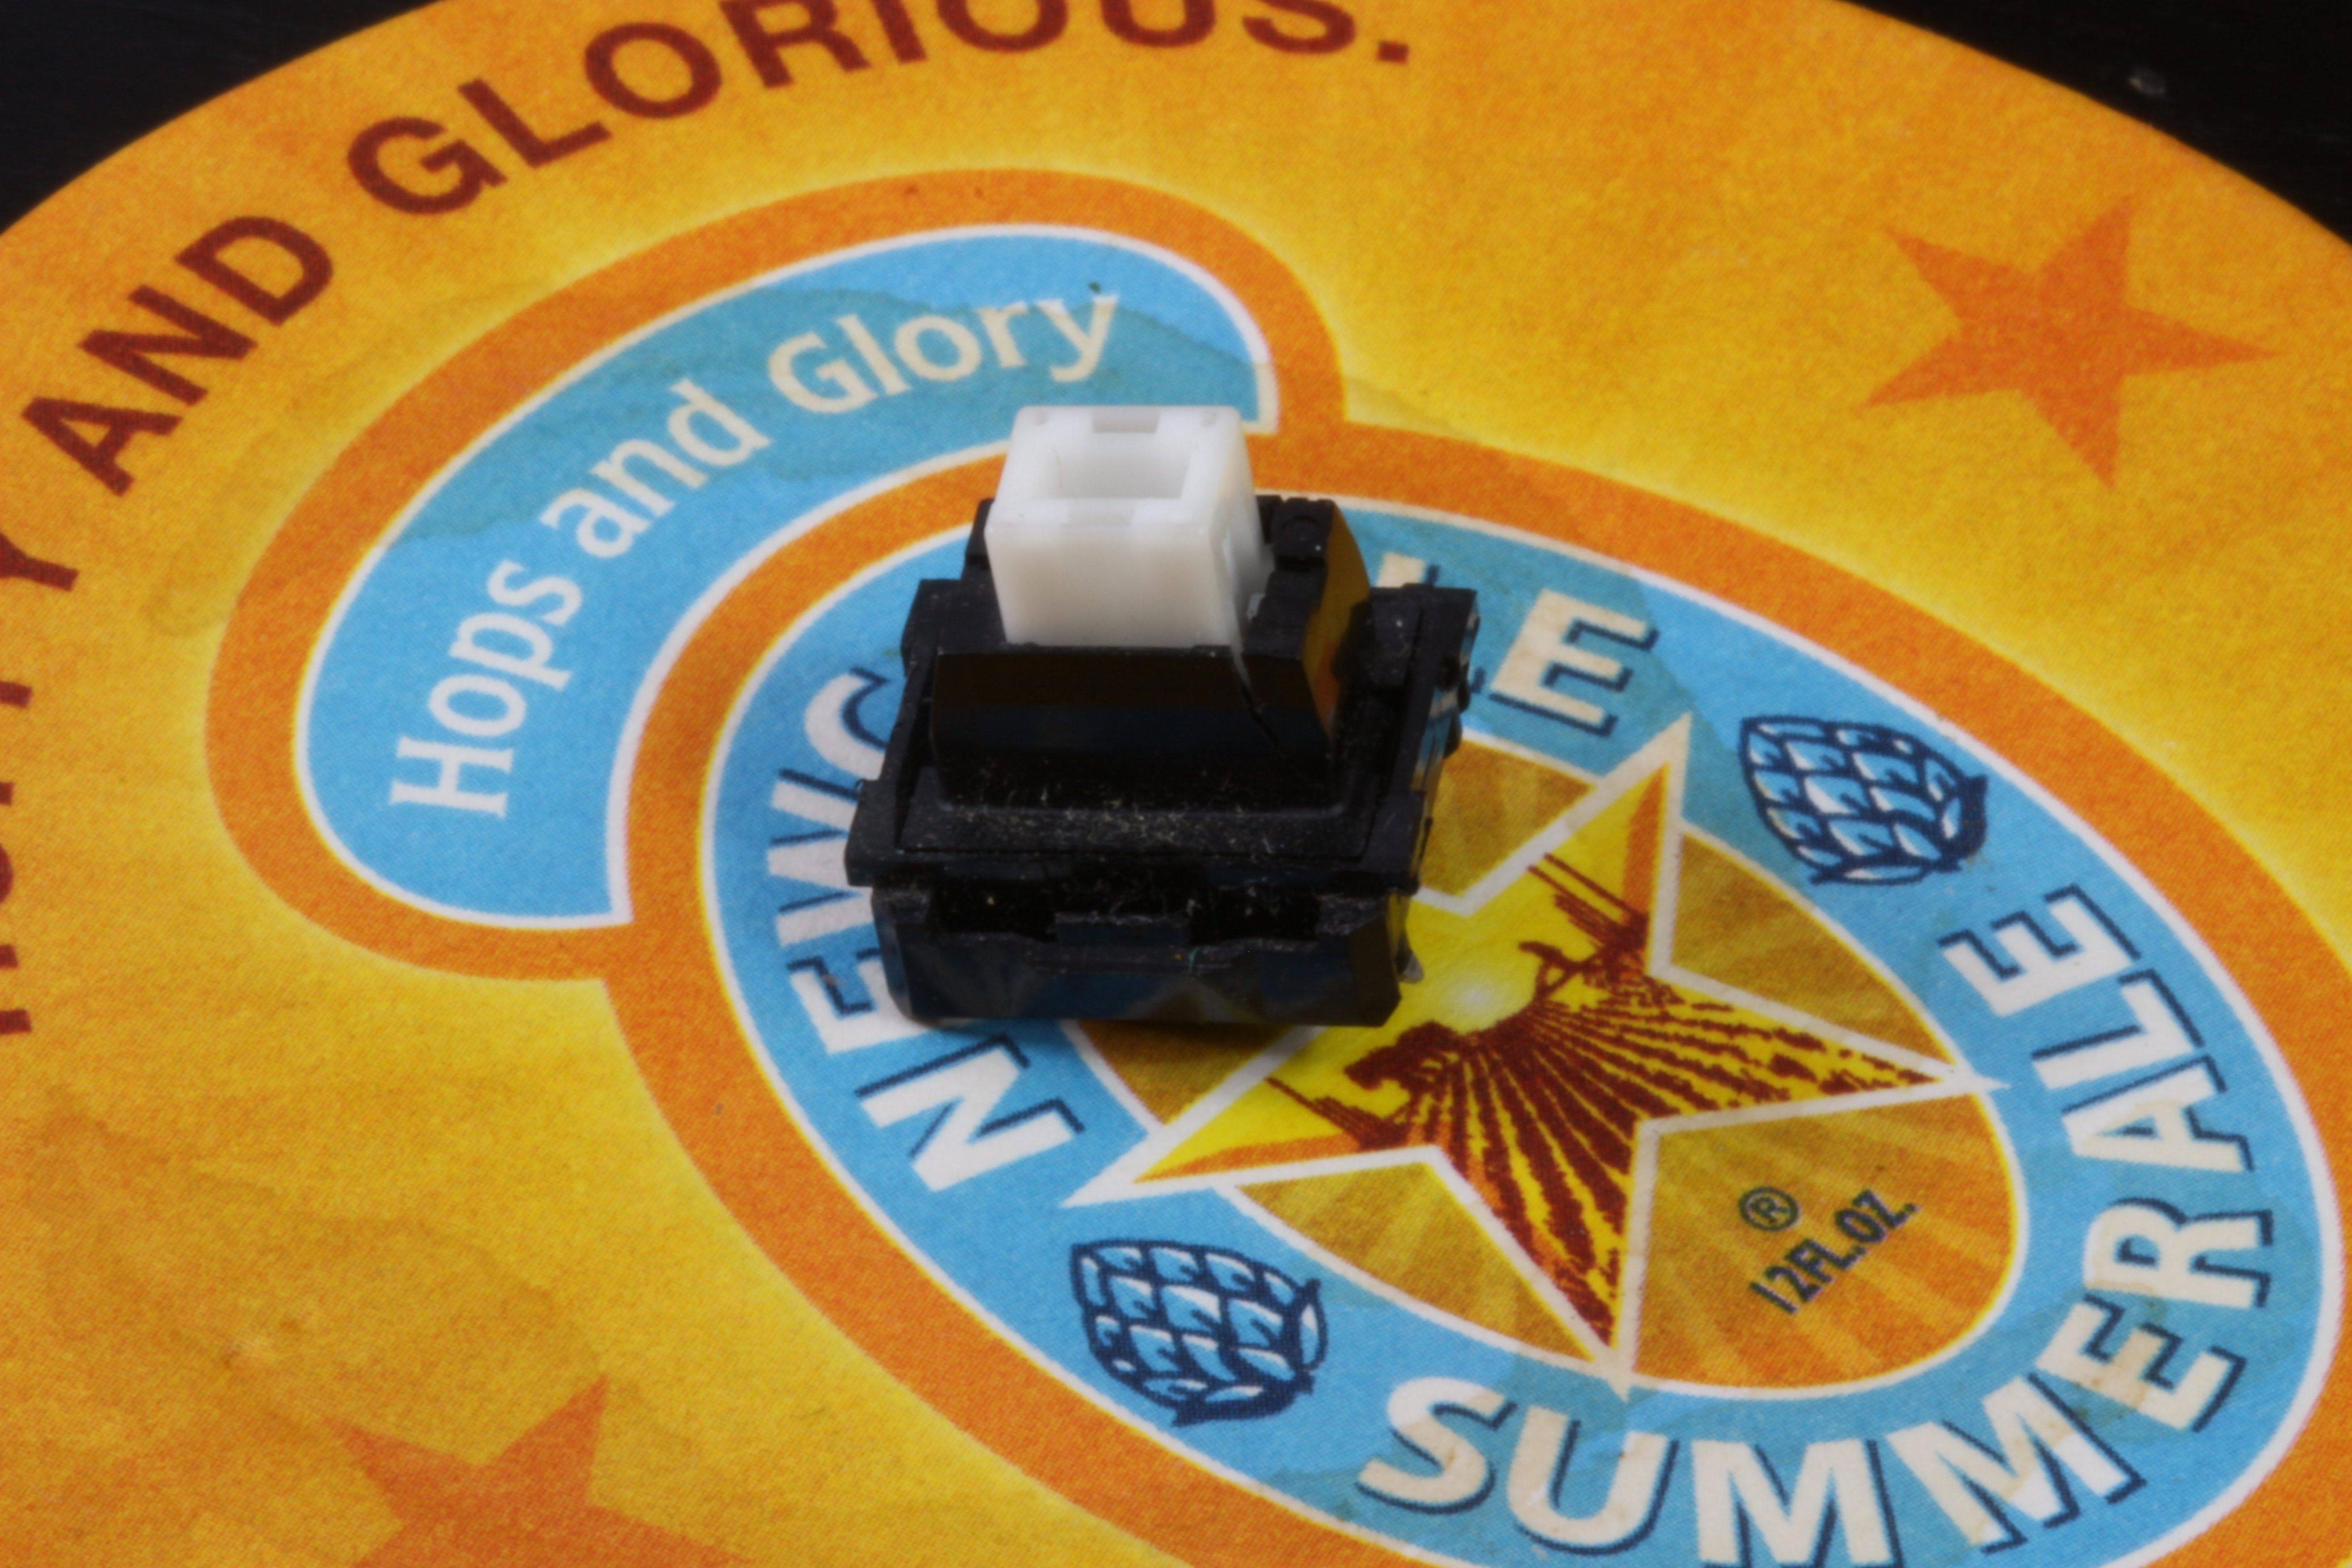
Switches
I don’t recall where exactly the switches came from, but I’m thinking that I bought them.
Final Keyboard
Photos