
First Impressions
I recently got this Zenith Z-150 off a friend online. He was unable to get it working with his Soarer’s converter so I figured I would give it a shot. If it didn’t work out, I could always just harvest the nice green Alps switches (linear and smooth).
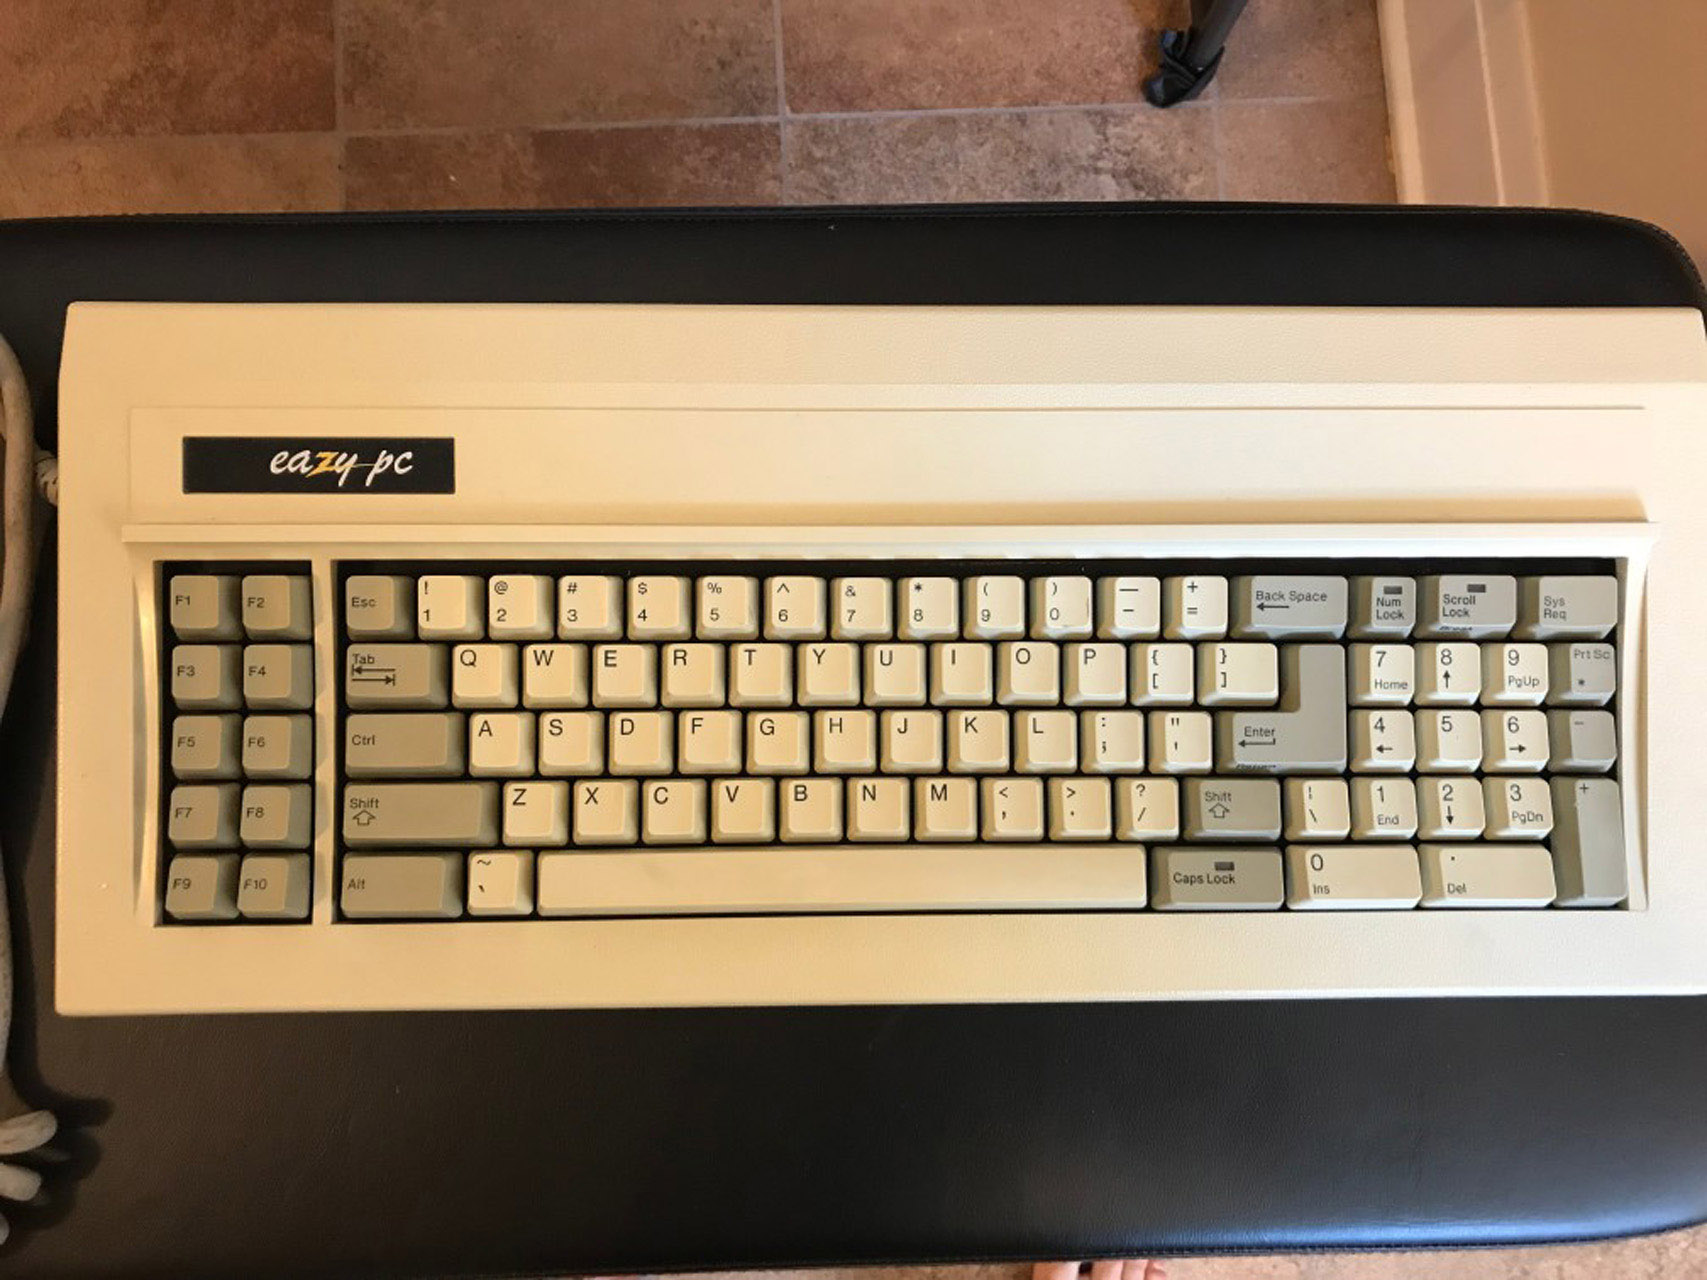
When I got the board it was in pretty good shape. The only issue that I found was that the plastic screw holder pieces (that keep the plate/PCB in place) had broken off. This is a problem that I hear is very common with this particular keyboard. The assembly of this thing is a bit strange in that the plate/PCB are secured to the top cover instead of the back.
Process
Disassembly
The keys felt a little rough on this out of the box so I knew I wanted to clean the switches. I really didn’t want to desolder the whole board so I decided to disassemble the switches in place.
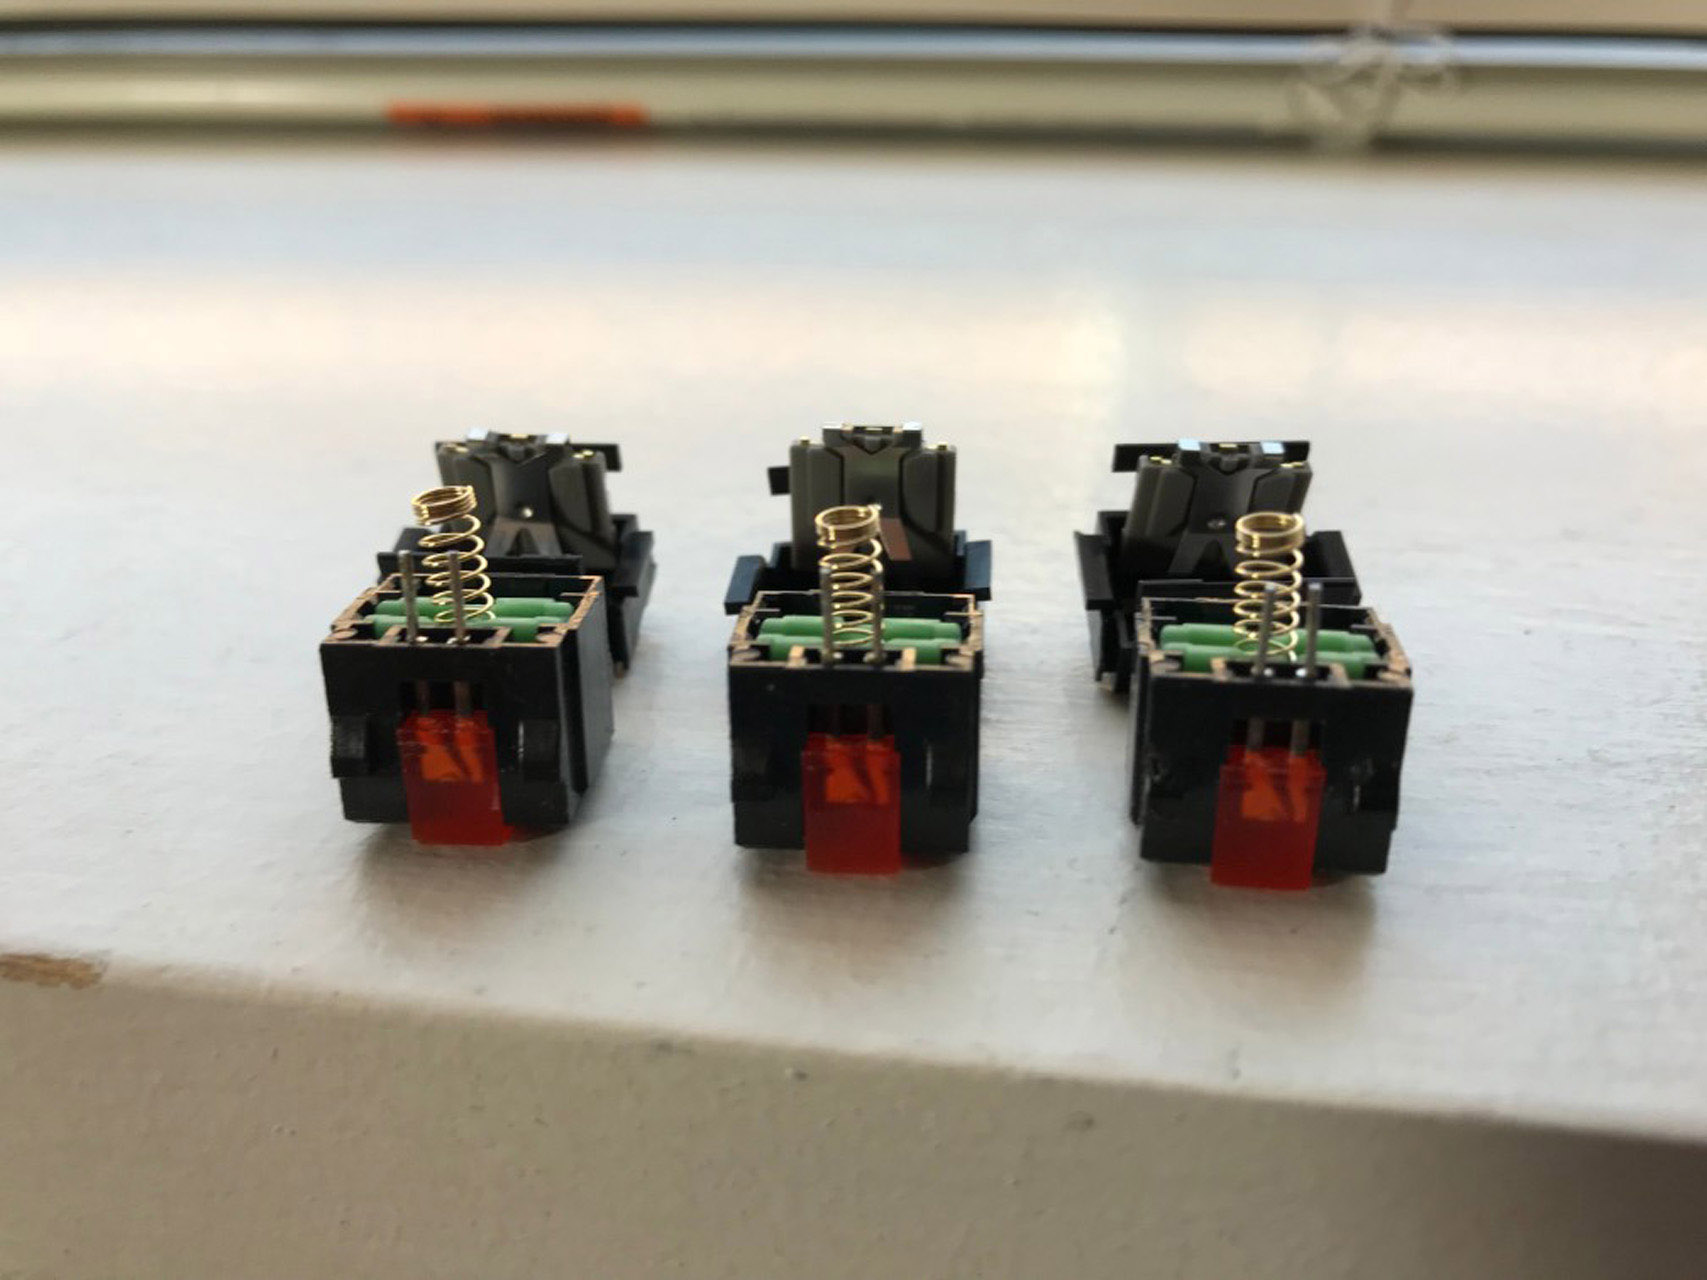
You can do this fairly easily by inserting a plastic shim on the sides where both tabs are. Then you pull up on the top housing and sort of wiggle the switch until it’s open. This gives you:
- The top housing
- The spring
- The slider
- The click leaf (no click leaf in this case)
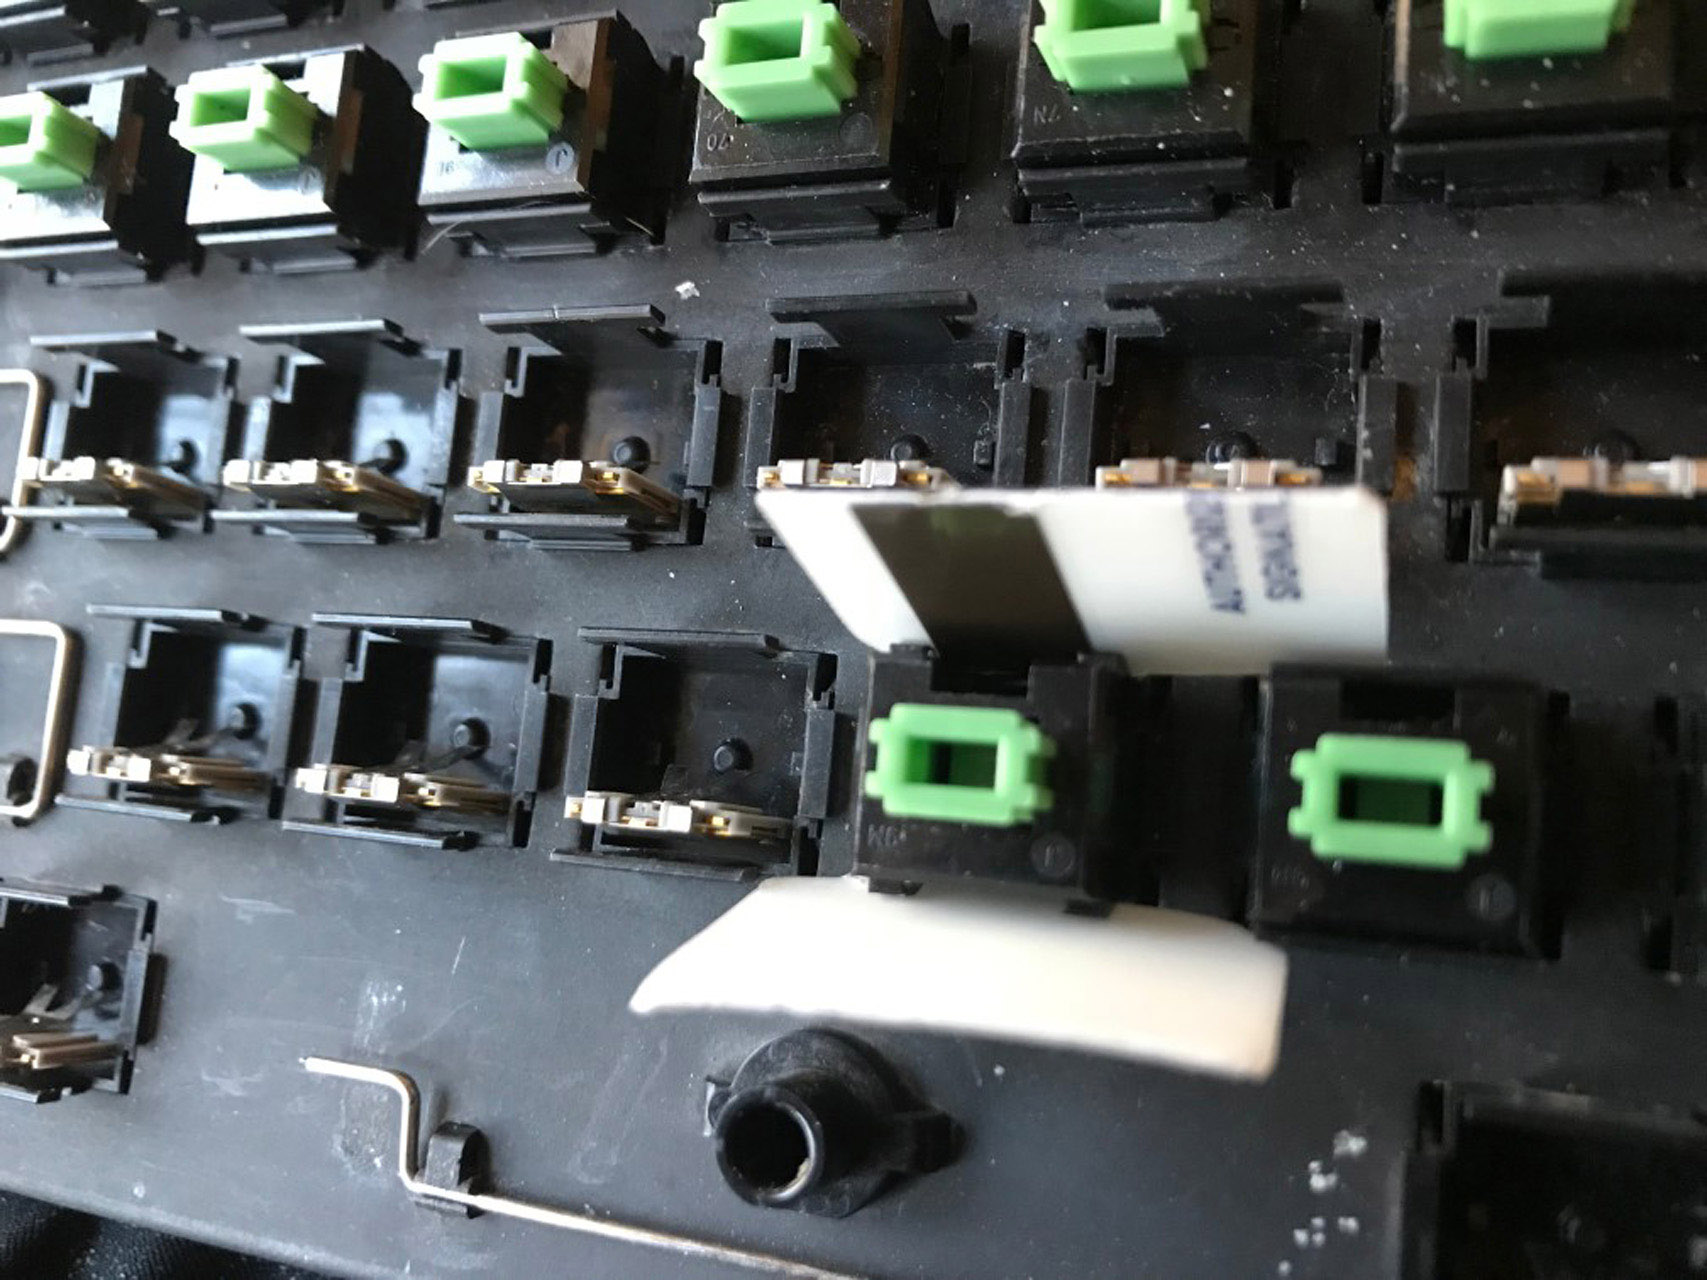
Obviously since the switch is still soldered in place you do not get the switch plate nor the bottom housing since these are still secured to the board.
The lock switches had attached LEDs so I did have to desolder these switches from the board in order to clean them.
Cleaning
I ran each of the switch pieces through the ultra-sonic cleaner to clear out all of the dust and get them feeling smooth again.
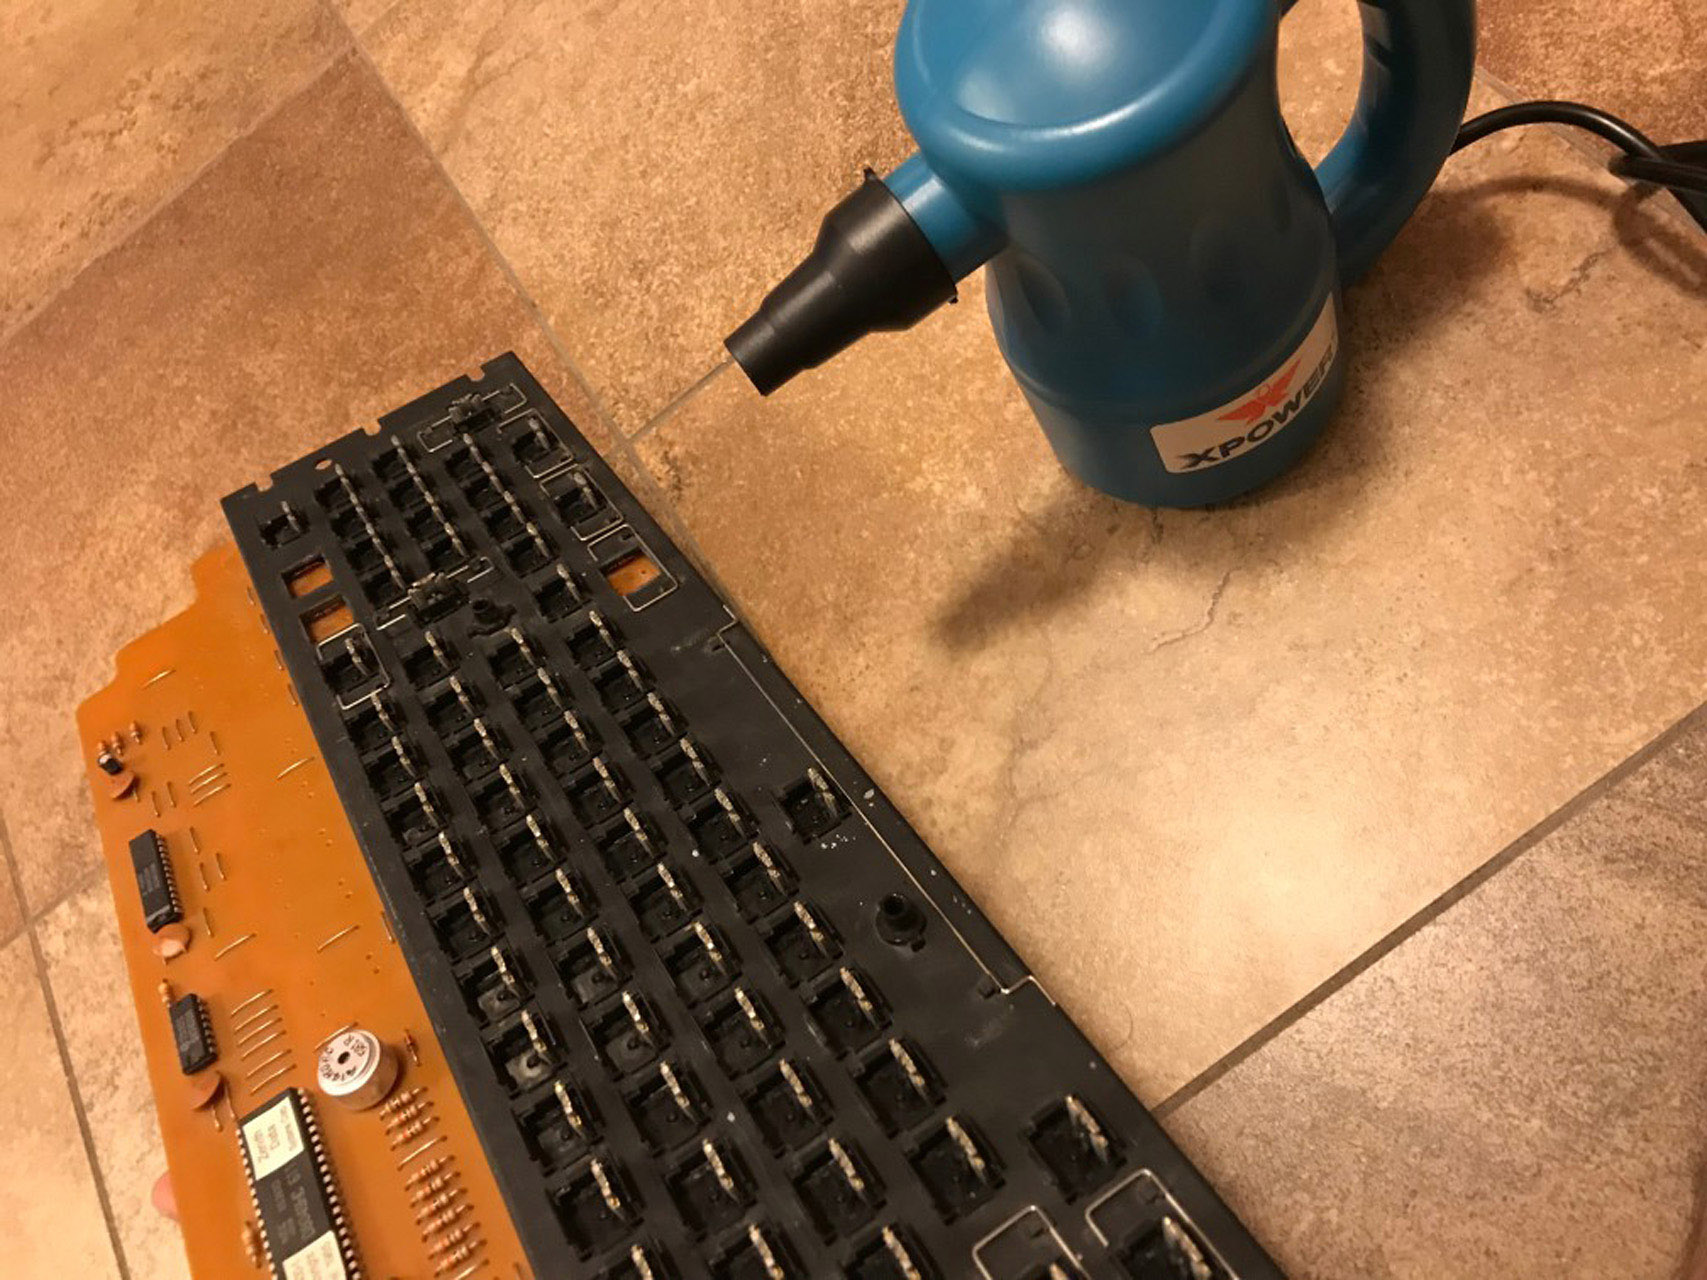
Next I moved on to the PCB/plate assembly. This was also a bit dusty but I can’t exactly put it in the ultrasonic cleaner. In the past I have tried cleaning these things using rubbing alcohol and q-tips but that is a super tedious process that isn’t really worth it. This time I stuck with just blowing the whole thing out using compressed air.
I recently picked up a new little gizmo. I have previously been buying cans of compressed air (which are not cheap and don’t last very long). I finally decided to buy an electronic “air duster thing” and I’m really happy I did. It was about $50 and works fantastically. It’s still worth it to have a regular can of air on hand for tiny stuff but the this electric one is pretty awesome.
Lubing
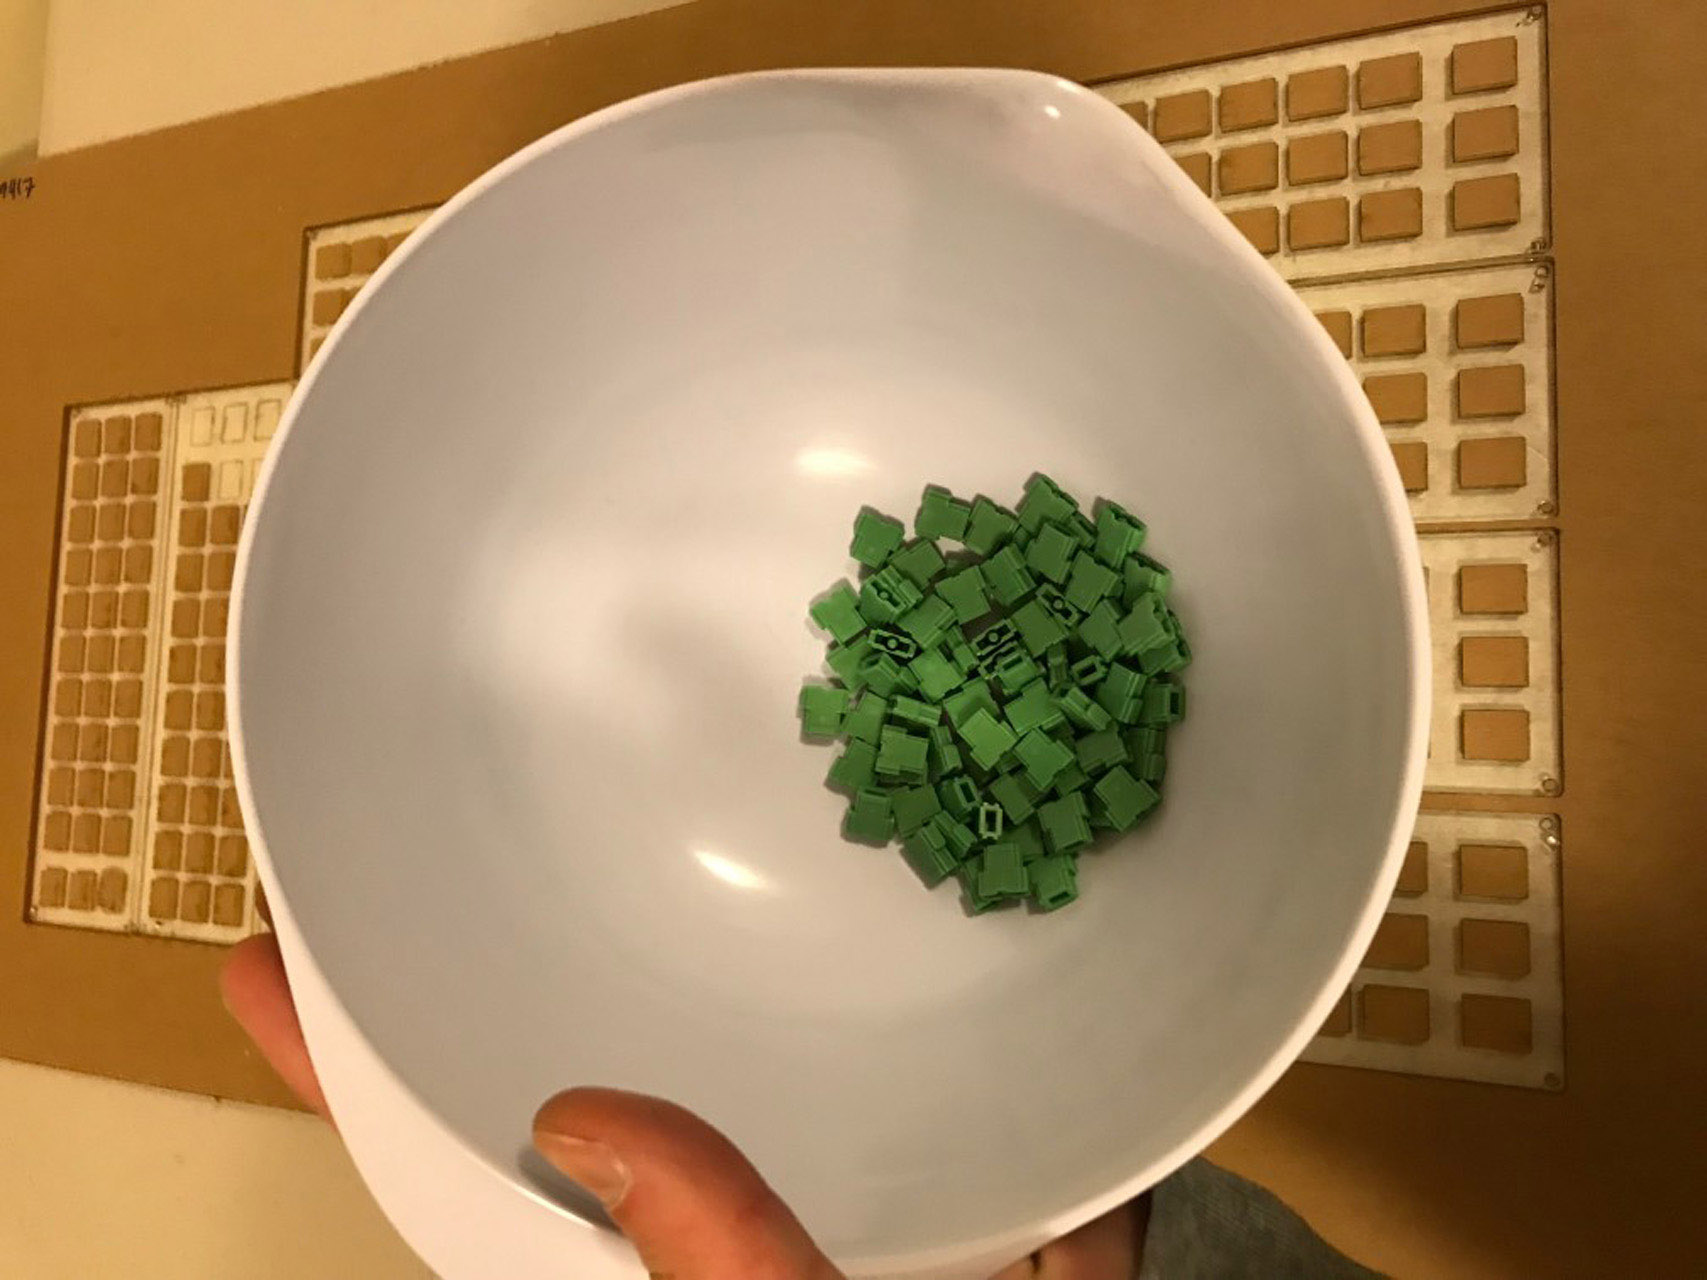
The green Alps switches are linear and are supposed to be nice and smooth. I have tried a few different lubricants on switches in the past but I do not really have experience with dry lubricants. Dry lube is recommended for Alps switches since they are very susceptible to dust. Wet lubricants attract dust and cause the switch to feel scratchy in the longrun.
I tried my hand with a product that I’ve seen recommended for this purpose in the past: DuPont Teflon Non-Stick Dry-Film Lubricant. Supposedly any dry lubricant with PTFE should do the trick. I didn’t have a very artful way of applying the spray lubricant. Basically, I just put all of the sliders in a bowl, gave them a few sprays, shook them around, and repeated that a couple of times. After I felt everything was evenly coated, I spread them out on a piece of tin foil to dry. When the lube dries it leaves a light white film. So you can kind of tell how evenly you’ve sprayed things.
Reassembly
When I was ready to put it all back together, I started by reassembling all of the switches that I had removed. The main ones went right back into place. I find it’s easiest to assemble things inside the top of the switch housing, then hold the PCB upside-down to slide it into place. Here’s a video of this process.
I lost the springs for the three lock keys so I decided to put some aftermarket springs to use. I recently picked up a whole bunch of SPRiT Alps replacement springs to make a bunch of switch testers. I used the heaviest (125cN) springs for these three lock keys in order to give them a bit of a different feel.
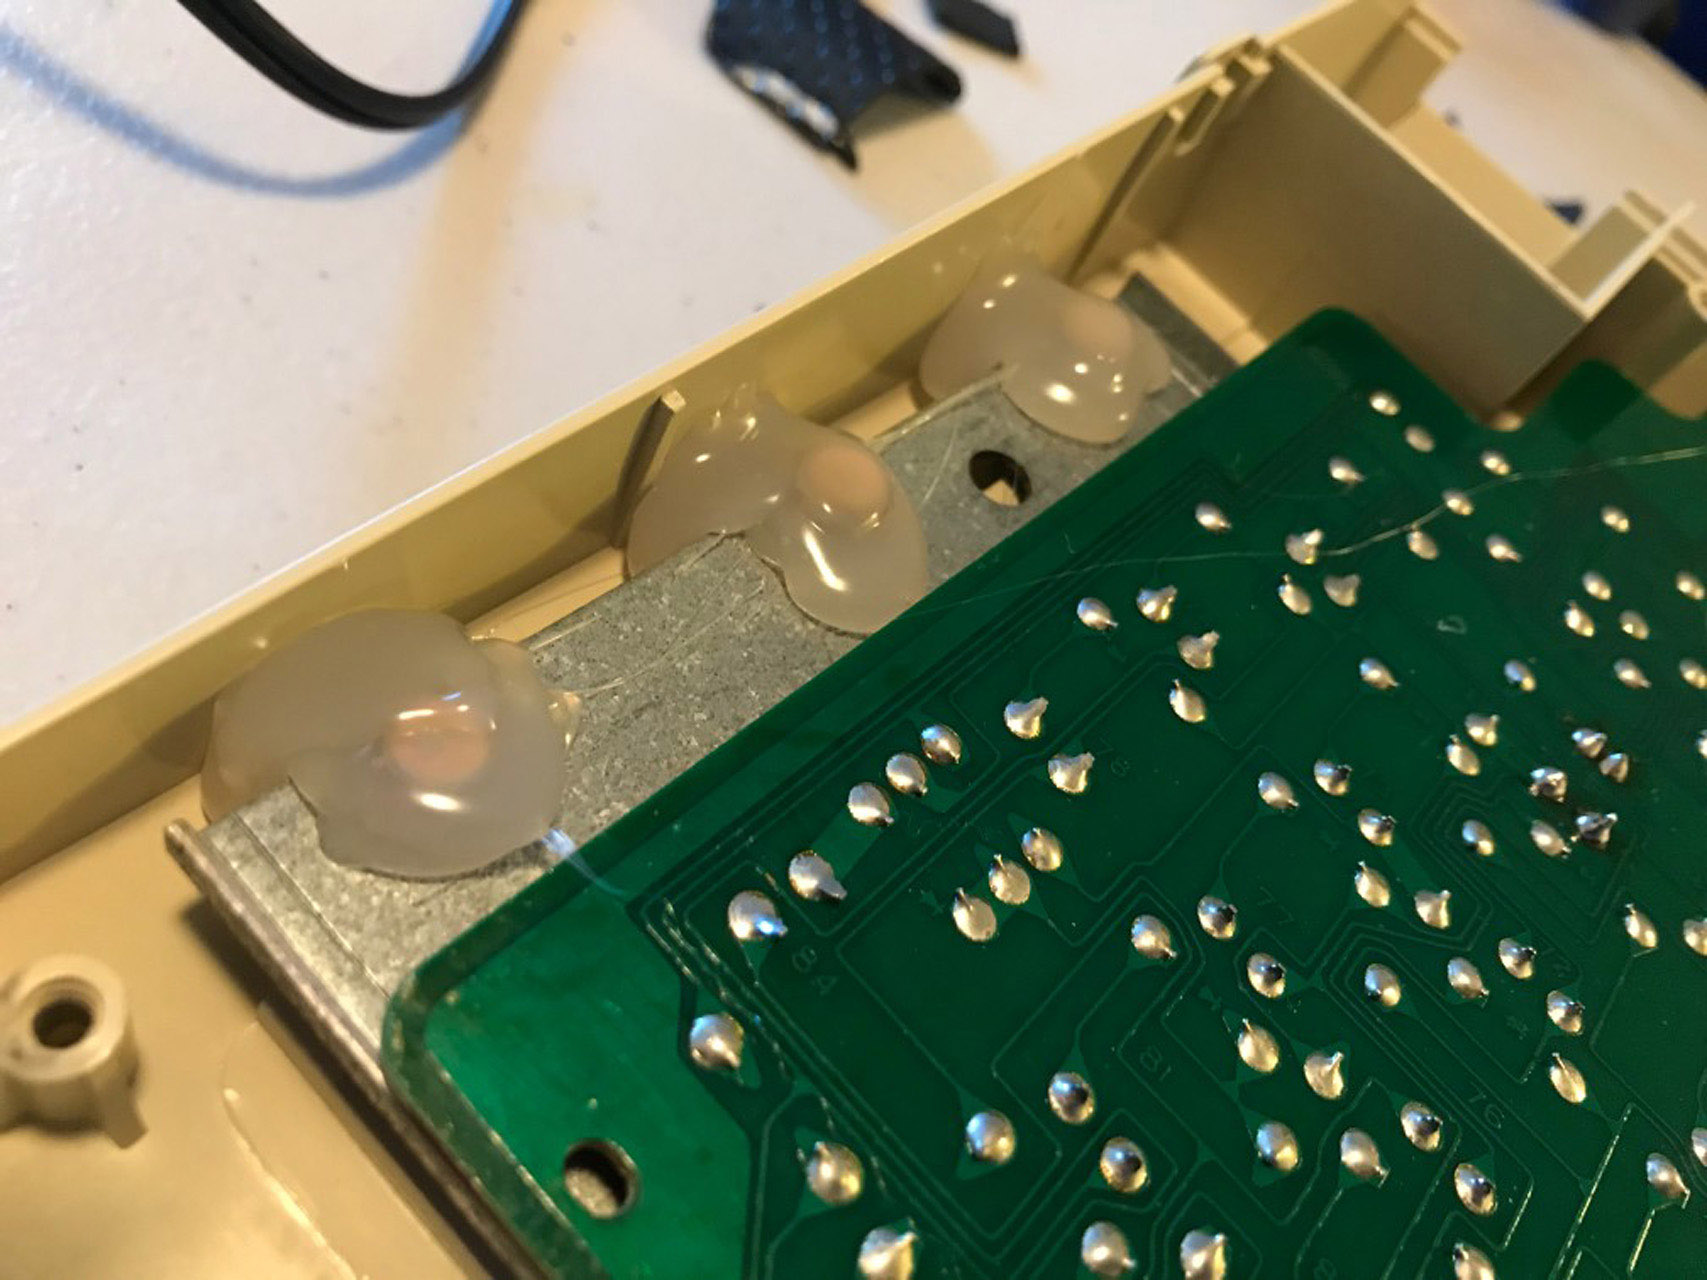
Then I tried to address the broken screw holes. I’m not an expert in plastics and barely know what I’m doing half the time so I improvised the best I could. I built up some new screw holes with hot glue and then held those screws in place with even more hot glue. I like hot glue because it works fairly well and it’s not permanent.
Finally I used some shelf liner foam stuff on the bottom of the case to try to reduce sound and vibration. It’s a really thin sheet of foam and I’m holding it in place with more hot glue.
Final Thoughts
I’m not really crazy about this keyboard. I like all of the individual pieces; I like green Alps, I like sturdy cases, I like lots of metal. But for some reason it just doesn’t come together in an awesome way.
It also has a horrible clicker that I don’t know how to turn off. Man this thing is annoying!