Introduction
This project began when I came across a set of vintage Alps keycaps from a Zenith Supersport 286 laptop on /r/mechmarket. By the time I saw the post, the set had unfortunately been picked up by someone else. Luckily, the buyer said he had a similar set in better condition but the set was missing a couple of keys.
Process
Keycaps
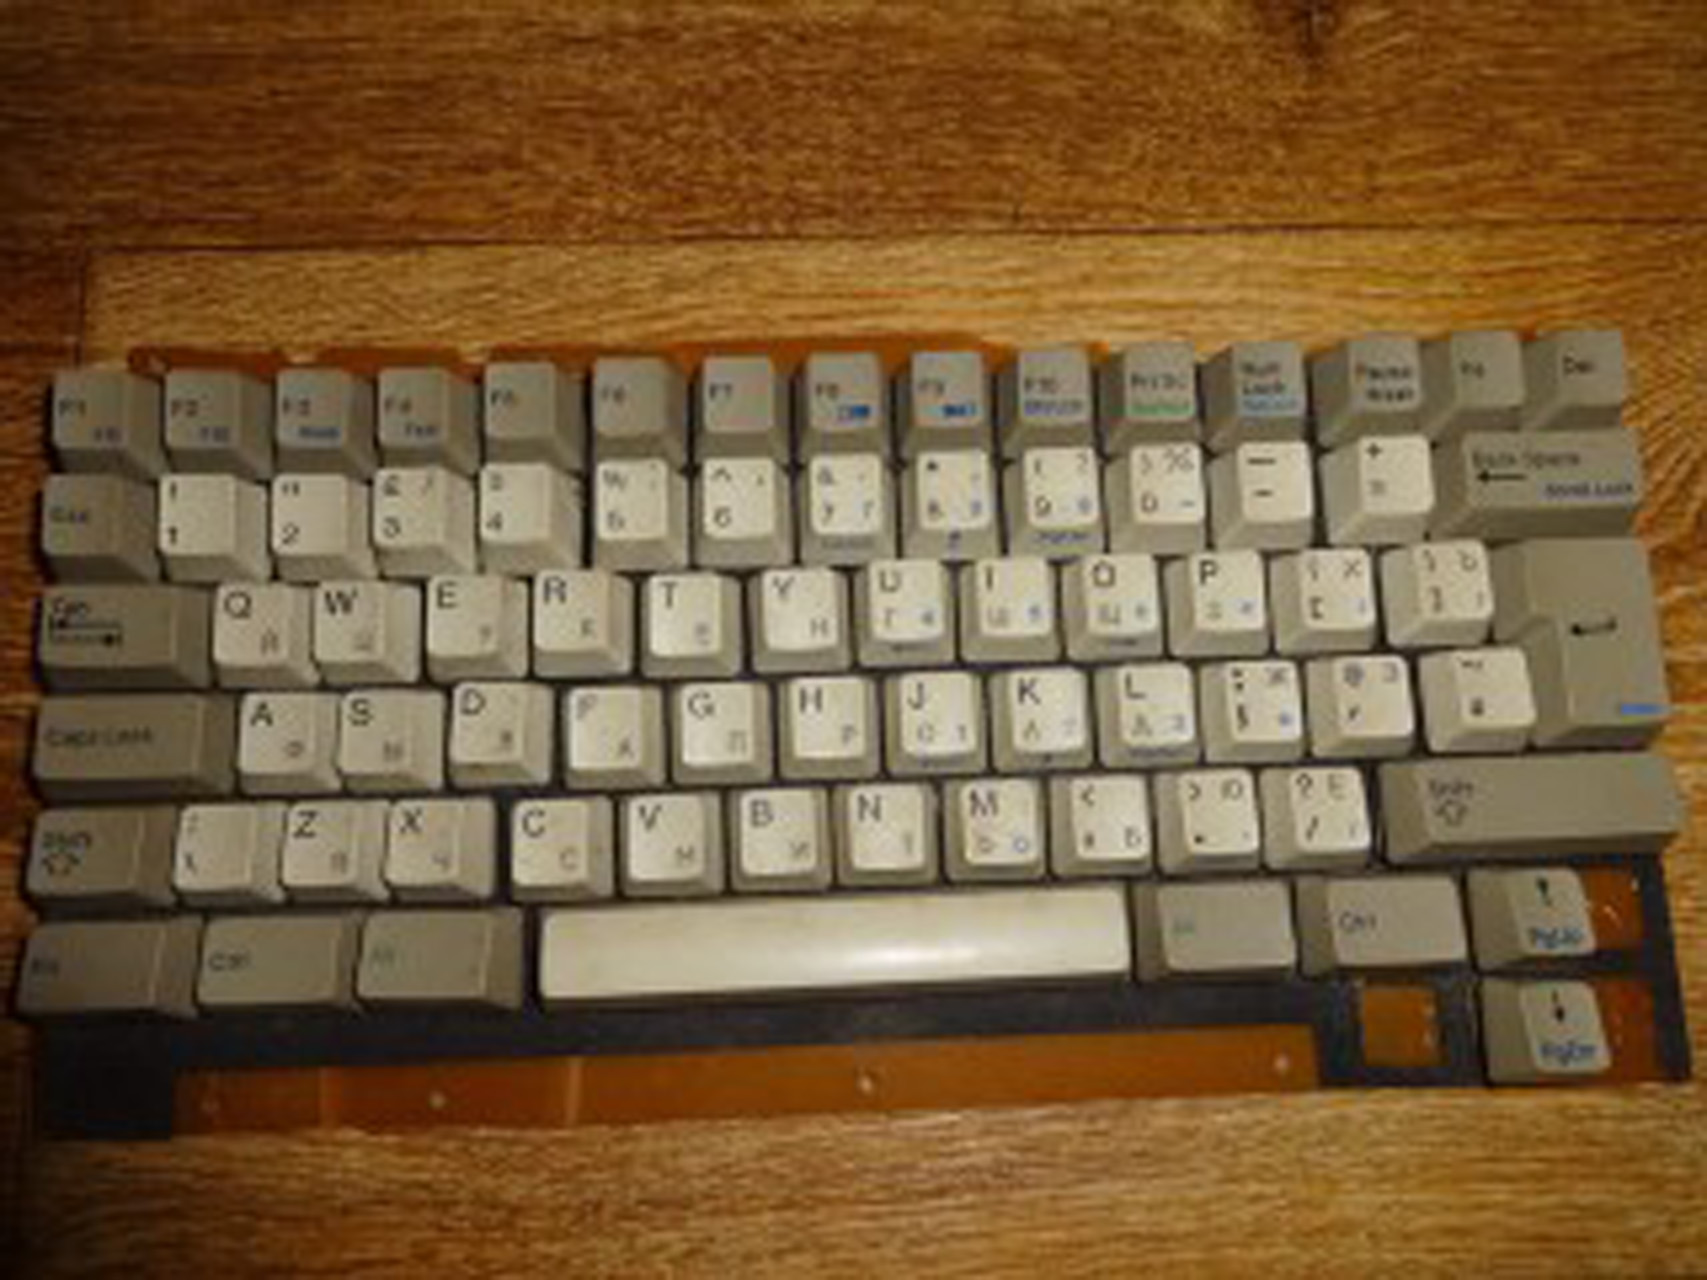
When the keycaps arrived in the mail I immediately fell in love with them. They were high quality doubleshot ABS with really cool pad-printed Russian sublegends. Seeing that this set came from an old laptop, they were of course in a non-standard layout. I really liked the isolated position of the arrow cluster and had it set in my mind to reproduce that (an idea I eventually abandoned).
I knew that I’d be doing a custom build with them but didn’t have any immediate ideas. I cleaned the keycaps up and stuck them in my growing box of random keyboard parts.

Switches
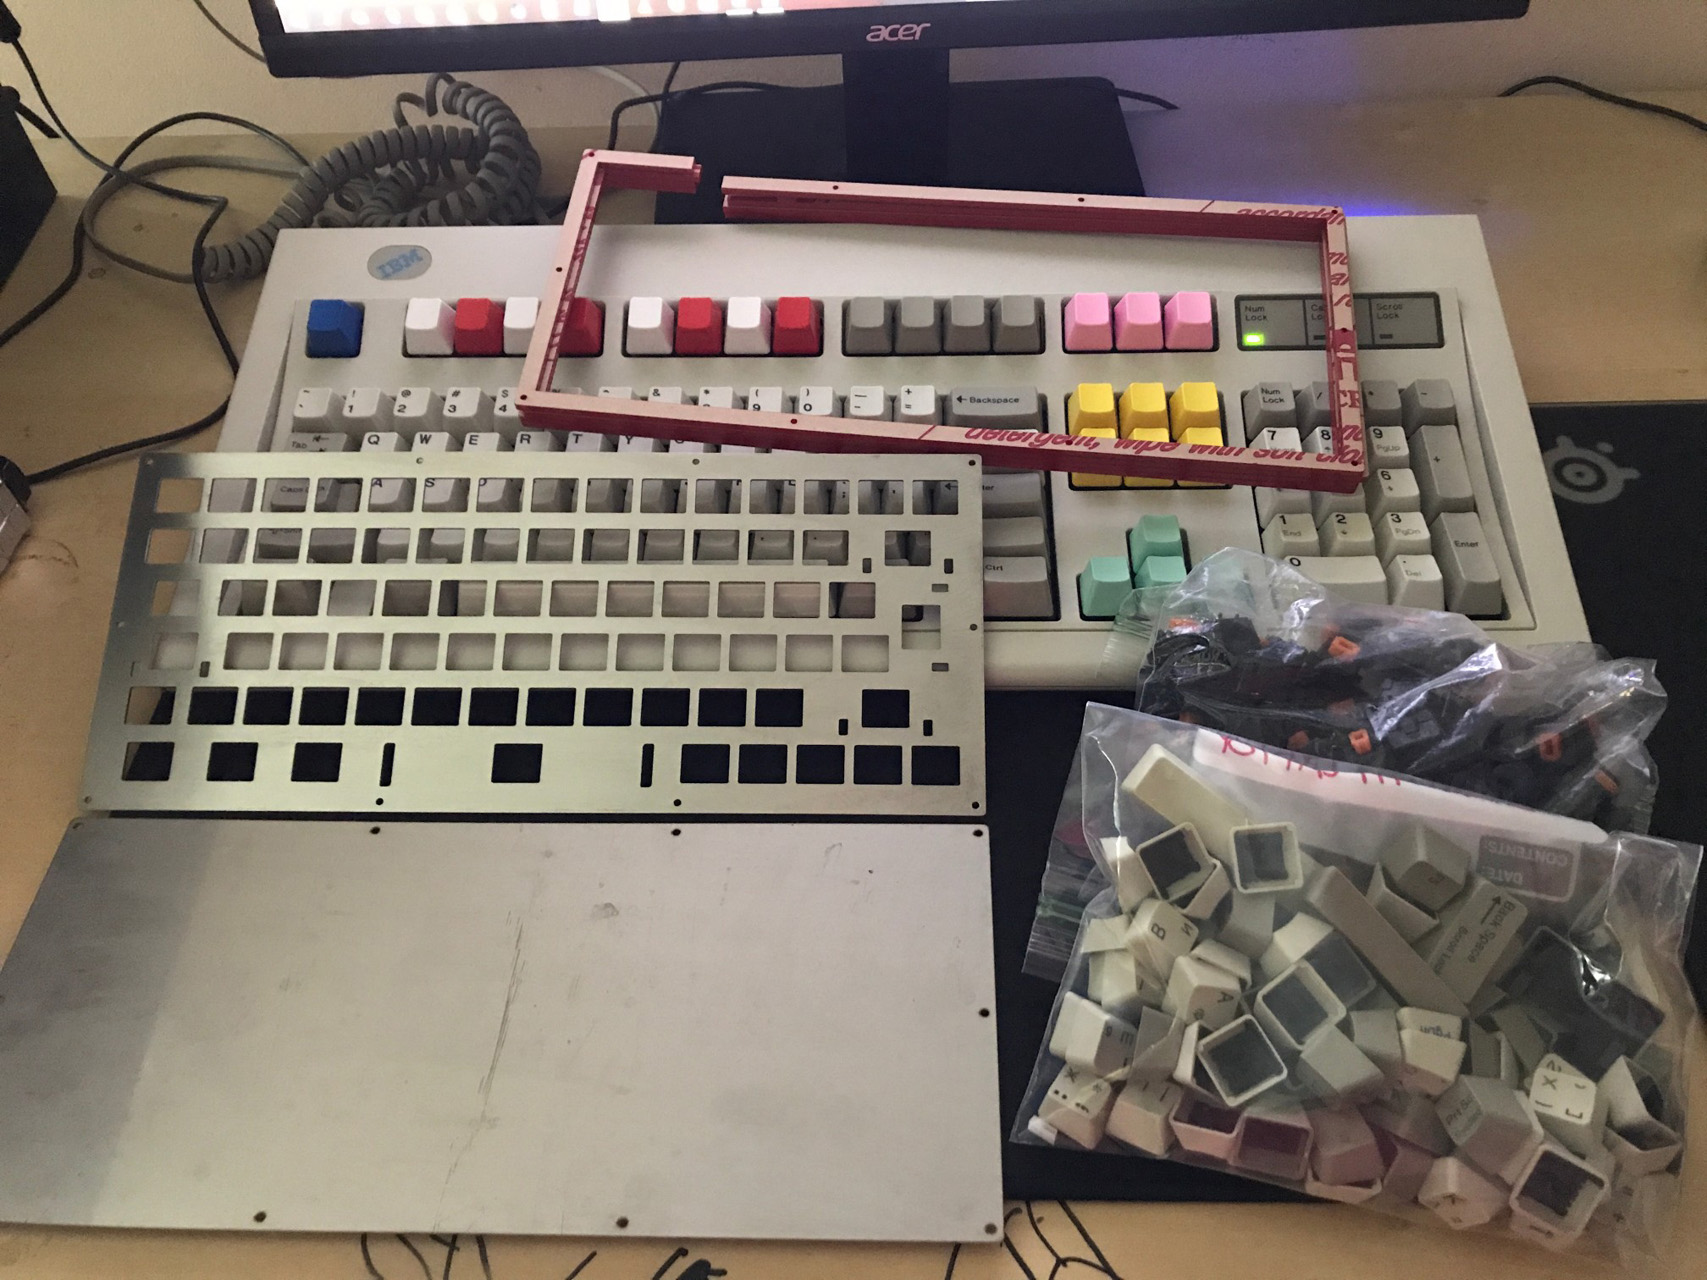
Over some time I came across a really good deal on an old Apple Extended Keyboard. It was just about as dirty as you can imagine. For this reason I figured it would make a good donor board.
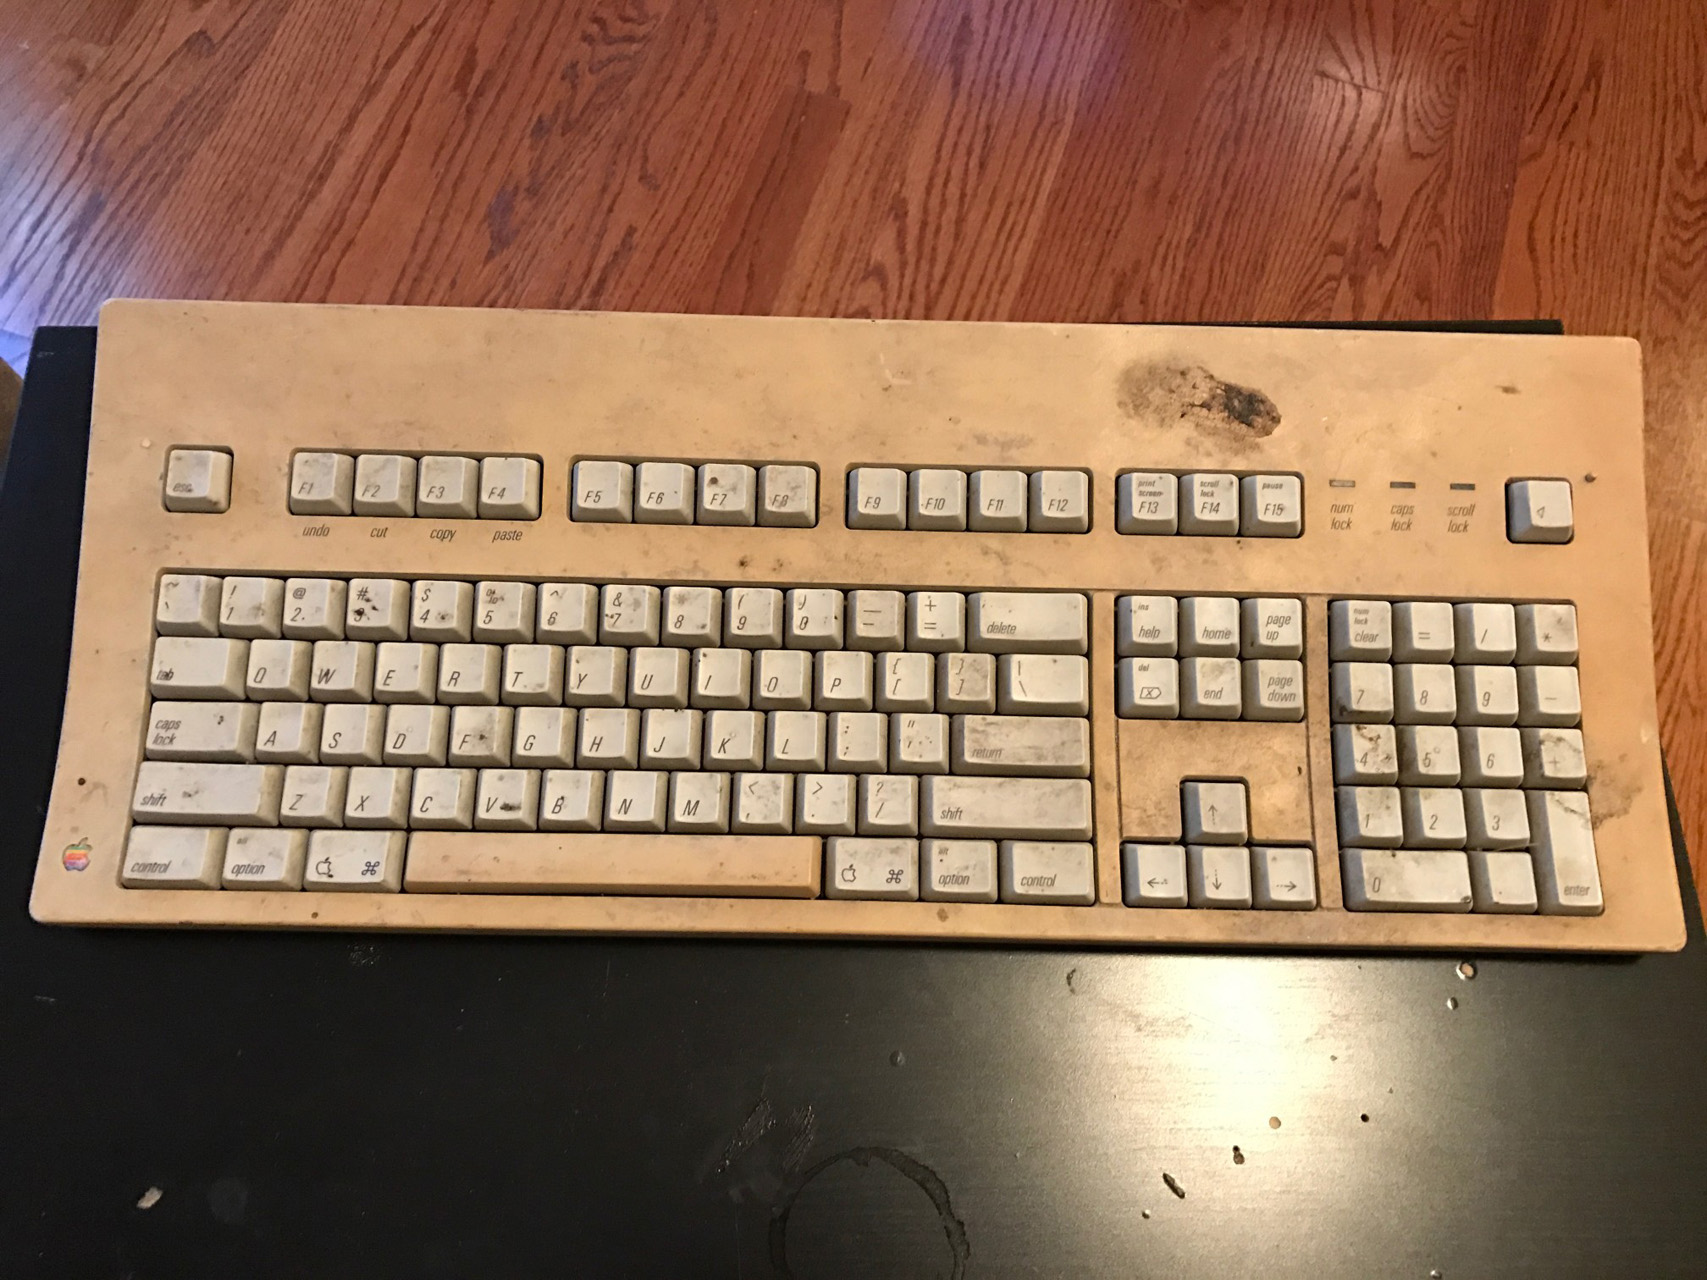
The AEK had Alps SKCM orange switches but they were very dusty and felt quite scratchy to type on. I had read about people having success cleaning Alps switches using an ultrasonic jewelry cleaner.
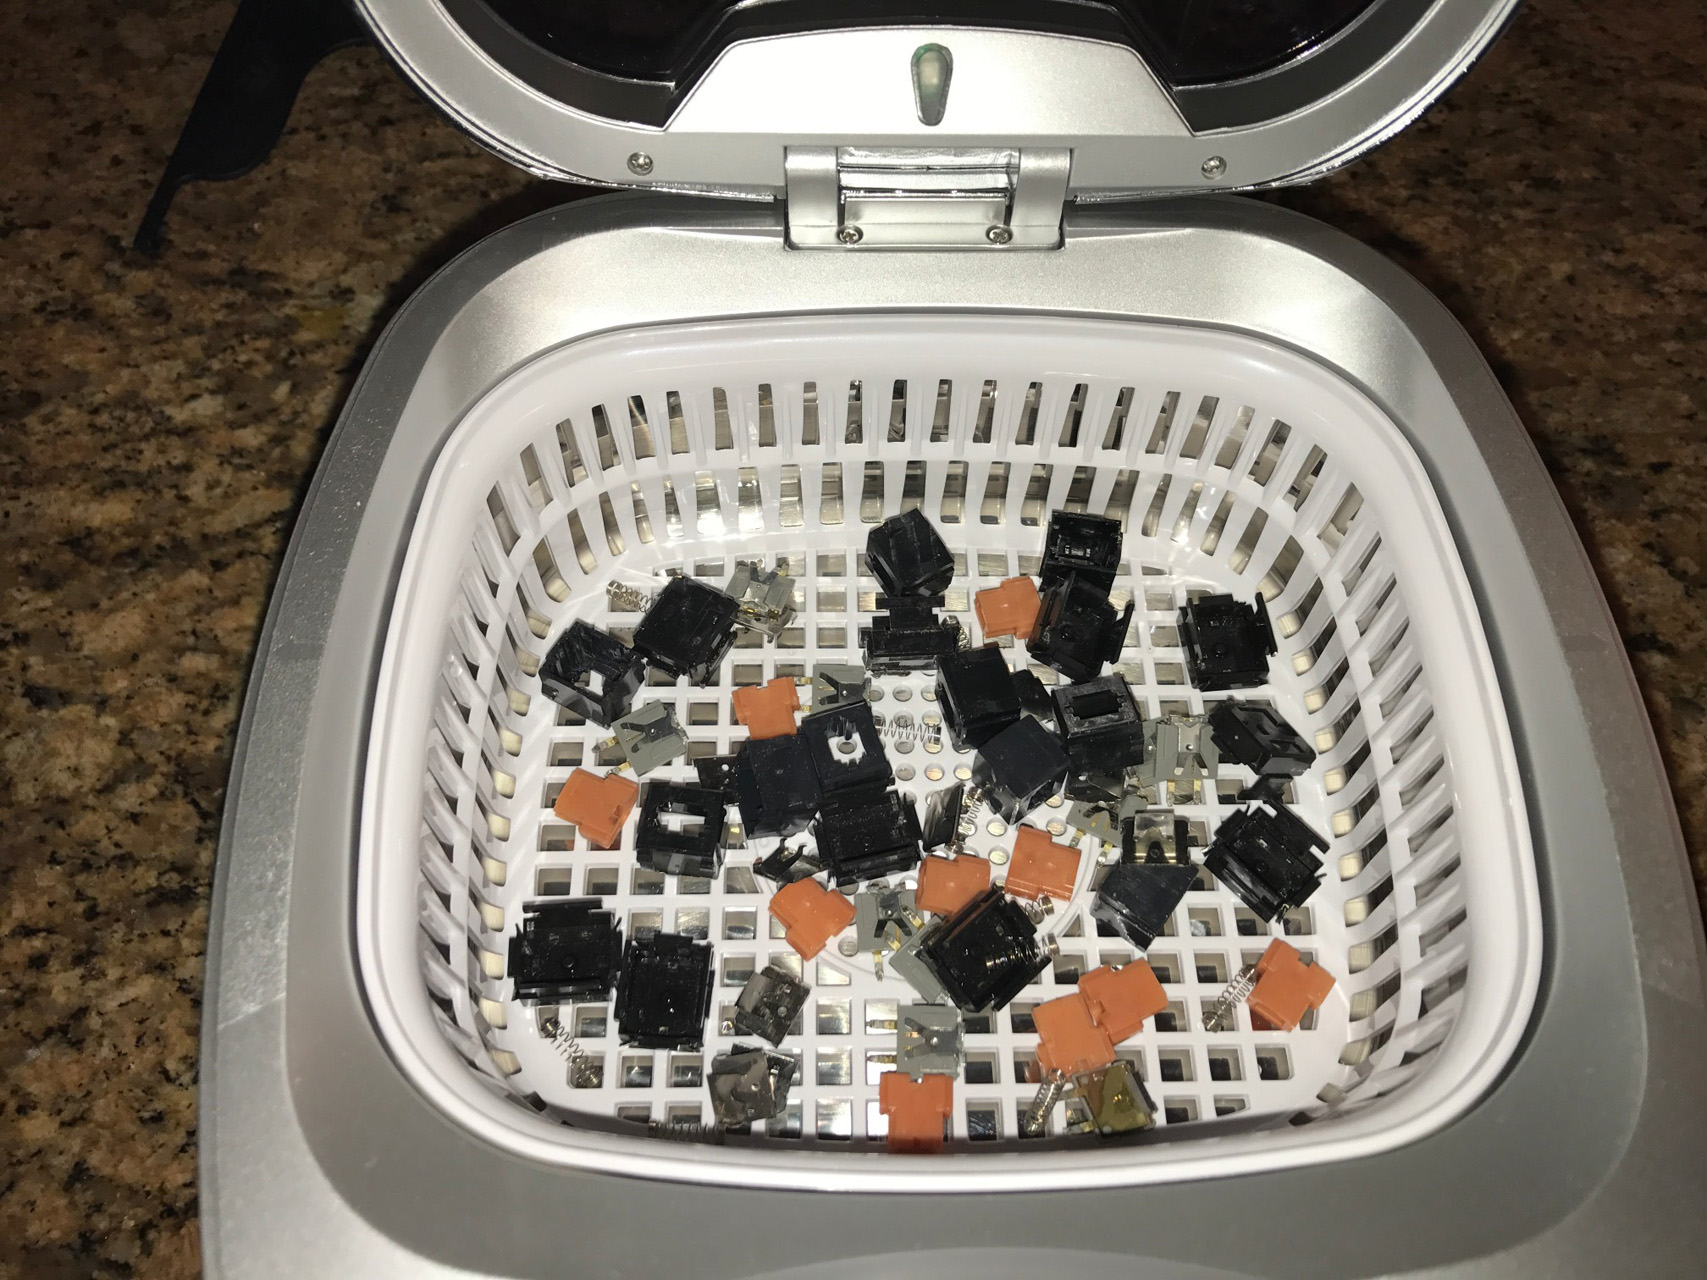
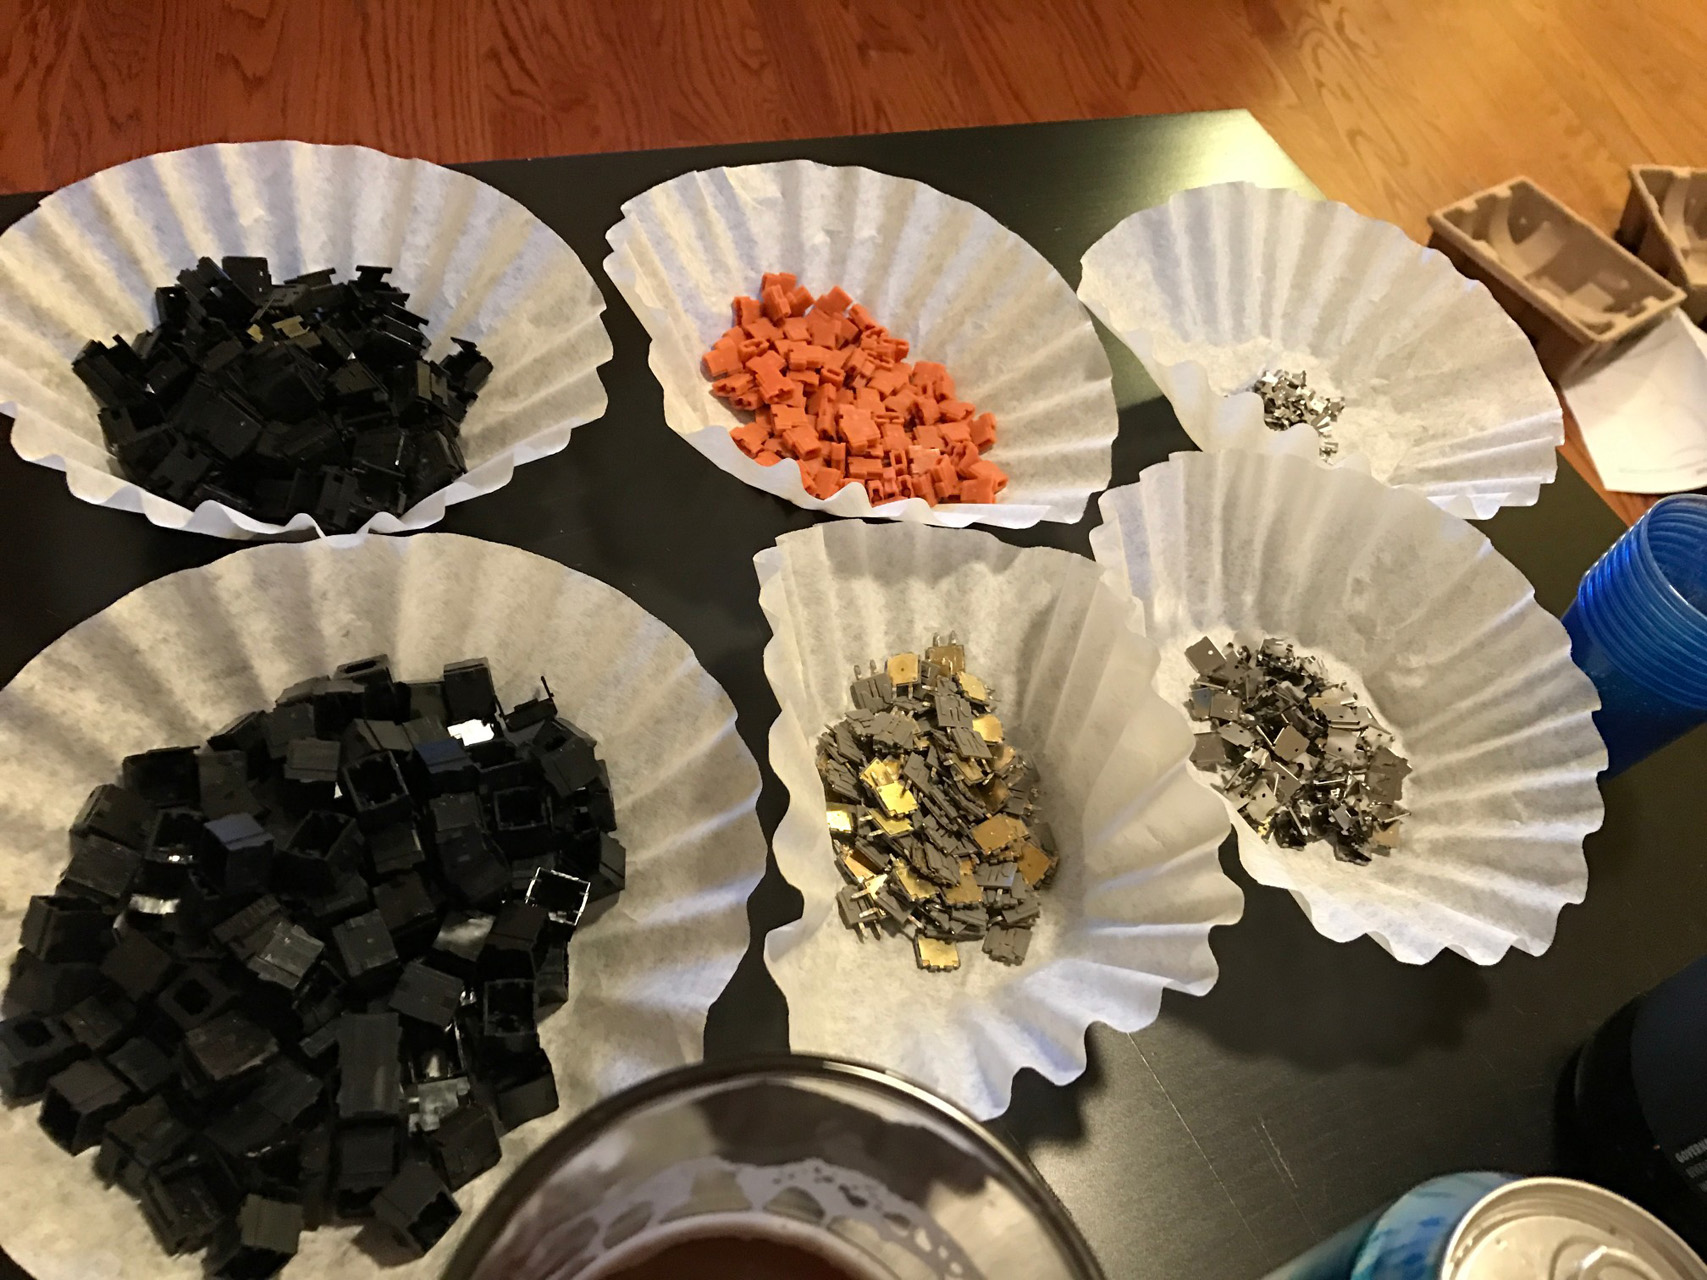
So that’s how I ended up buying a jewlery cleaner. Honestly, it’s one of my favorite tools now and I clean just about everything in it (well, anything that fits). I slowly desolered all of the switches to the best of my ability.
Once I got them all off of the board I went to work disassembling each one into its individual components. I cleaned each set of switch components in the jewelry cleaner with water and denture tabs (my second favorite tool). After they were clean I reassembled each one. The whole process took about a day but I’m sure others could do it much faster.
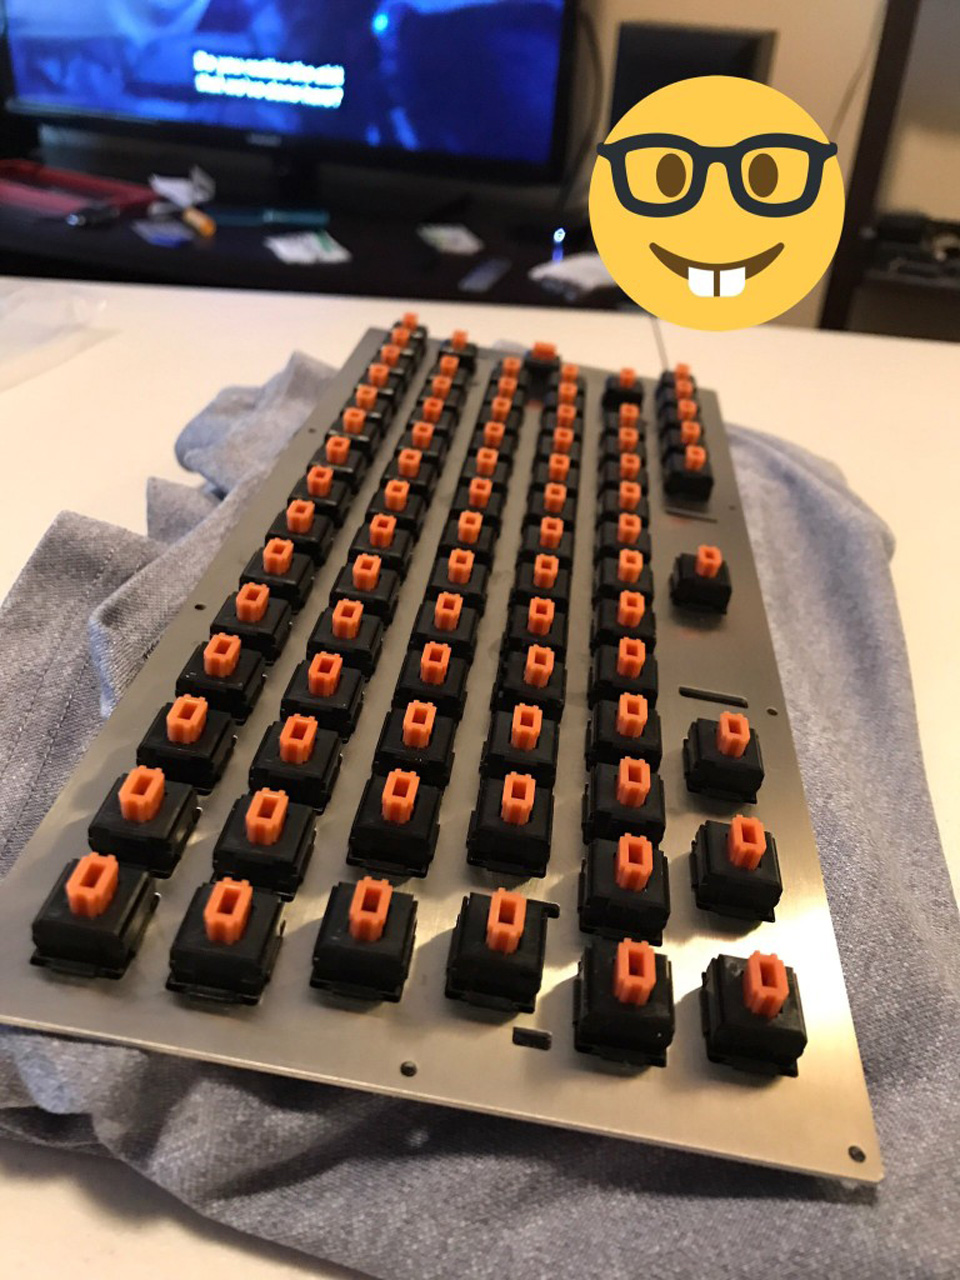
Plate
I love the feel of keyboards with steel mounting plates. It’s just such a solid typing experience. I’d had luck in the past ordering from Lasergist so I’d be ordering from them again.
With the help of keyboard-layout-editor.com I reproduced the layout online. Then I used the equally awesome tool swillkb to translate the layout into the appropriate cuts for an Alps plate. I can’t stress how awesome these two tools are!
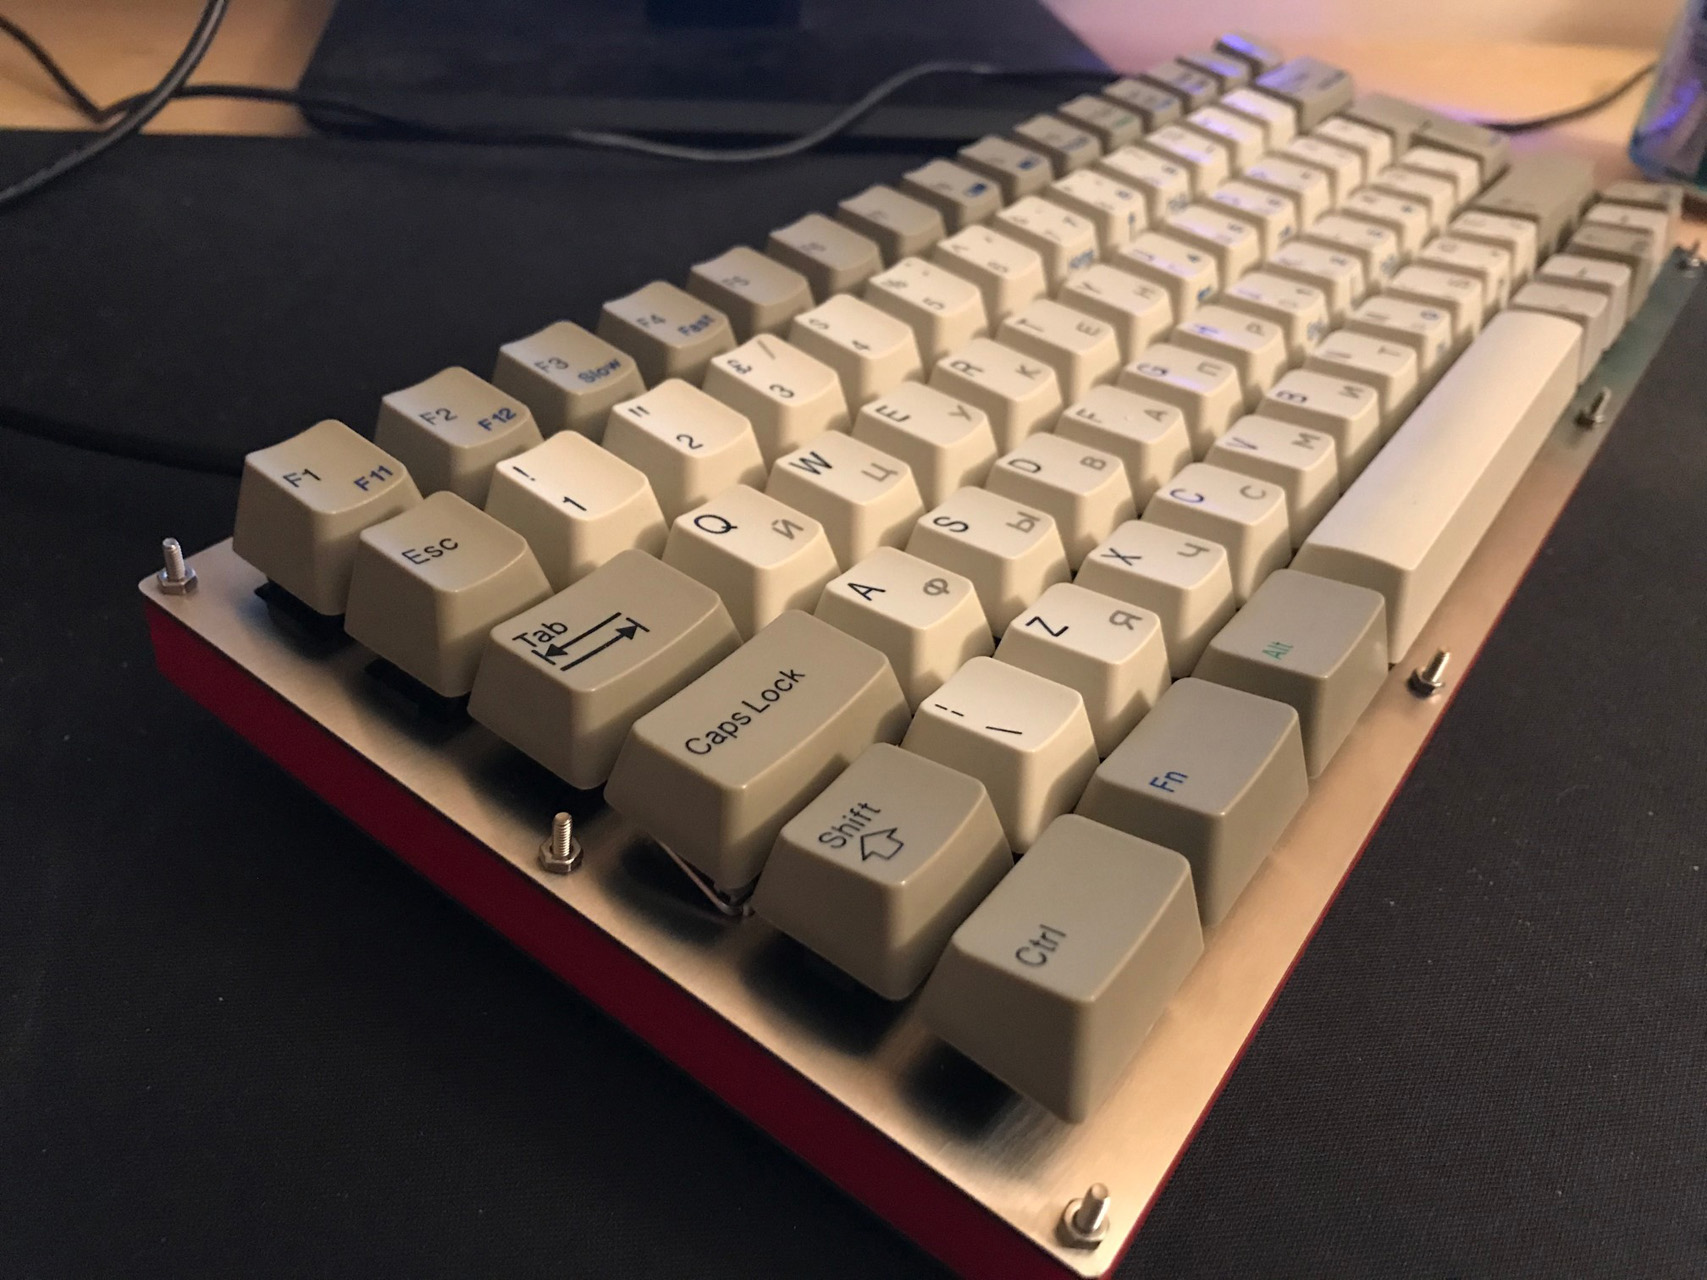
I’d decided that I also wanted a steel backplate for this special board and luckily the prices at Lasergist weren’t crazy so it was not much more expensive. I’m glad I did this because this keyboard has such a nice, solid feel to it as a result.
Case
The swillkb tool outputs gists of each layer that you would need for a sandwich-style keyboard case. I decided on red acrylic for the middle layers and ordered these from Ponoko. Once these pieces arrived in the mail, I pretty much had everything I needed to get started with the build.
Wiring
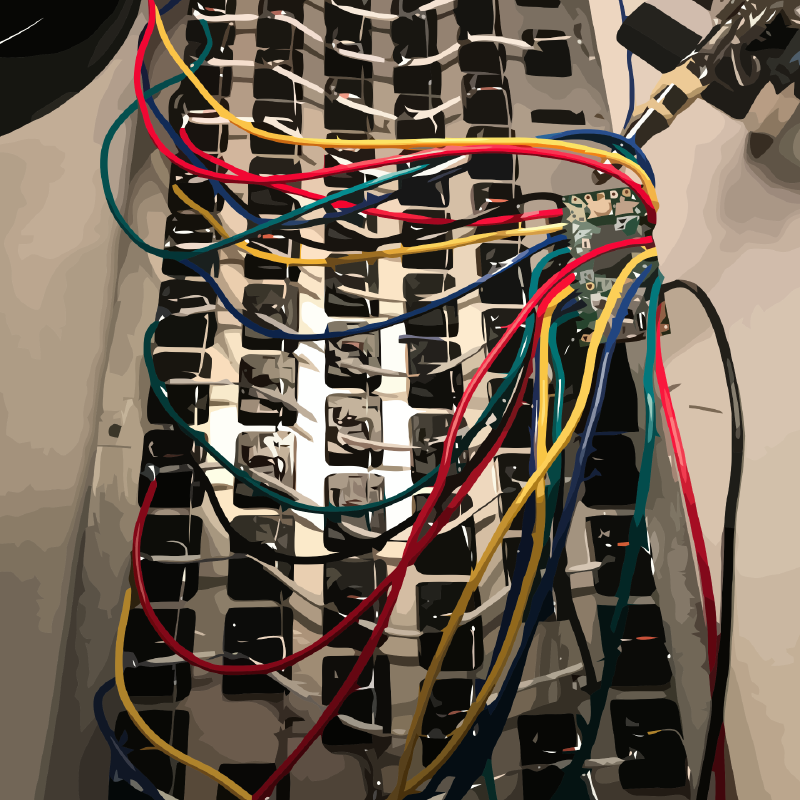
This was my second handwired board and I’m admitedly not the best at it. I wired up all of the rows and columns to the Teensy 2.0 and crammed the whole thing into my custom case. I was running short on room so I sacraficed having a nice USB port cutout and instead opted for this weird rat tail hanging out the back. If I’d had more patience, it’d definitely been worth it to do a nicer job on this part.
Final Thoughts
I’m really happy with how the end product turned out. The orange Alps feel super nice and the layout is actually very practical and modern (well, for a laptop). The keys didn’t come with stabilizers and the spacebar was a very non-standard 5.5 units so I ended up cutting/bending a larger one to fit. As a result, the spacebar is a little bit squeeky but I probably only notice this because I’m aware of the hack.
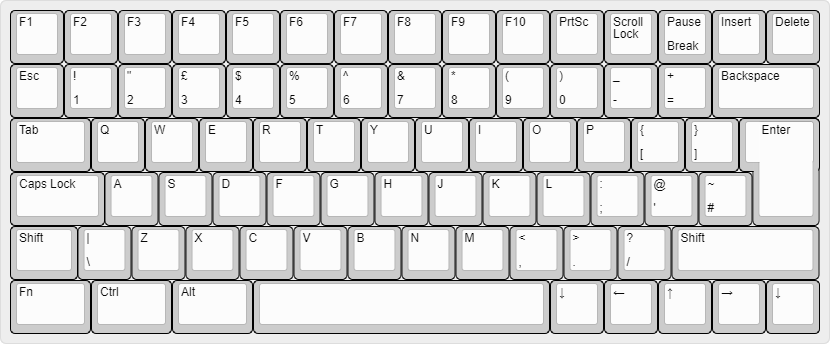
Like I mentioned earlier, I abandoned the cool arrow cluster and instead opted for this style layout:
[PgDown][PgUp][←][↓][→]
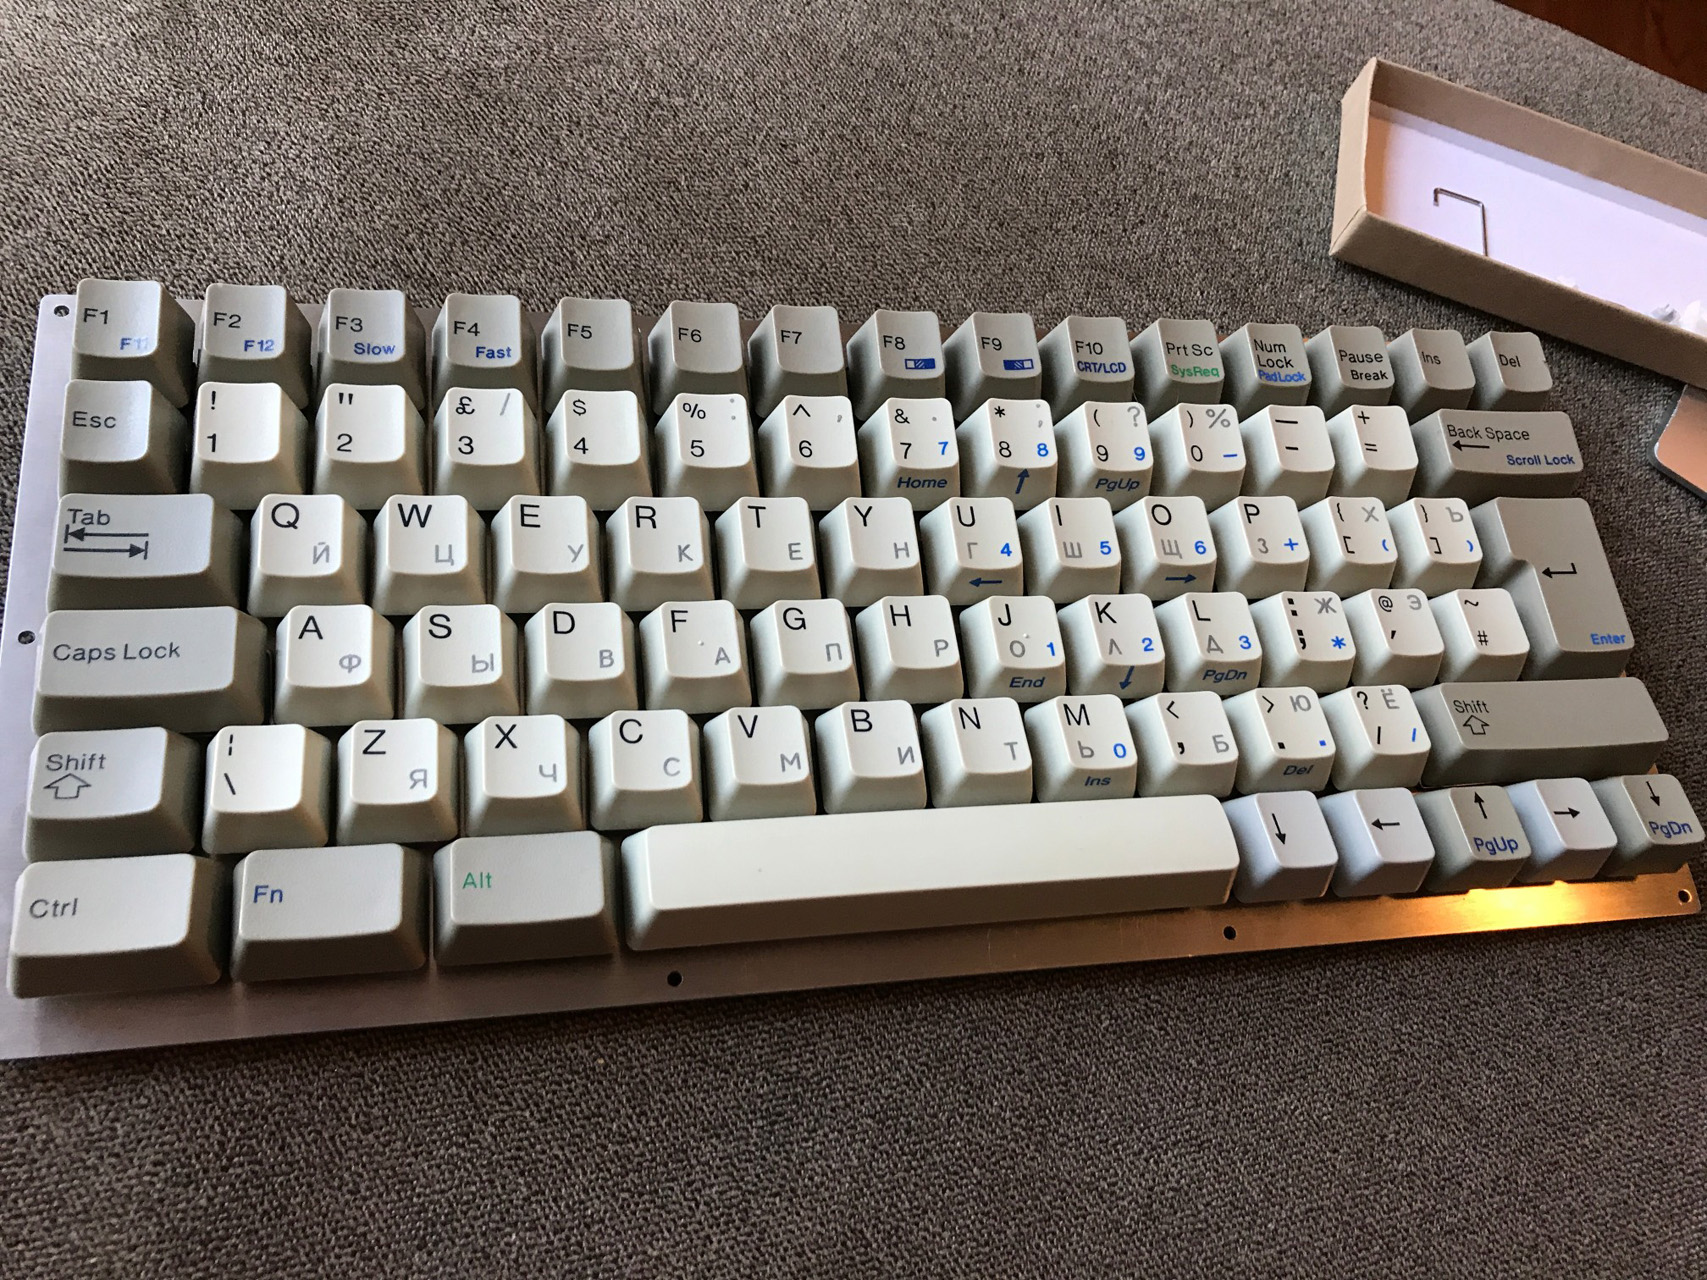
That’s right; no up arrow for me. I don’t even miss it to be honest (okay maybe a little). Anyways, not a big deal. All in all great keyboard.
3D Model
I recently did a photogrammetry scan of the SuperSport keyboard.
Created in Agisoft Metashape v1.8.0 using 205 photos.