At the moment I’m sort of in the middle of several different projects, making very slow progress. So this will not be a finished job, but rather just the first piece of a multi-part project.
Keyboard
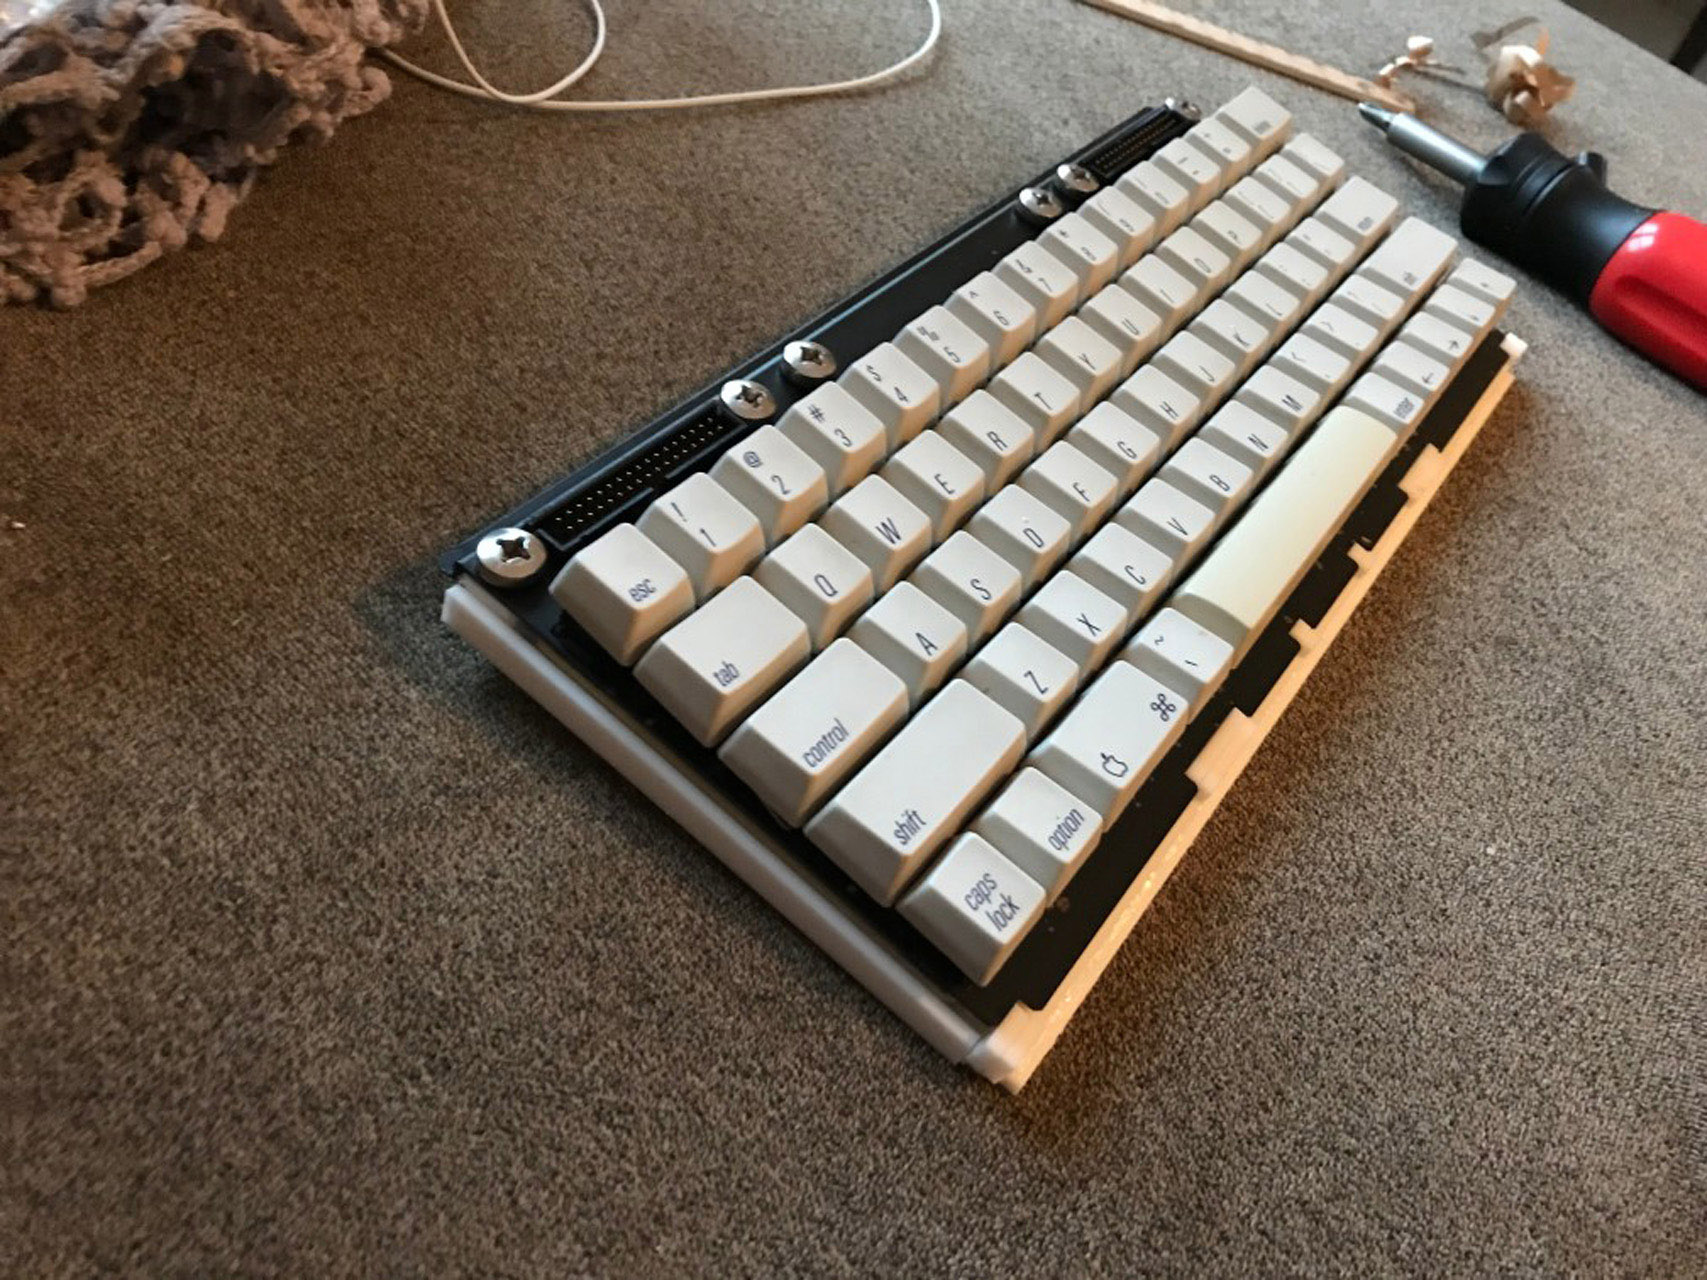
I picked up a keyboard assembly from an old Apple Macintosh Portable laptop from an eBay seller. I’ve been holding on to a set of keycaps from this same board for about a year, with plans to make a custom PCB for it. I figured this is a great interim project if I’m able to get the thing up and working.
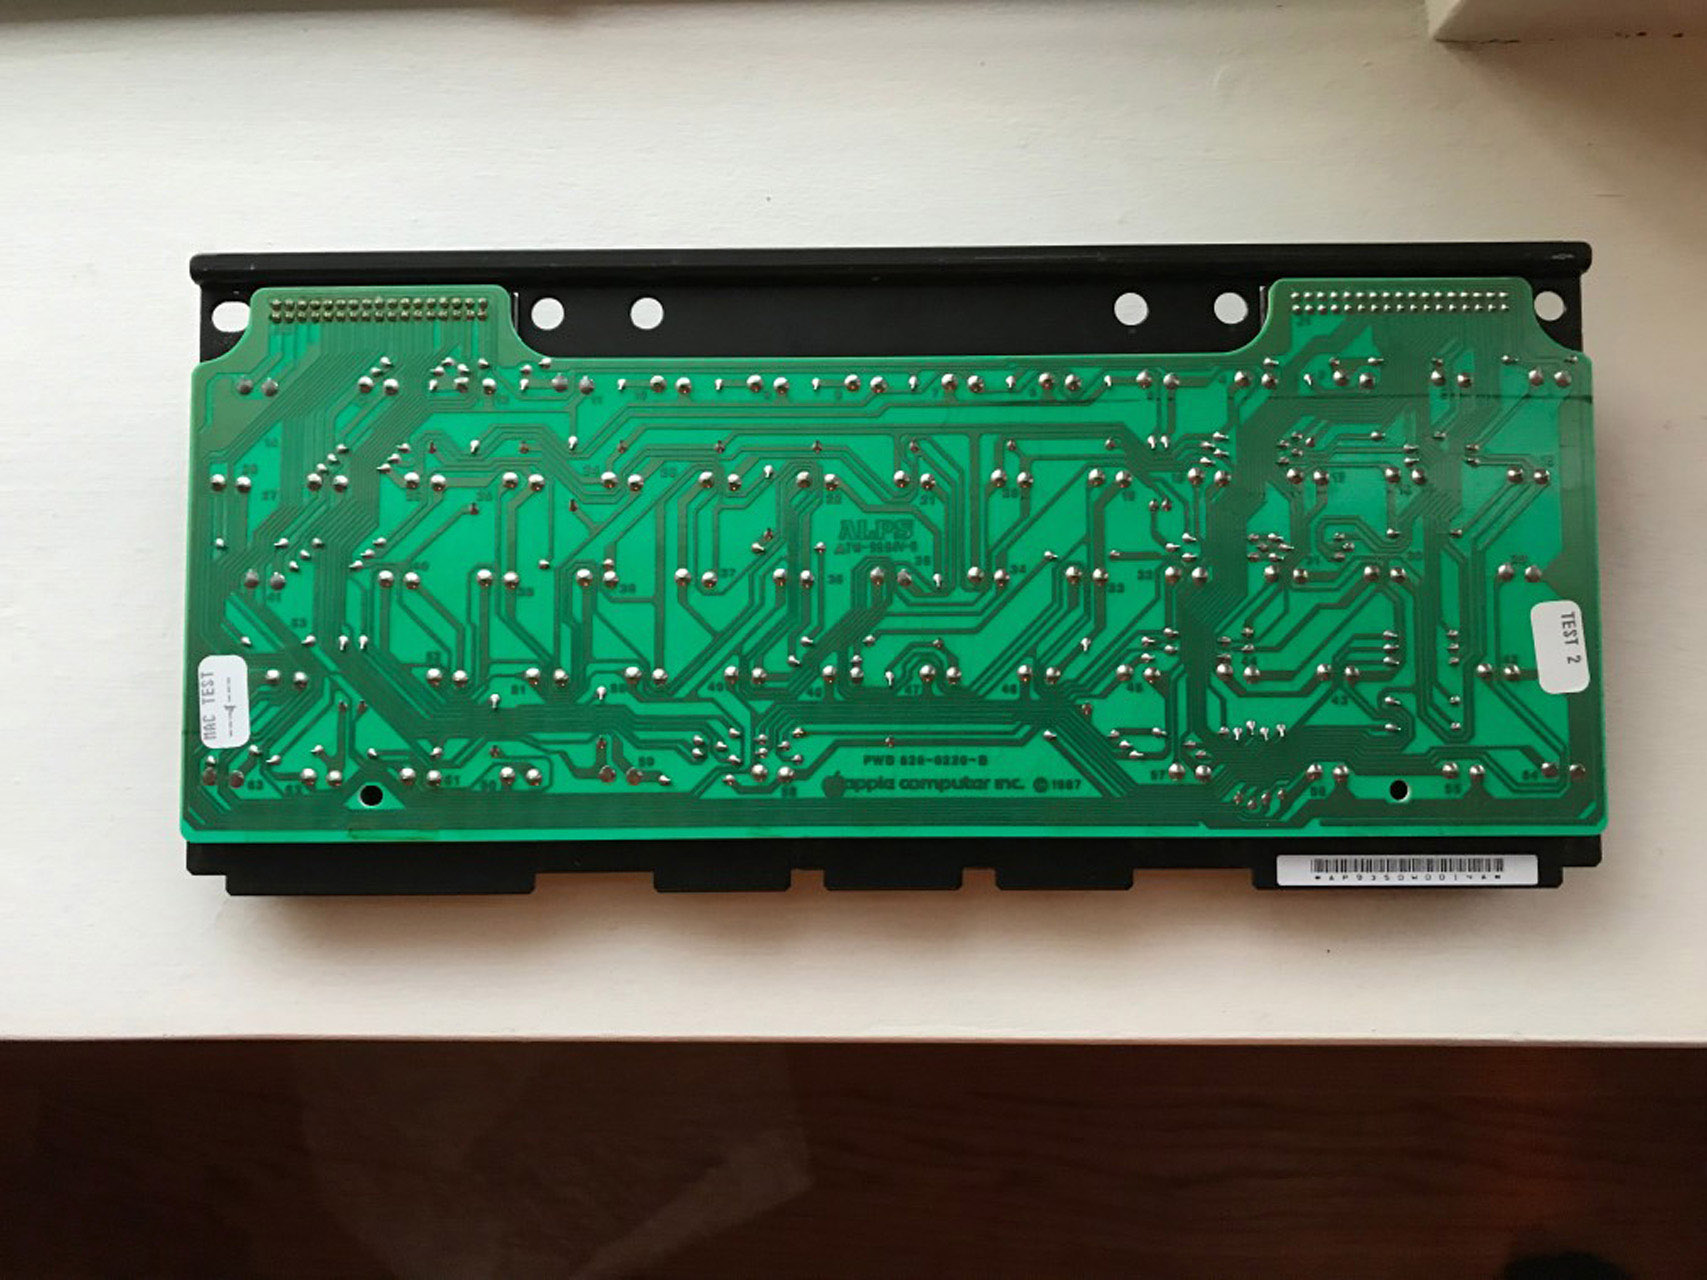
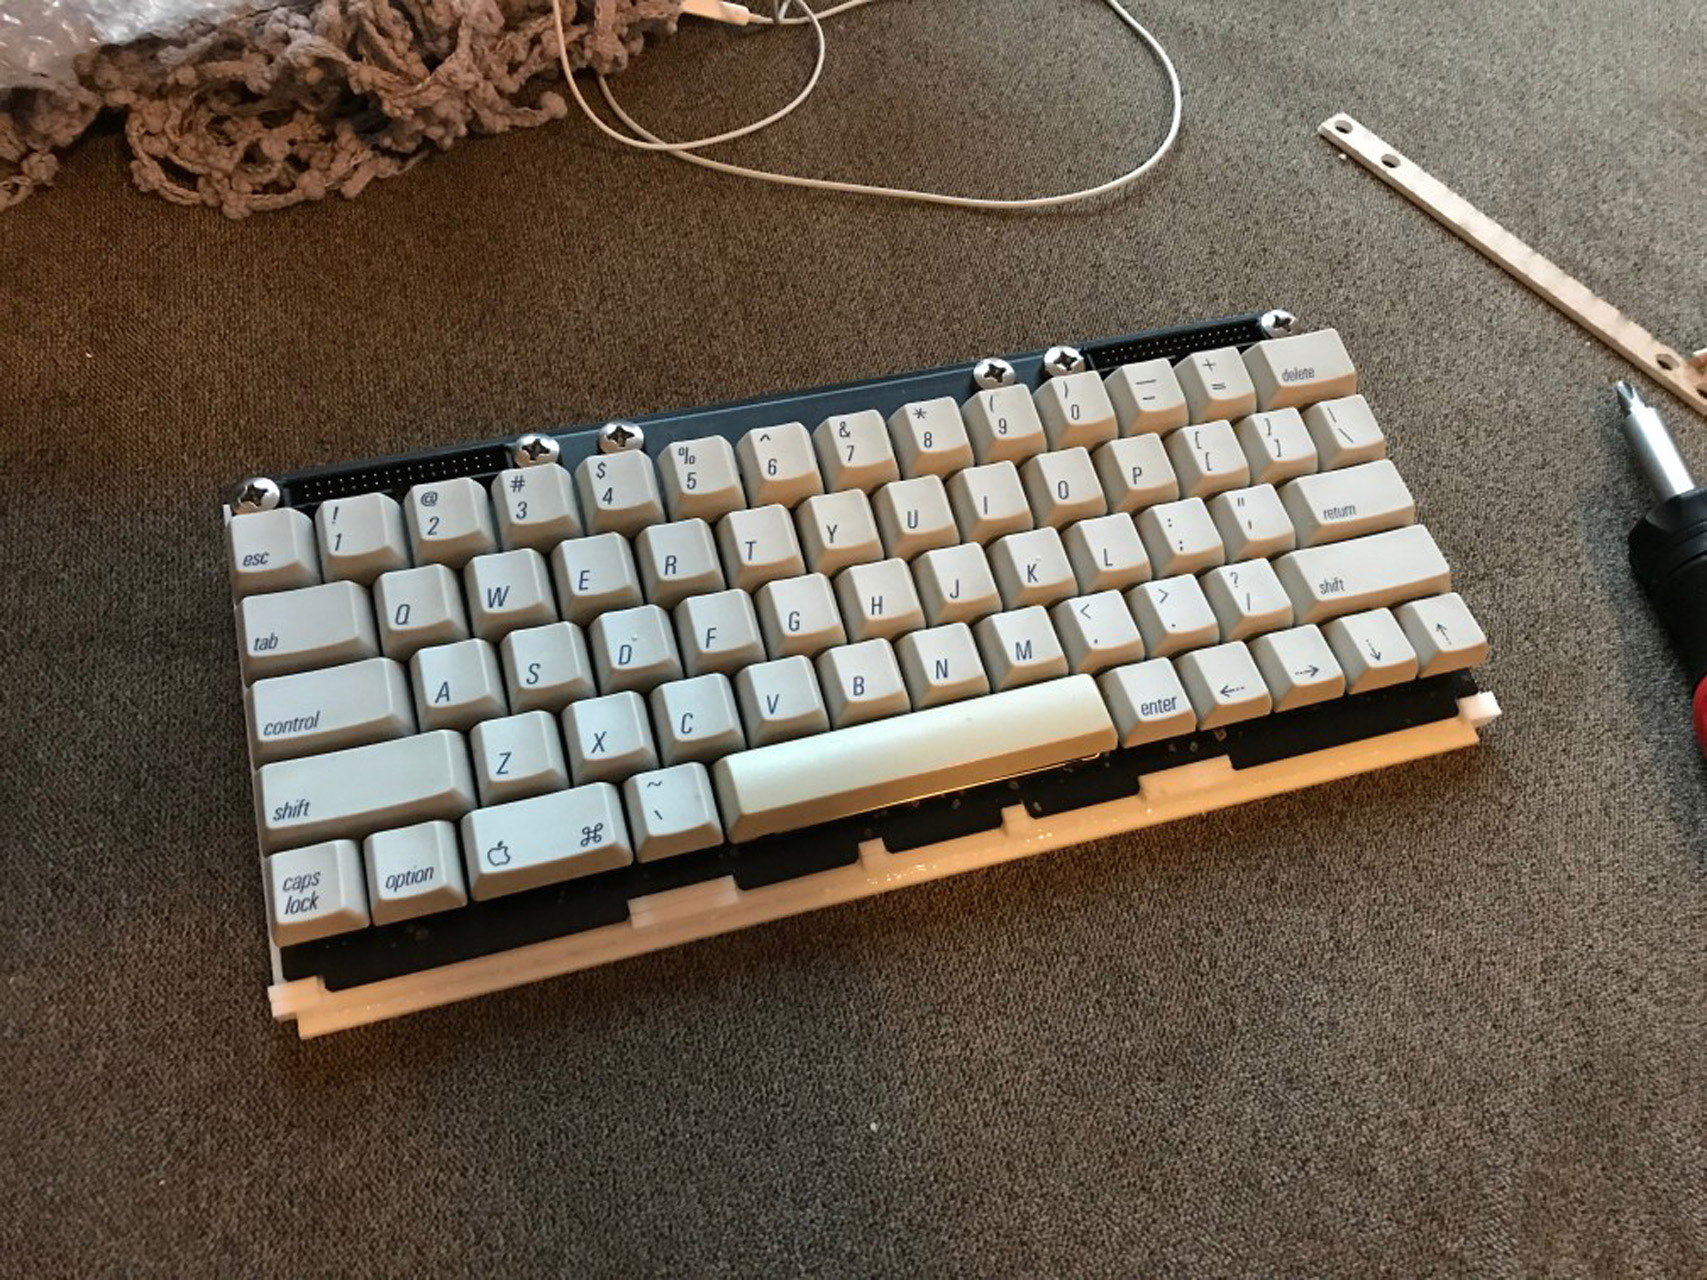
The keyboard is really nice quality. It has Alps SKCM orange switches which are one of my favorite switches. It also has nice dye-sub keycaps that are very similar to the caps on the full-sized AEK/AEKII. The difference here is that the layout is similar to a 60% keyboard but instead of a full 15 units wide, it is only 14.5 units wide. I found this both very cool and very inconvenient.
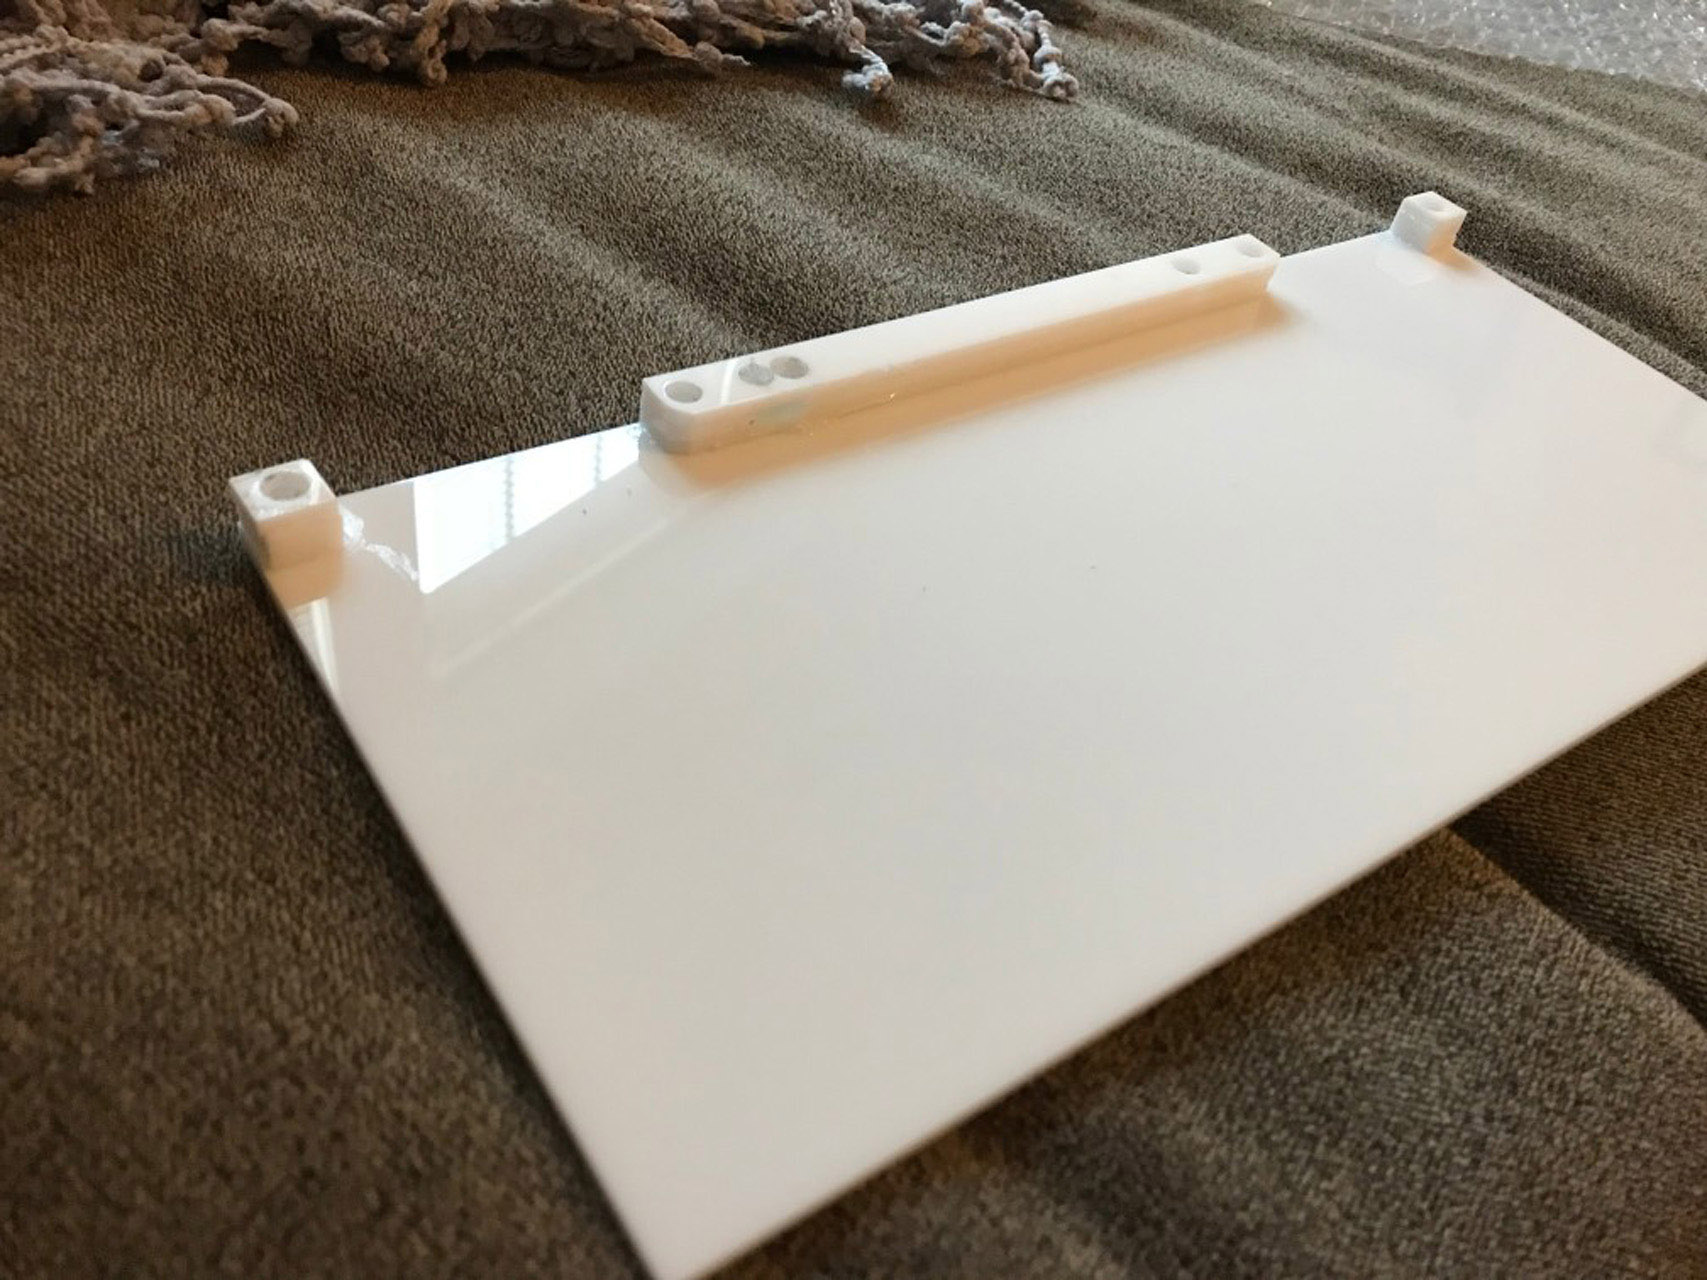
Since it’s a bare board with no enclosure, I knew I wanted to build a case for it. I don’t really have any CAD skills or anything so my options for building a case were quite limited. I decided to go with a “sandwich” style case made from layers of laser cut acrylic (since my brain works much better in 2D).
Design
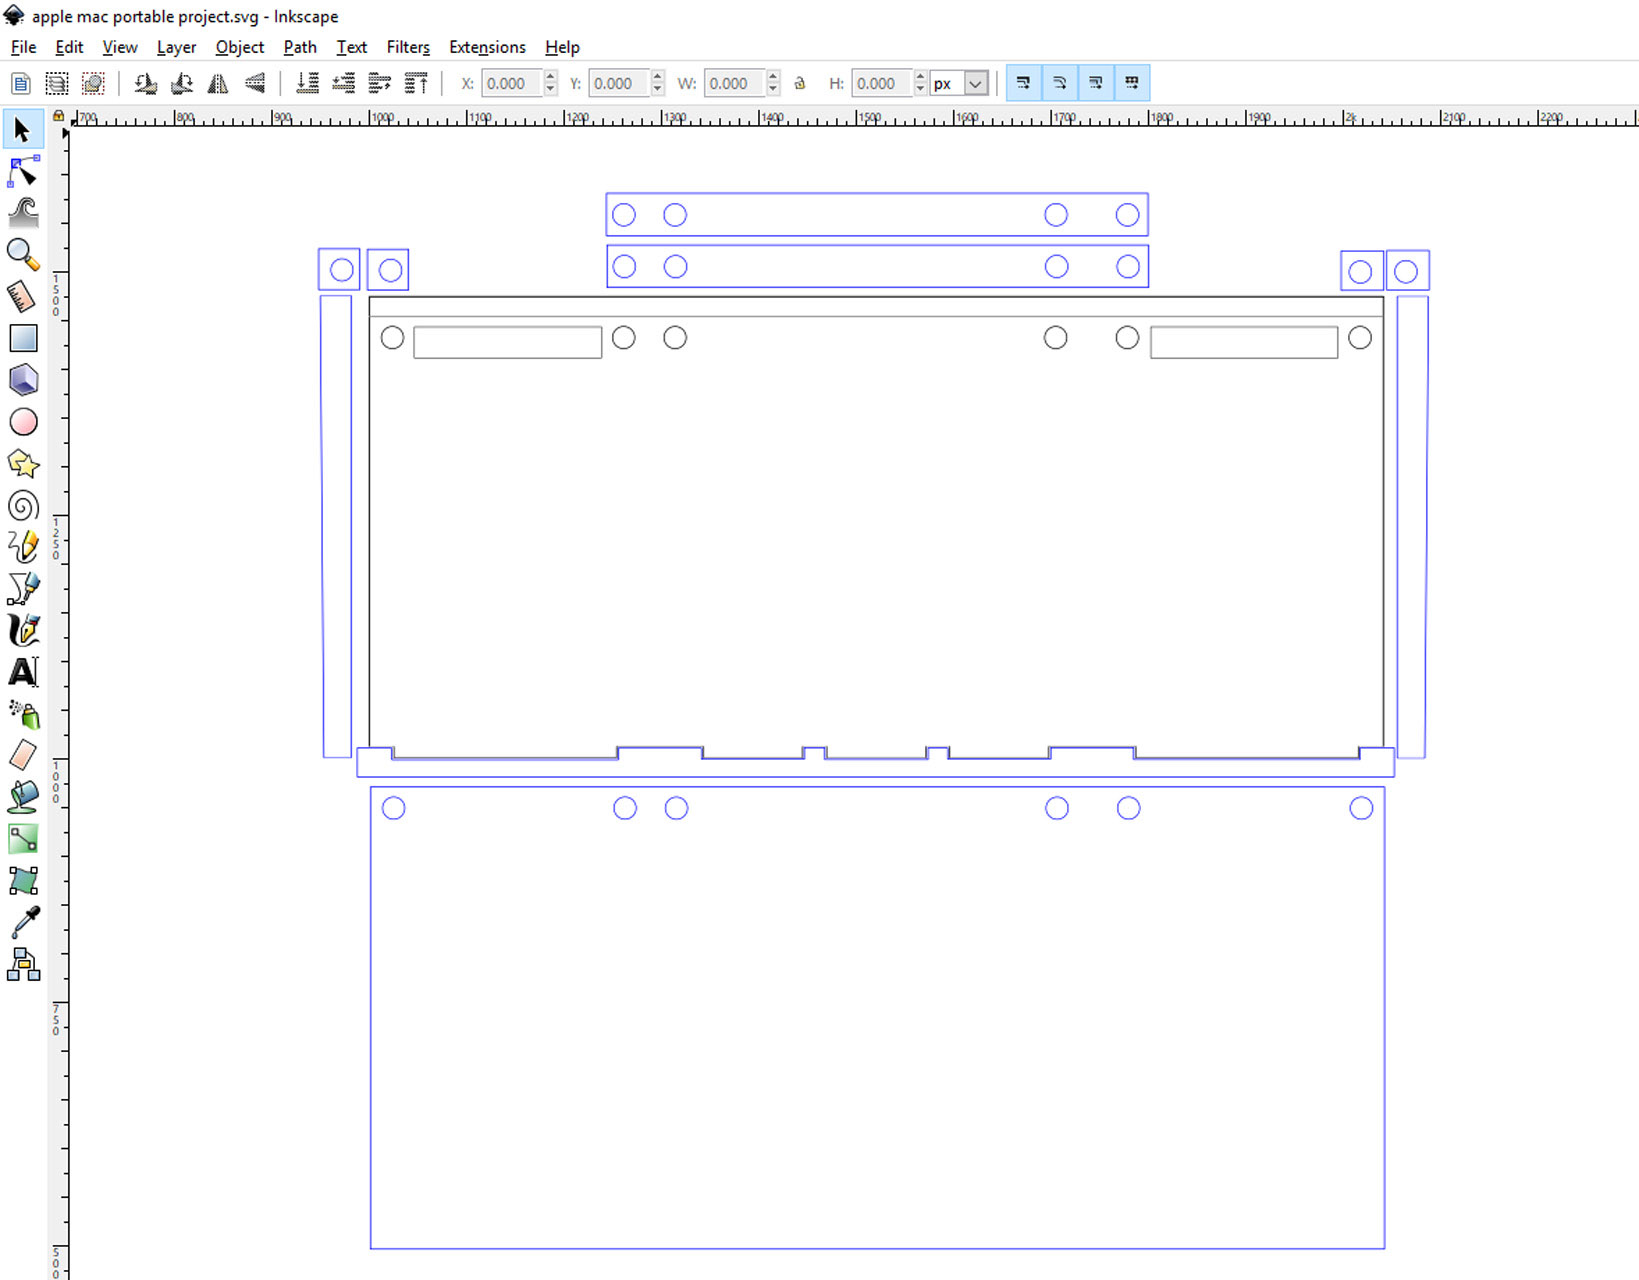
I used the open source vector drawing application Inkscape to begin my design. Using a combination of measuring and eyeballing, I built out the basic shape of the keyboard plate to use as a reference point. From there I began designing the different pieces I thought I’d need, basically just improvising. This resulted in a design like this:
Cutting
I’ve used Ponoko for laser cutting services in the past and I’ve been very happy with what they provide (though shipping is pretty expensive for small projects). The key to keeping the price down with this service is to have a simple design. I’ve had designs in the past with etched text on them and I found that the price shot up significantly. So for this project, I kept the design very simple and avoided pitfalls like that.
Assembling
Putting this together was like assembling a 3D puzzle. The pieces mostly fit but I of course ran into a couple issues due to my hasty measuring job.
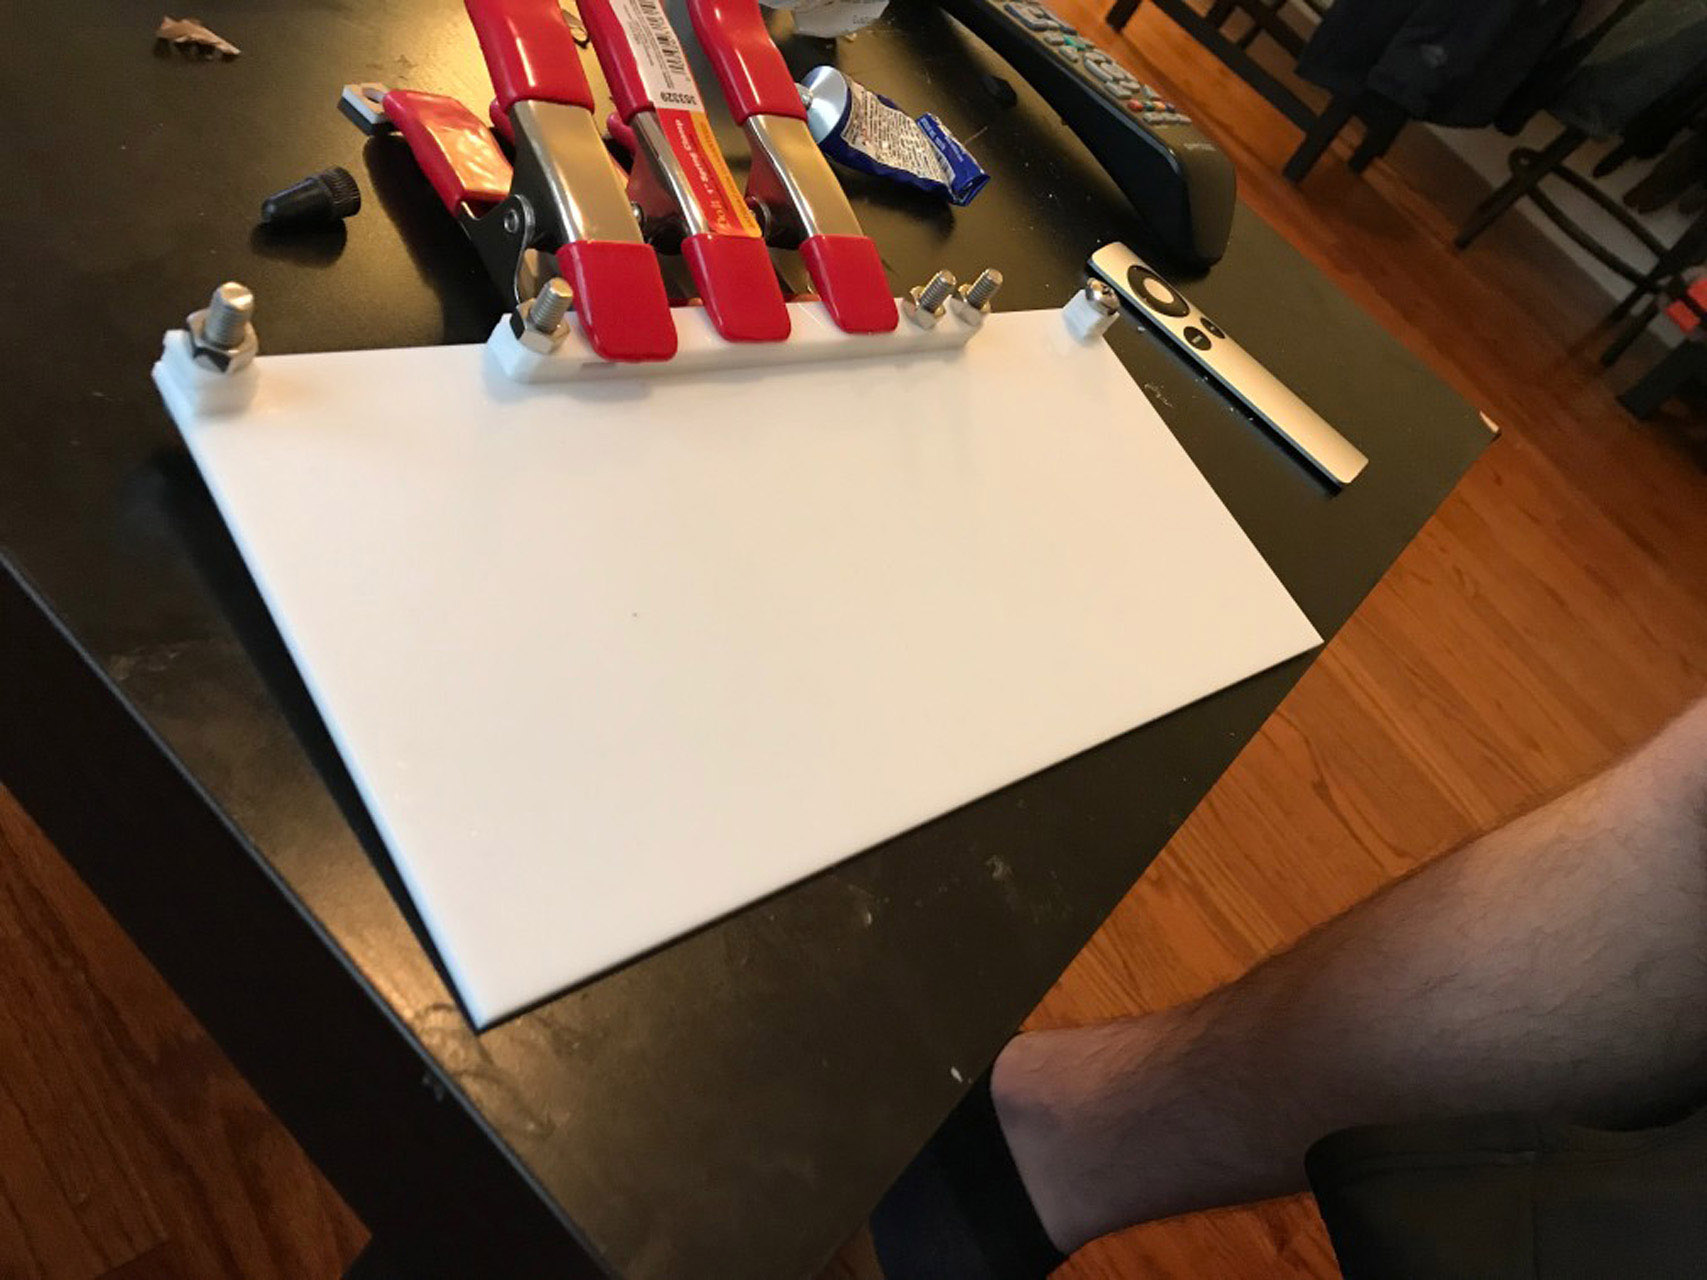
The biggest problem that I ran into was one of the mounting holes. I mistakenly positioned it way wrong and knew I would have to deal with this on my own or else get another sheet cut (which I really wanted to avoid). So I attempted to drill my own hole instead.
I put masking tape over the keys to protect the switches from getting little flecks of plastic in them. Then I simply applied my drill skills, using the plate as a guide. I was surprised at how easy it was to drill a clean hole and got a little overzealous in the process. As a result, once I reached the bottom layer, everything went to pieces. The torque from the drill snapped the bottom three layers of acrylic in a very jagged and unclean way. I’ll explain how I attempted to remedy this problem a bit later.

I used acrylic glue to adhere all of the pieces together and I was pleased at how it was slowly taking shape. I also used a dremel tool to make a few adjustments to the acrylic cuts where my measurements were not perfect. I found that this process worked well enough for my purpose.
When I got to the broken bits, I glued them in place the best that I could with the acrylic glue. Then I inserted the mounting screw to act as a placeholder. I used a hot glue gun to fill in all of the spaces where I had ruined the acrylic. Once the glue set, I removed the mounting screw and found that it actually worked pretty well. I used a sharp razor to cut and clean up the hot glue mess that I had made.
Result
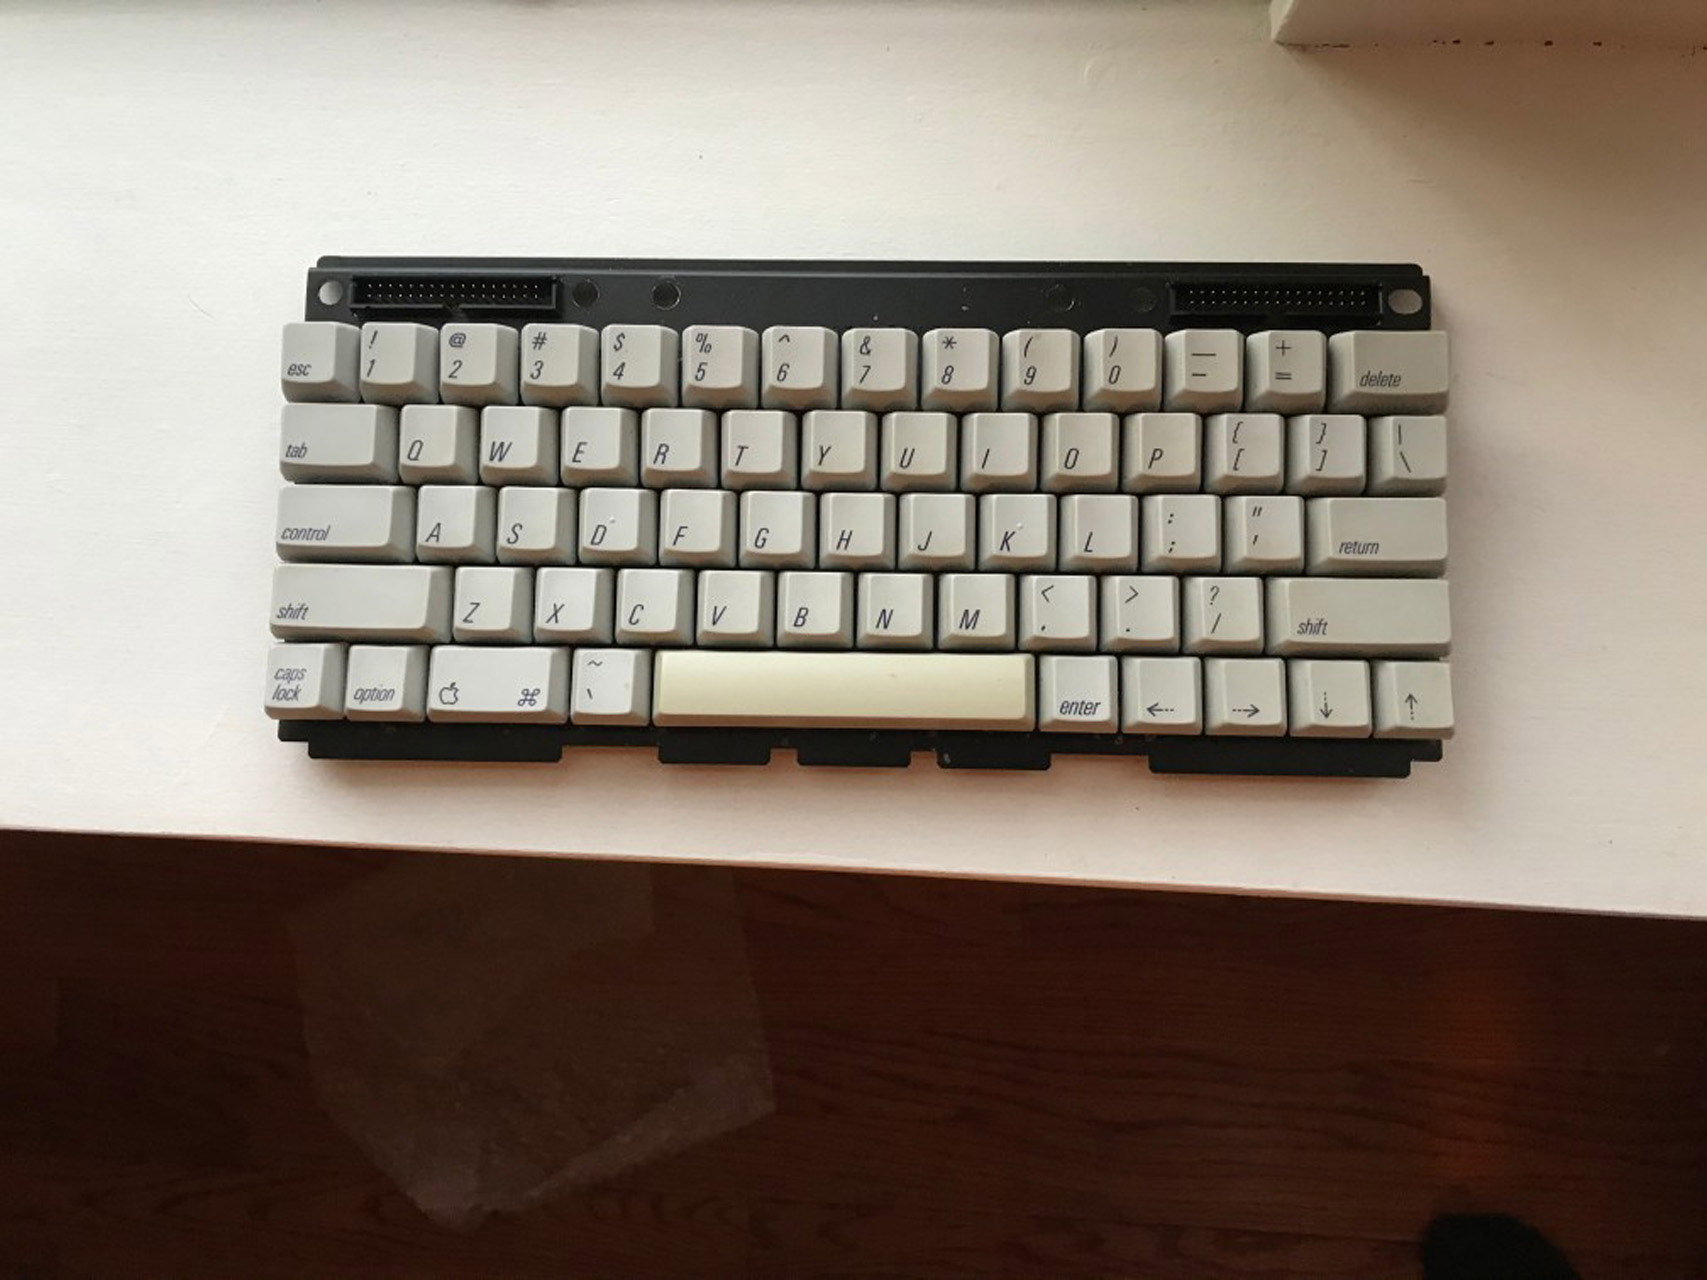
The case turned out better than expected. I really dislike how much the bright white color of the case clashes with the old-school shade of the caps so I know that I would like to do some more work on this front. Besides for that piece, my plans are to figure out how to convert it to USB so that I can use it with a modern computer.