This next keyboard I also purchased off of /r/mechmarket when I was soliciting for interesting vintage keyboards. Based on the pictures it looked like a pretty cool board but I was reluctant to purchase it since I was totally unfamiliar with the brand and style. I actually wasn’t even aware what type of switches this keyboard had when I bought it (I’m not sure why I didn’t ask this question. I guess I like surprises).
First Impressions
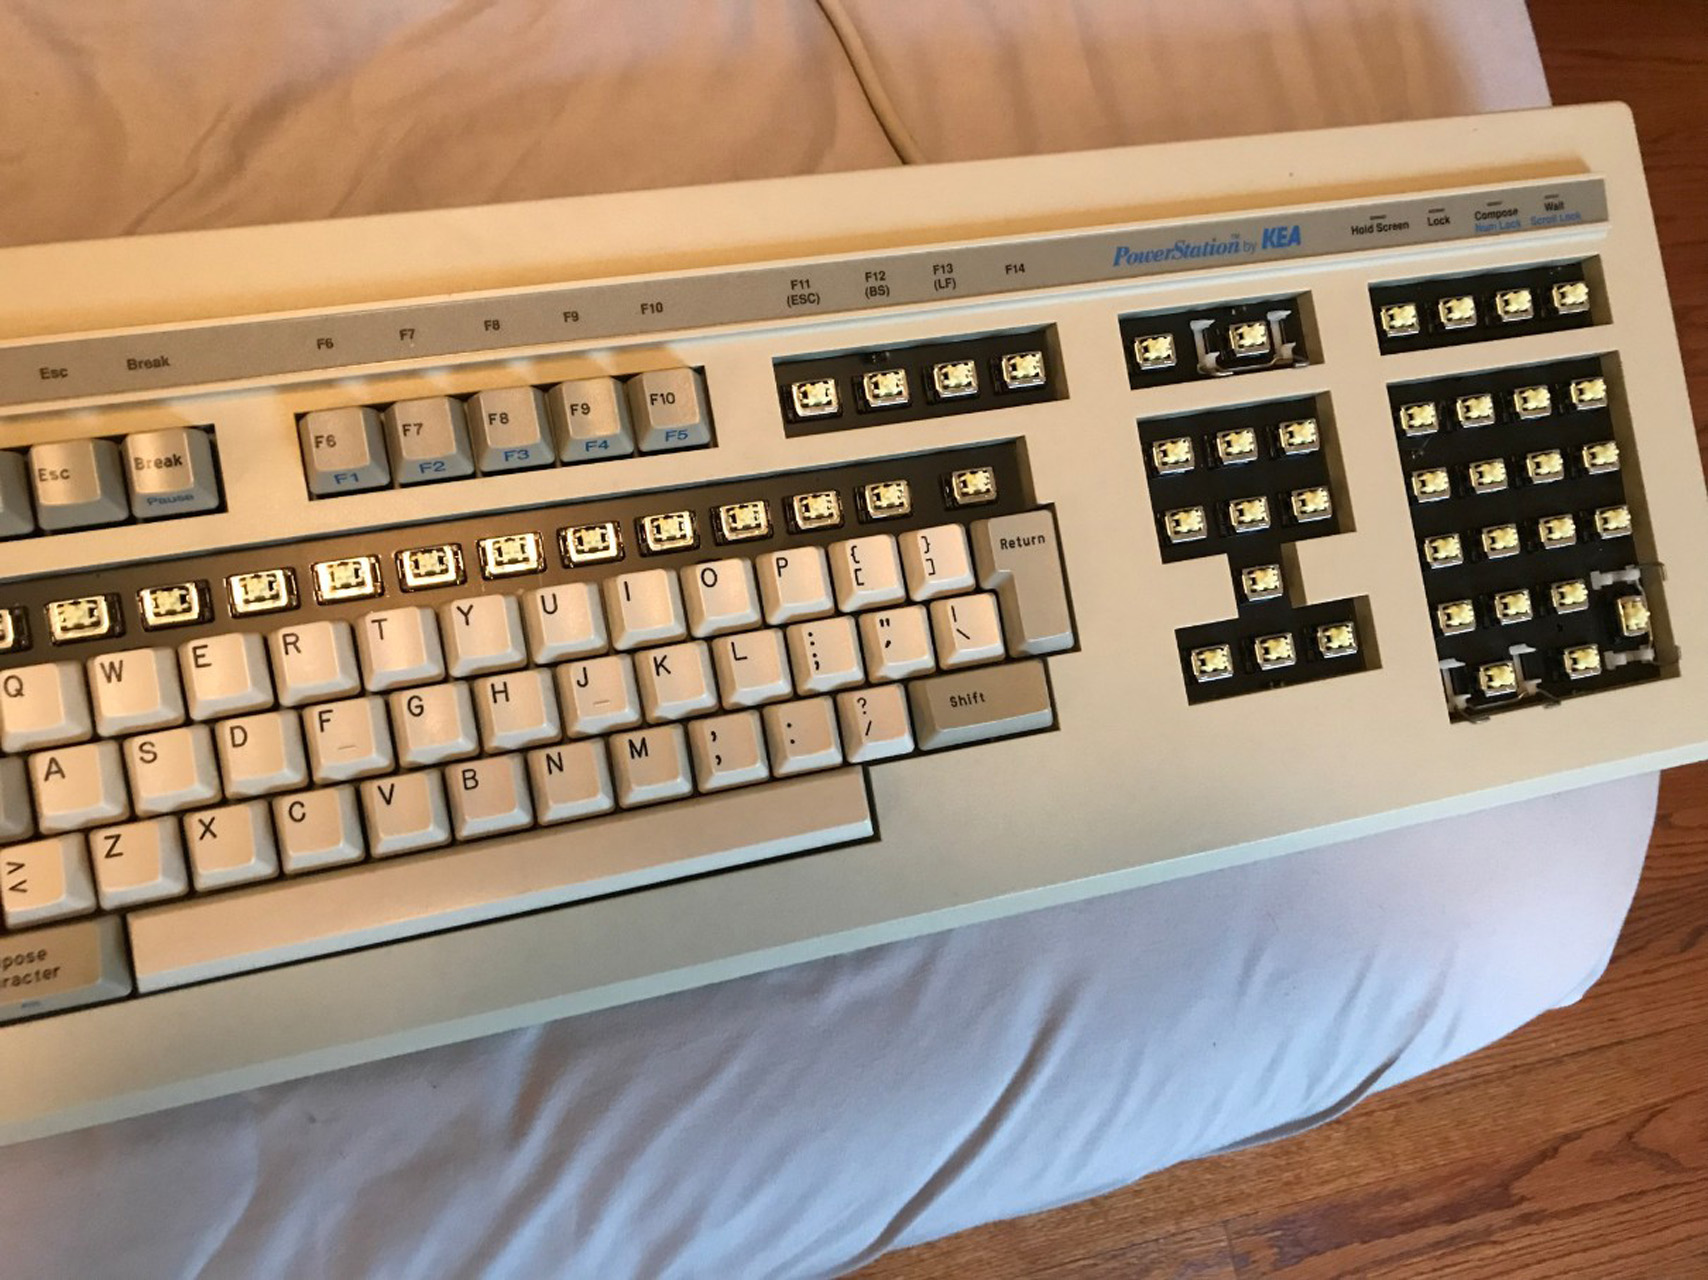
When it arrived my first impression was, “wow, this thing is immaculate!” It seemed to me like the keyboard had probably never been used or had seen very light use in its time.
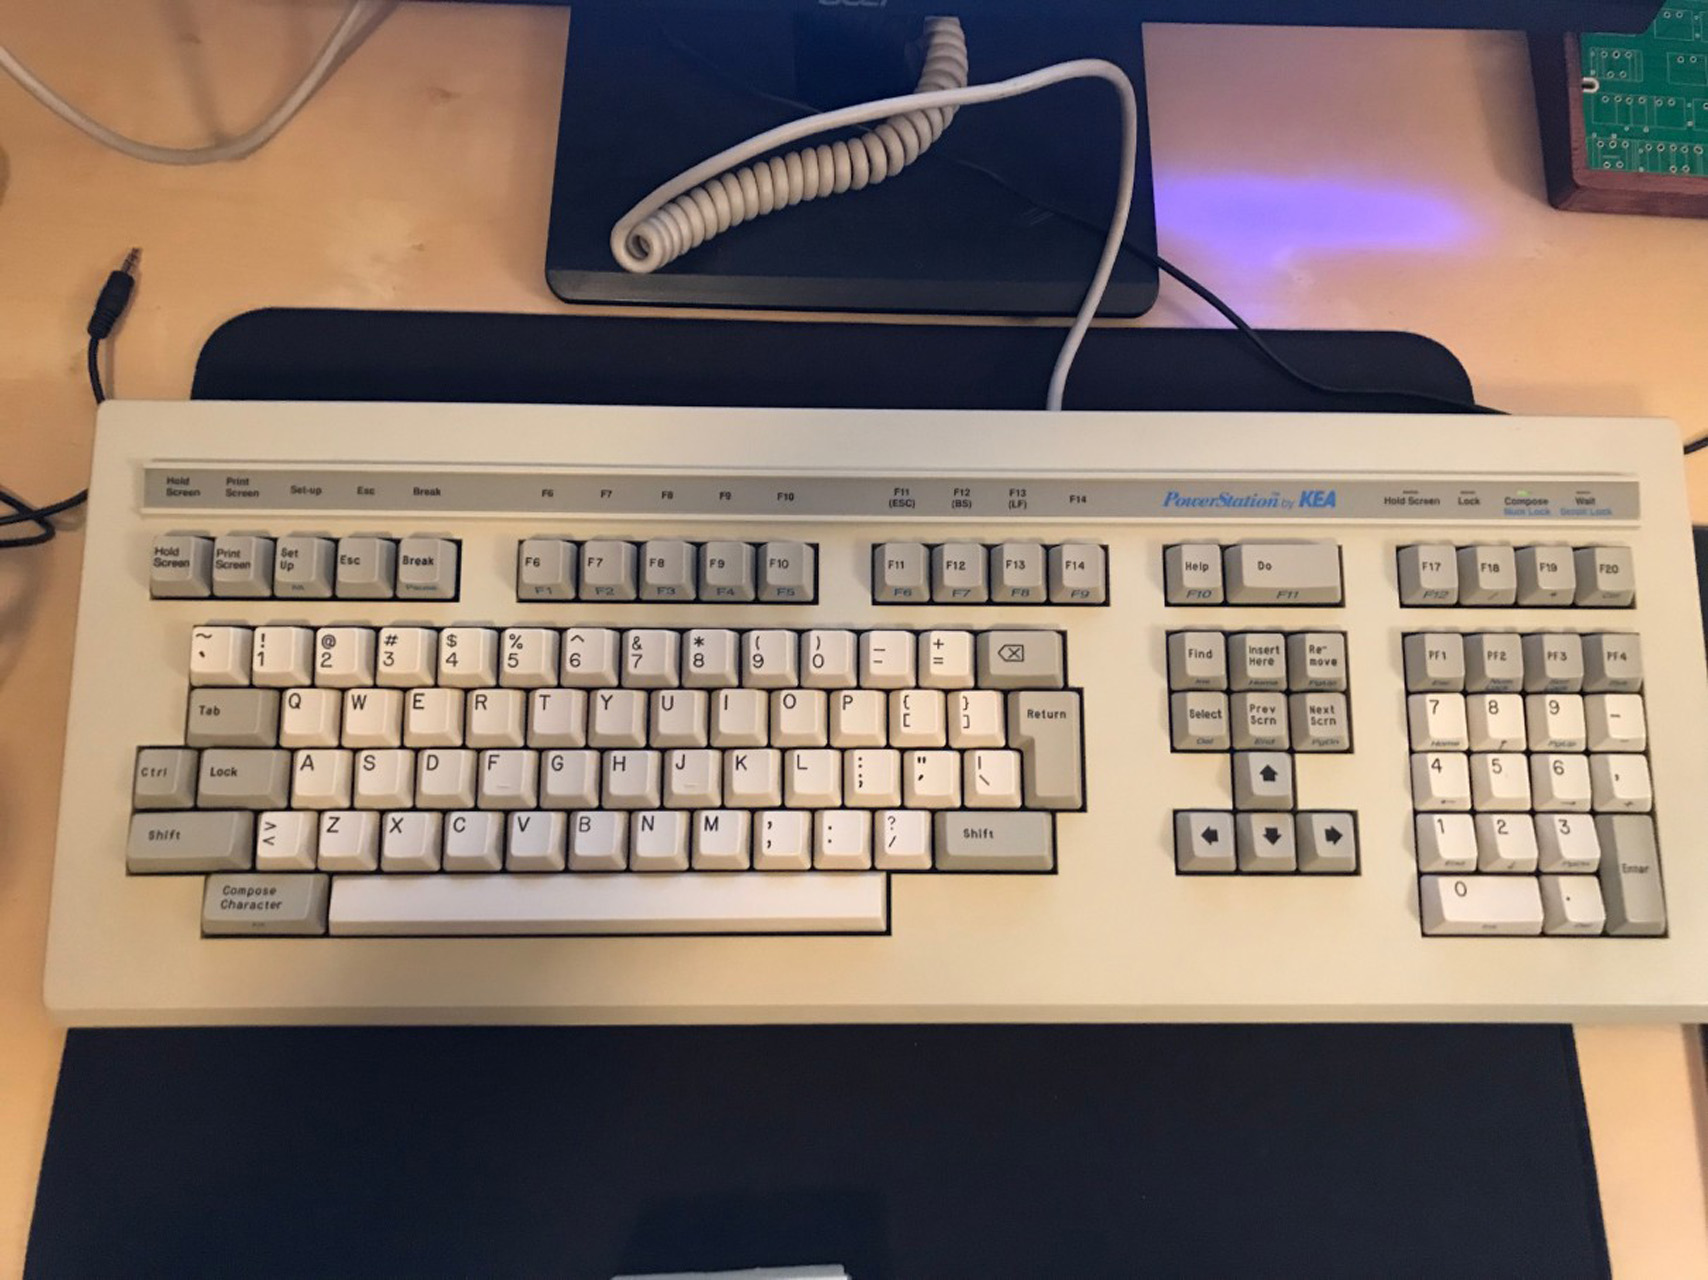
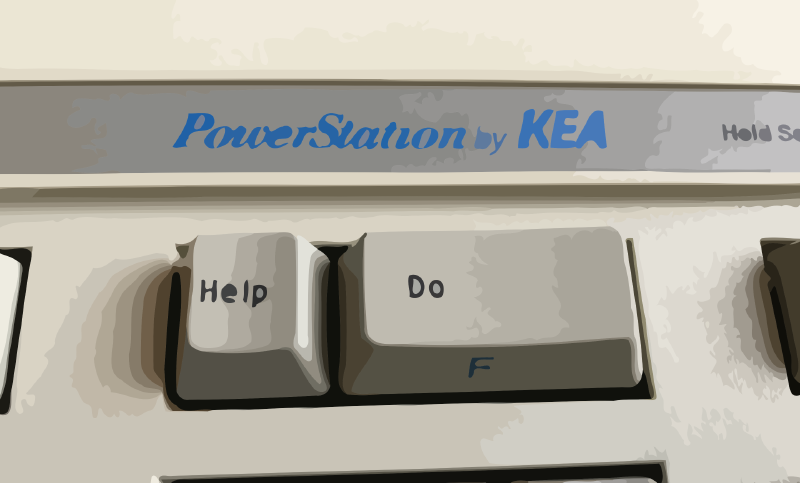
The keyboard has a very strange layout which I really didn’t like at first. It’s pretty modern but has some weird idiocicracies to it. I love the giant “Do” button though I have no clue what this key actually “Does”.
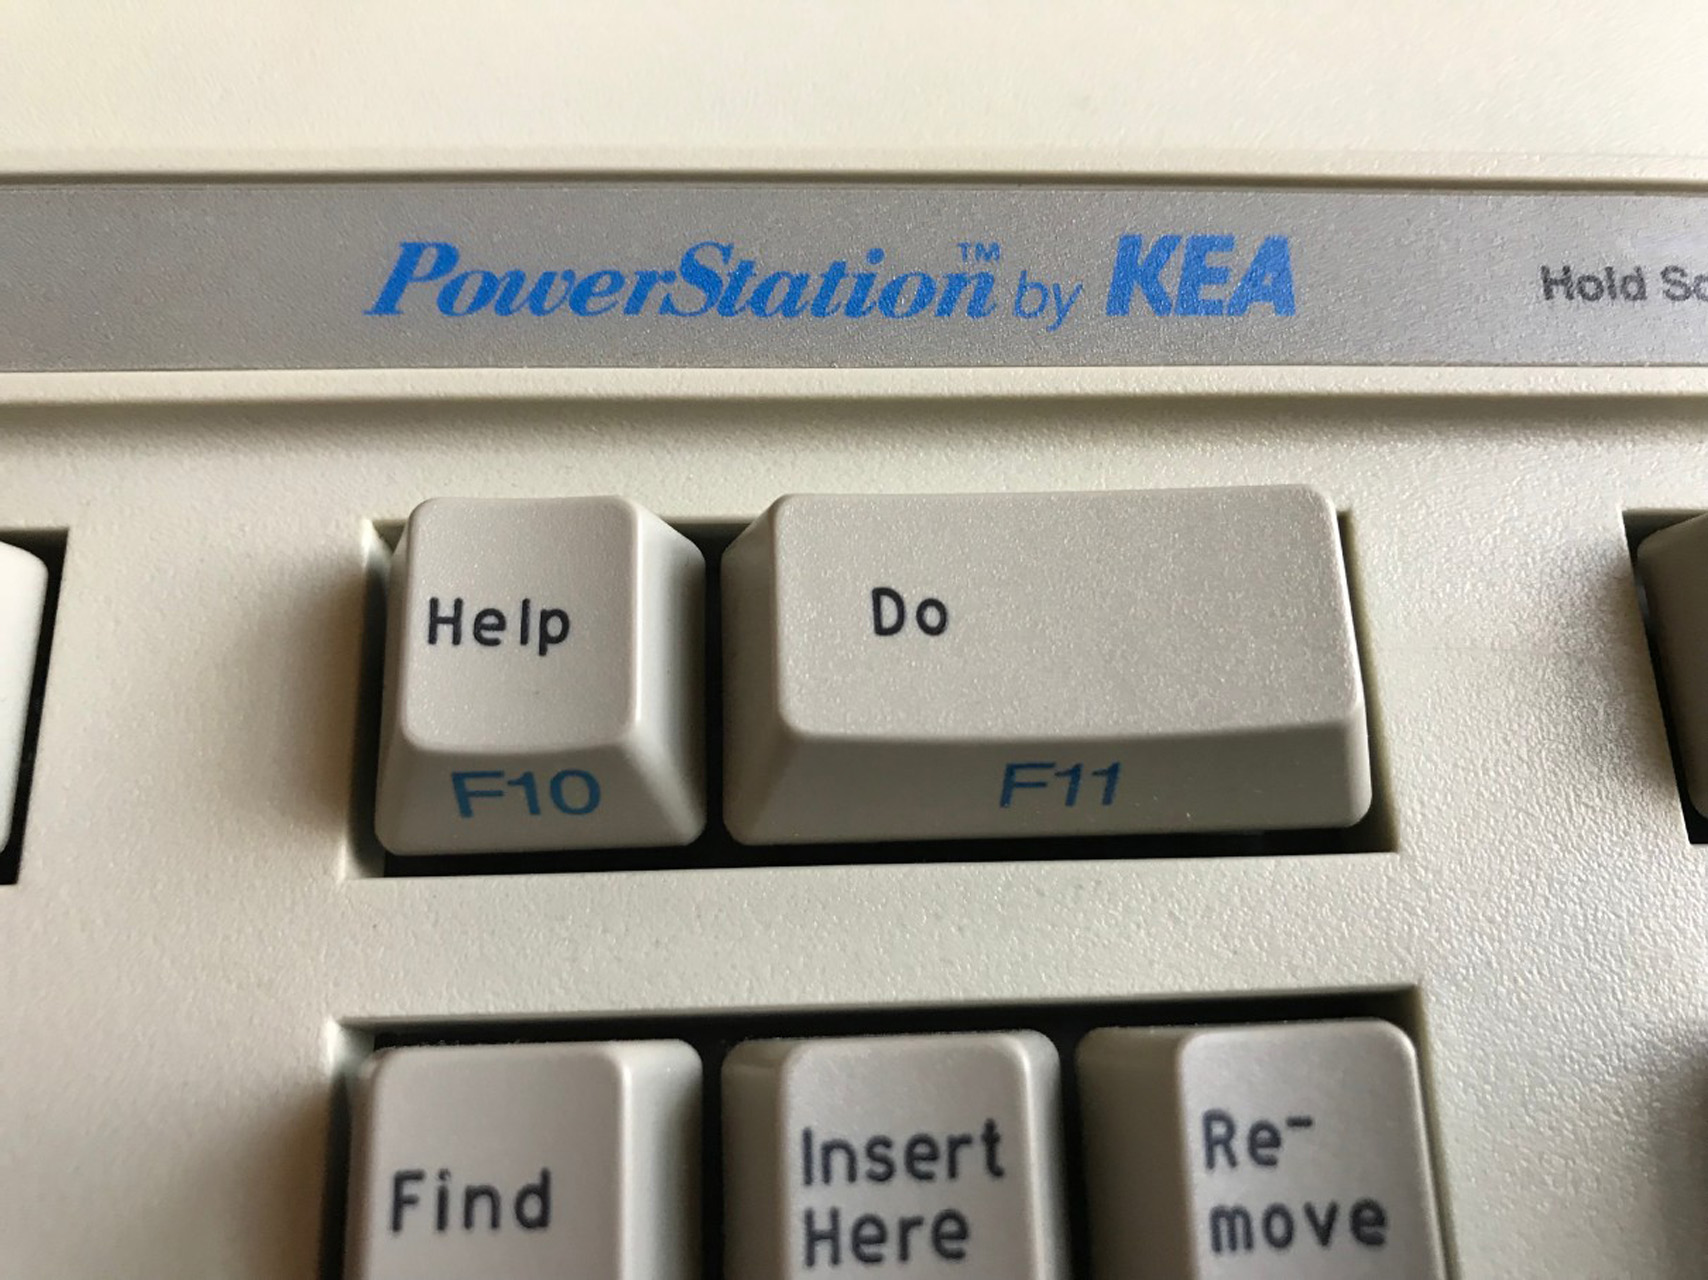
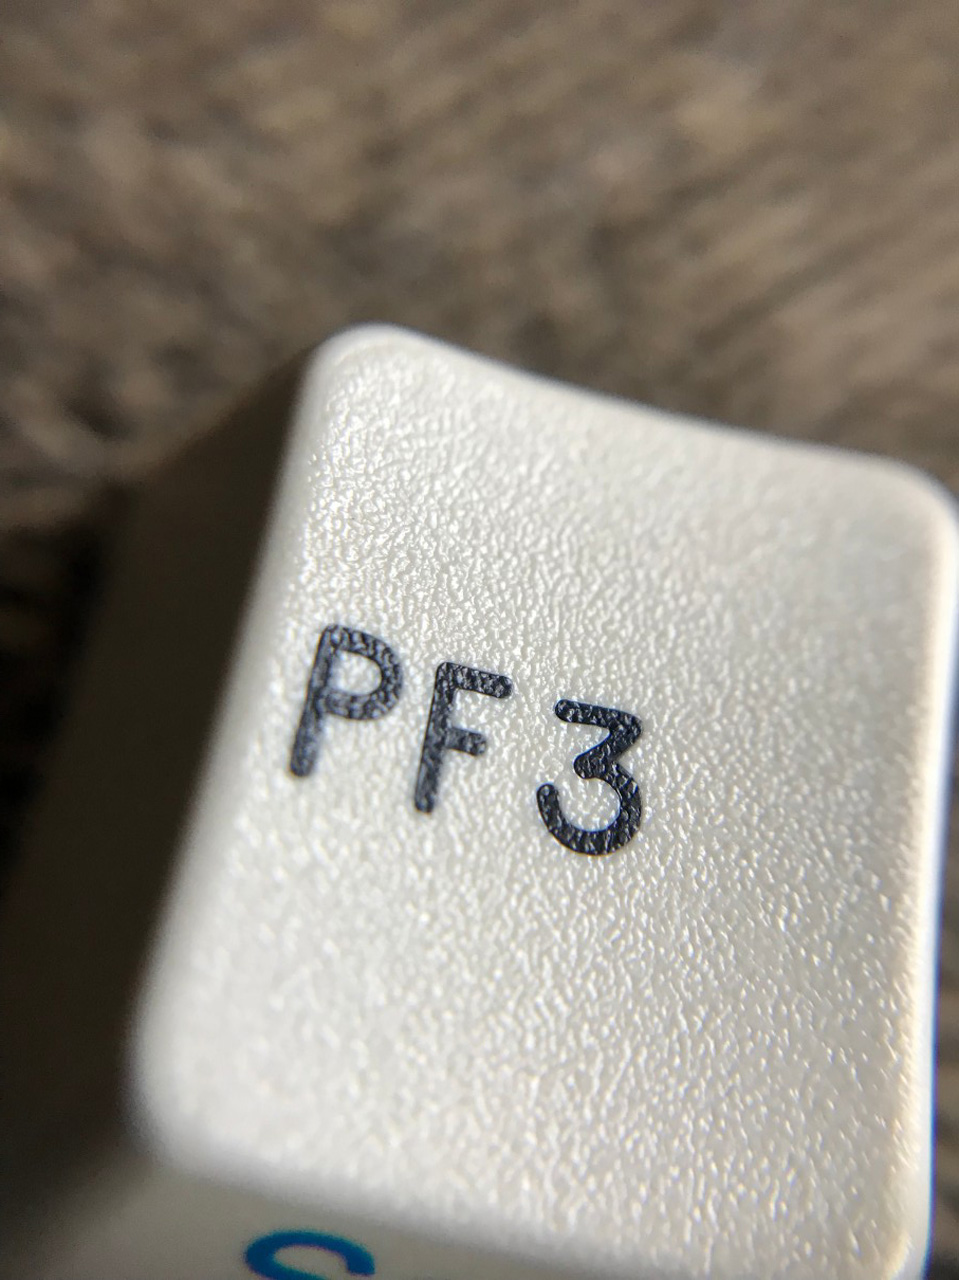
The keycaps are very nice doubleshots with interesting typeface legends.
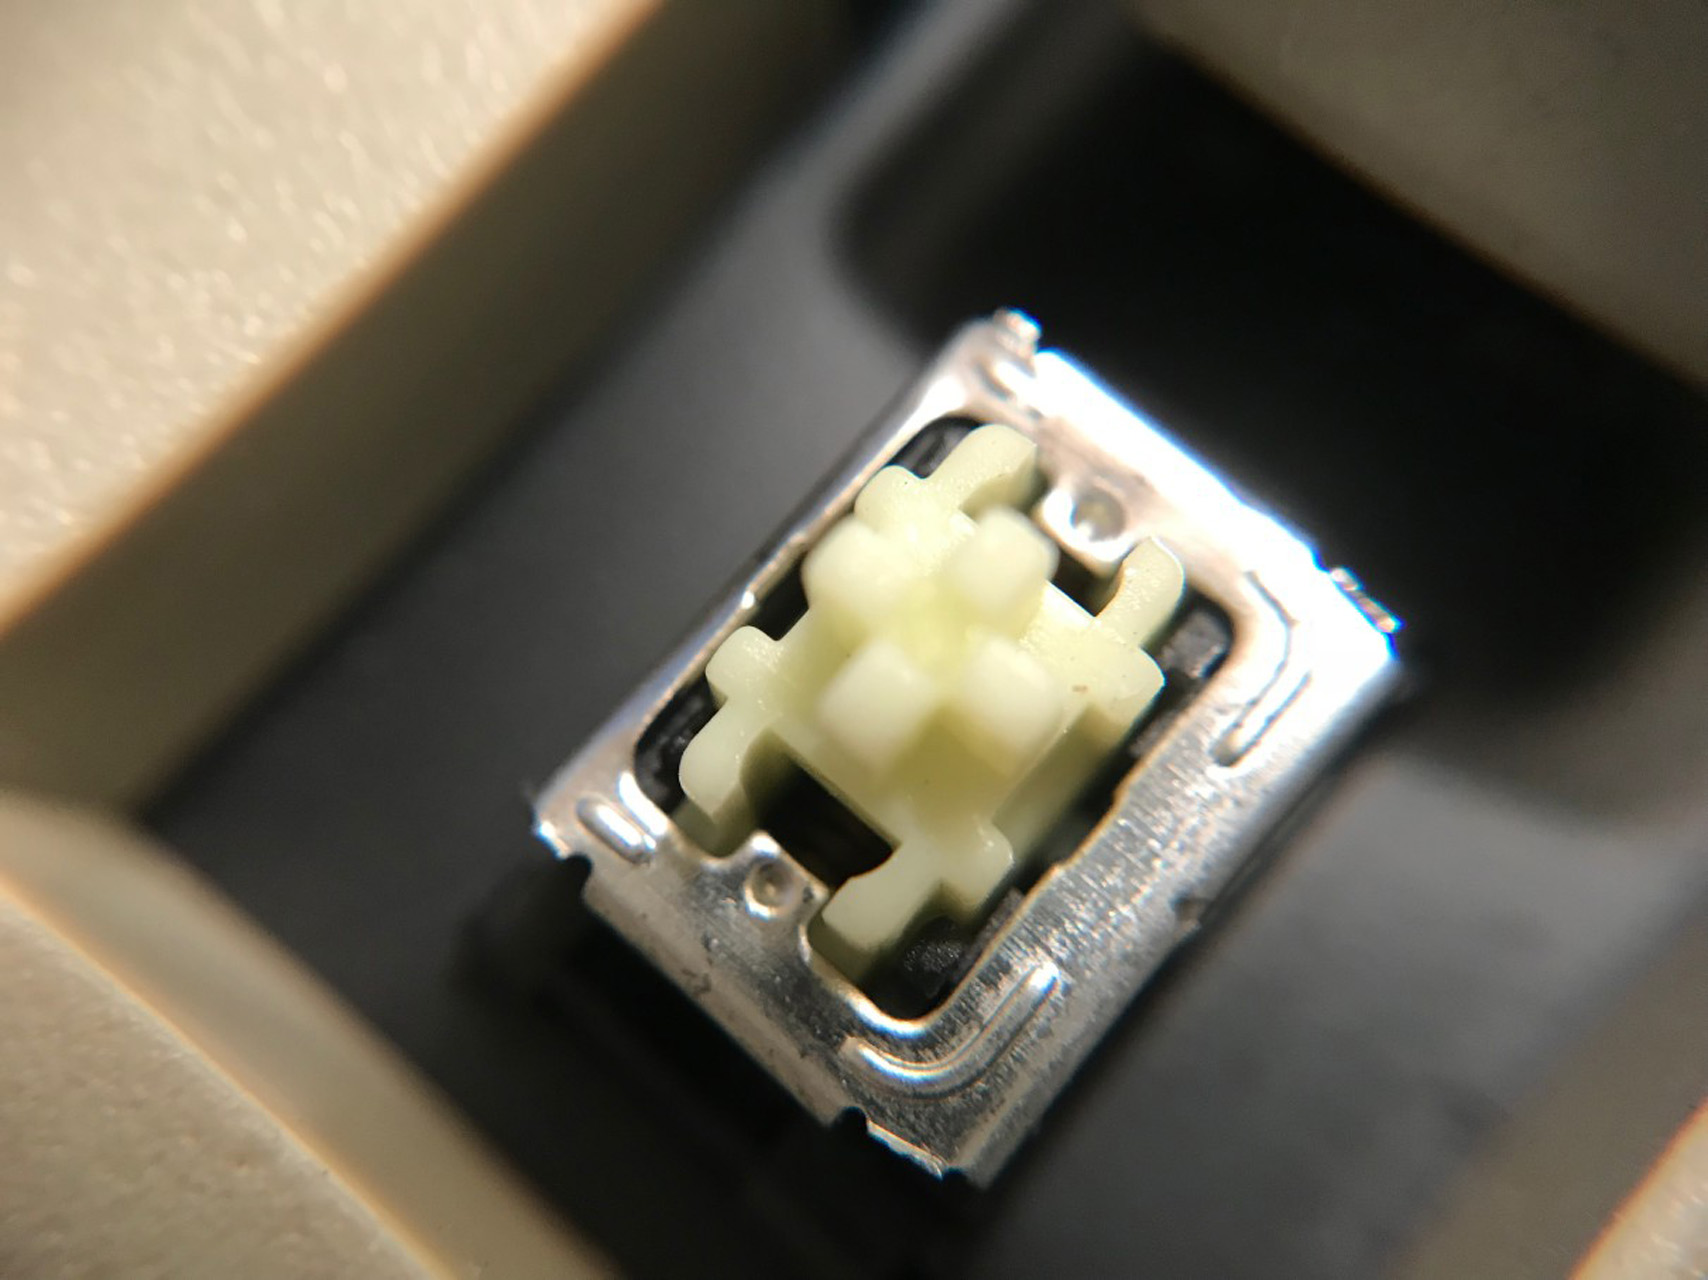
This keyboard actually uses Mitsumi miniature mechanical yellow switches so the keycaps are MX compatible. What’s unfortunate about these switches is that they are very scratchy unless you press on them dead-center. Chyros really hit the nail on the head in his video where he said that playing with a single switch feels really nice and tactile but once you start typing on the board the whole feeling falls apart due to the roughness that comes out.
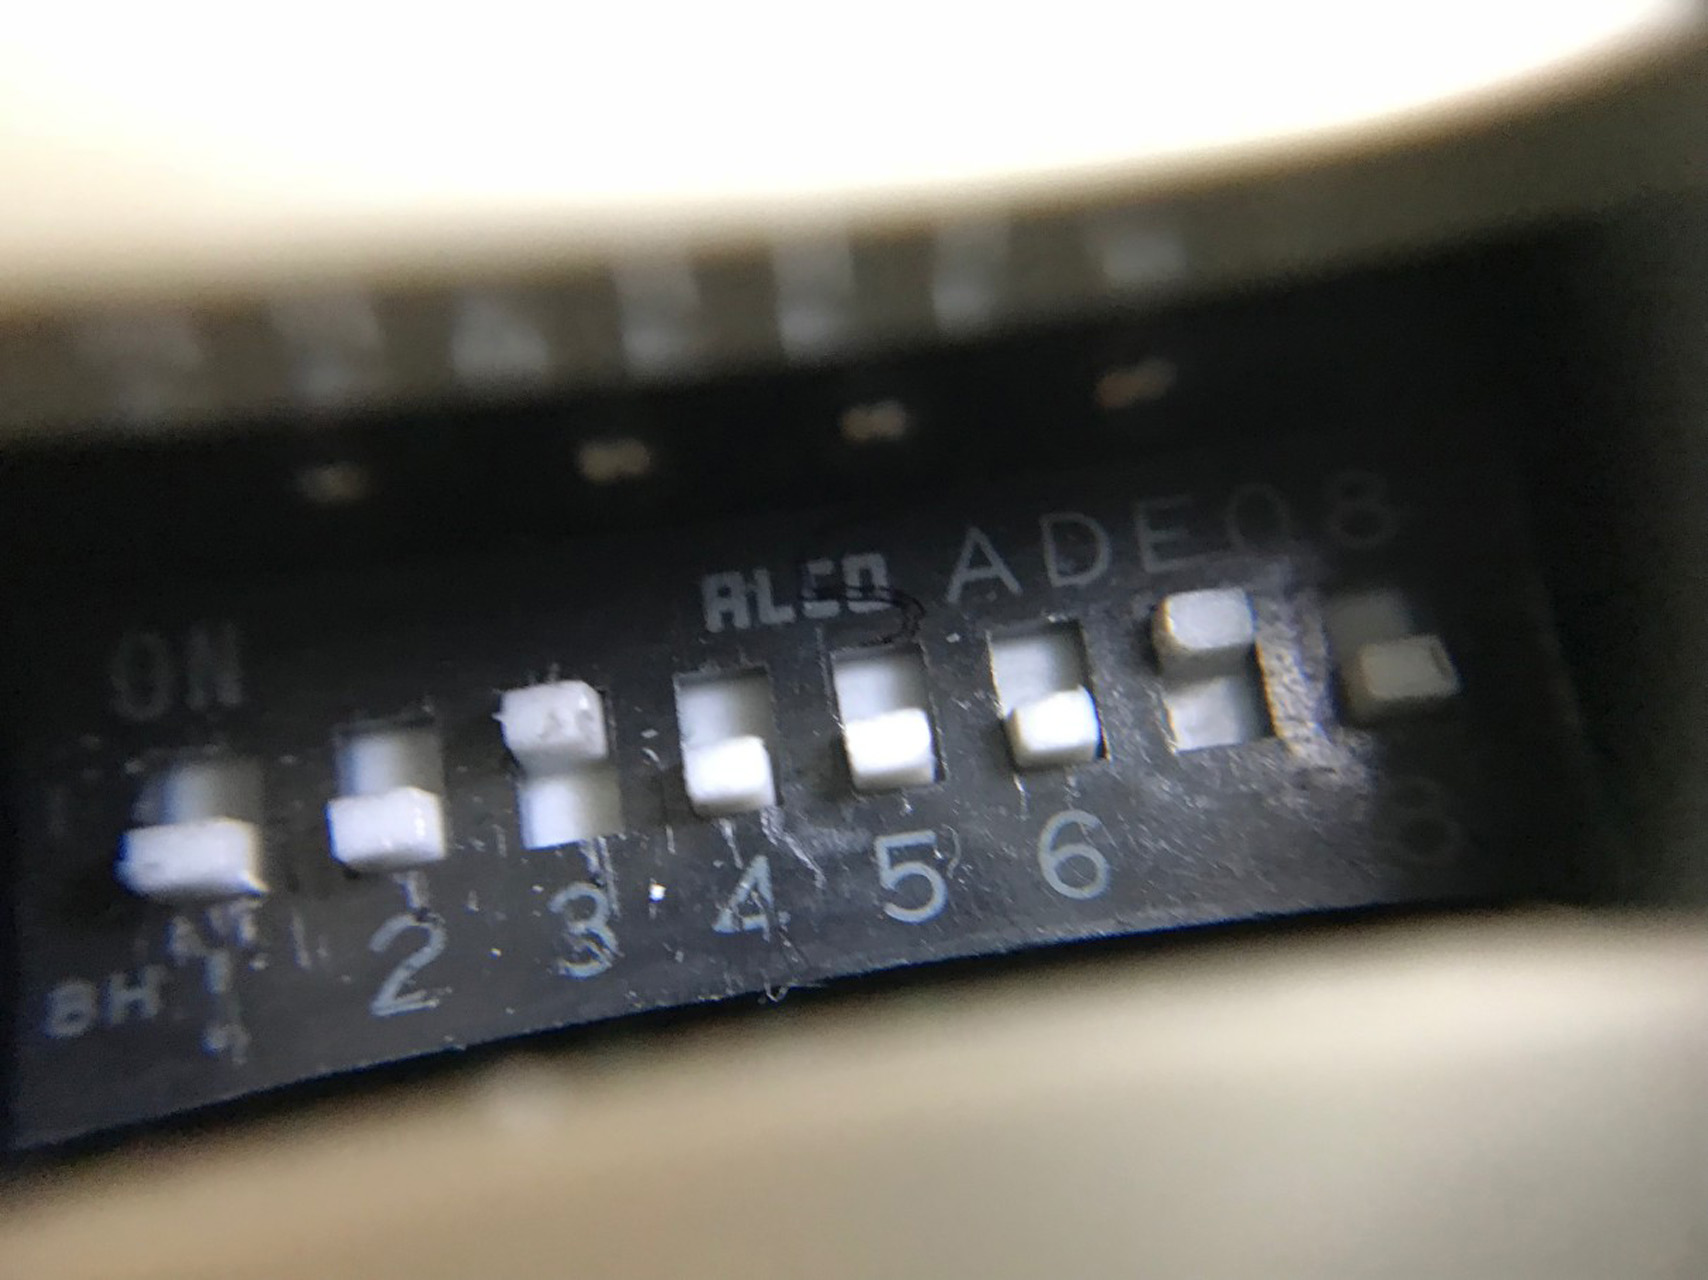
Pretty funny is that, while the keyboard came with a 5-pin din to PS2 adapter, I had some trouble getting it to work with my PC. I eventually realized that there were dipswitches on the back that toggled between different protocols. I was able to find a copy of the keyboard manual online which detailed the different configurations. I had an interesting time trying out the combinations and found that some of them caused the board to emit a very interesting light/beep show.
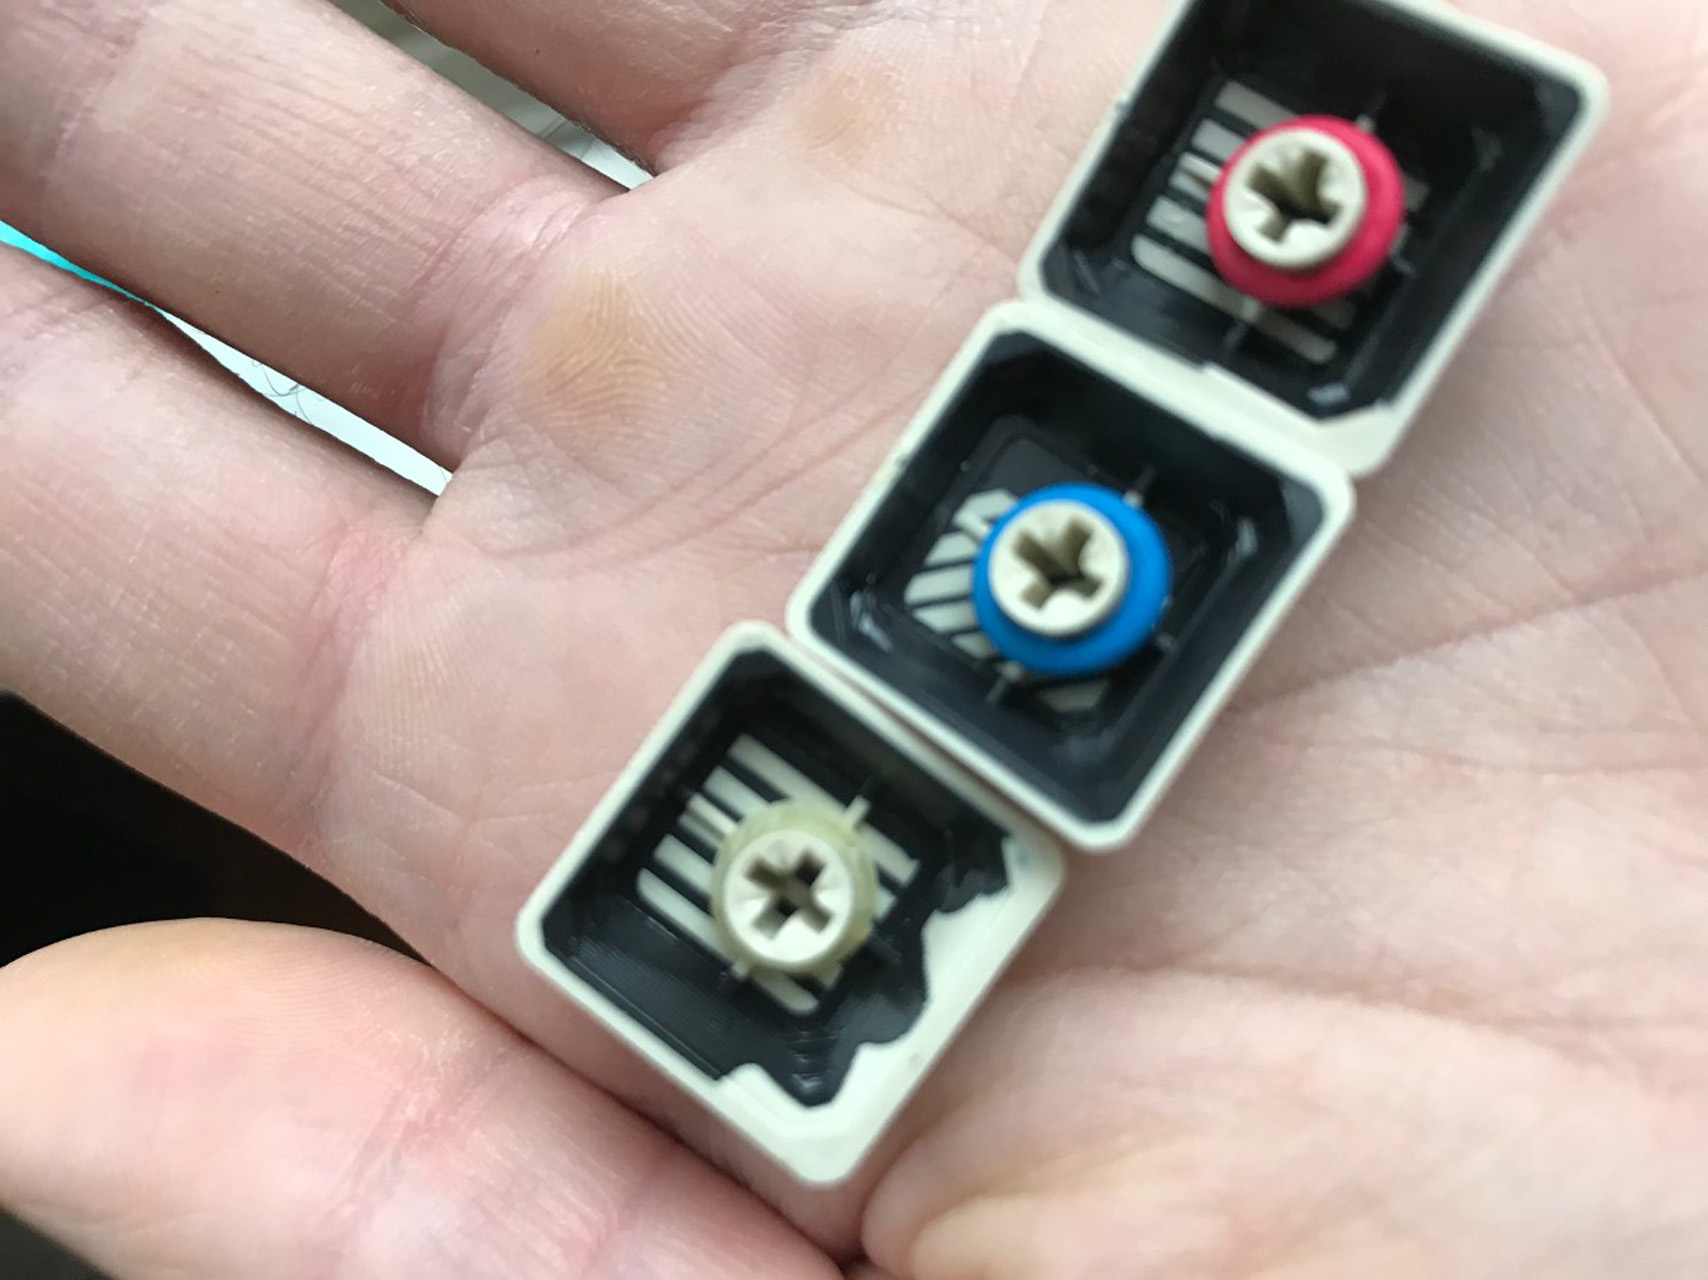
Process
Switch Lubing
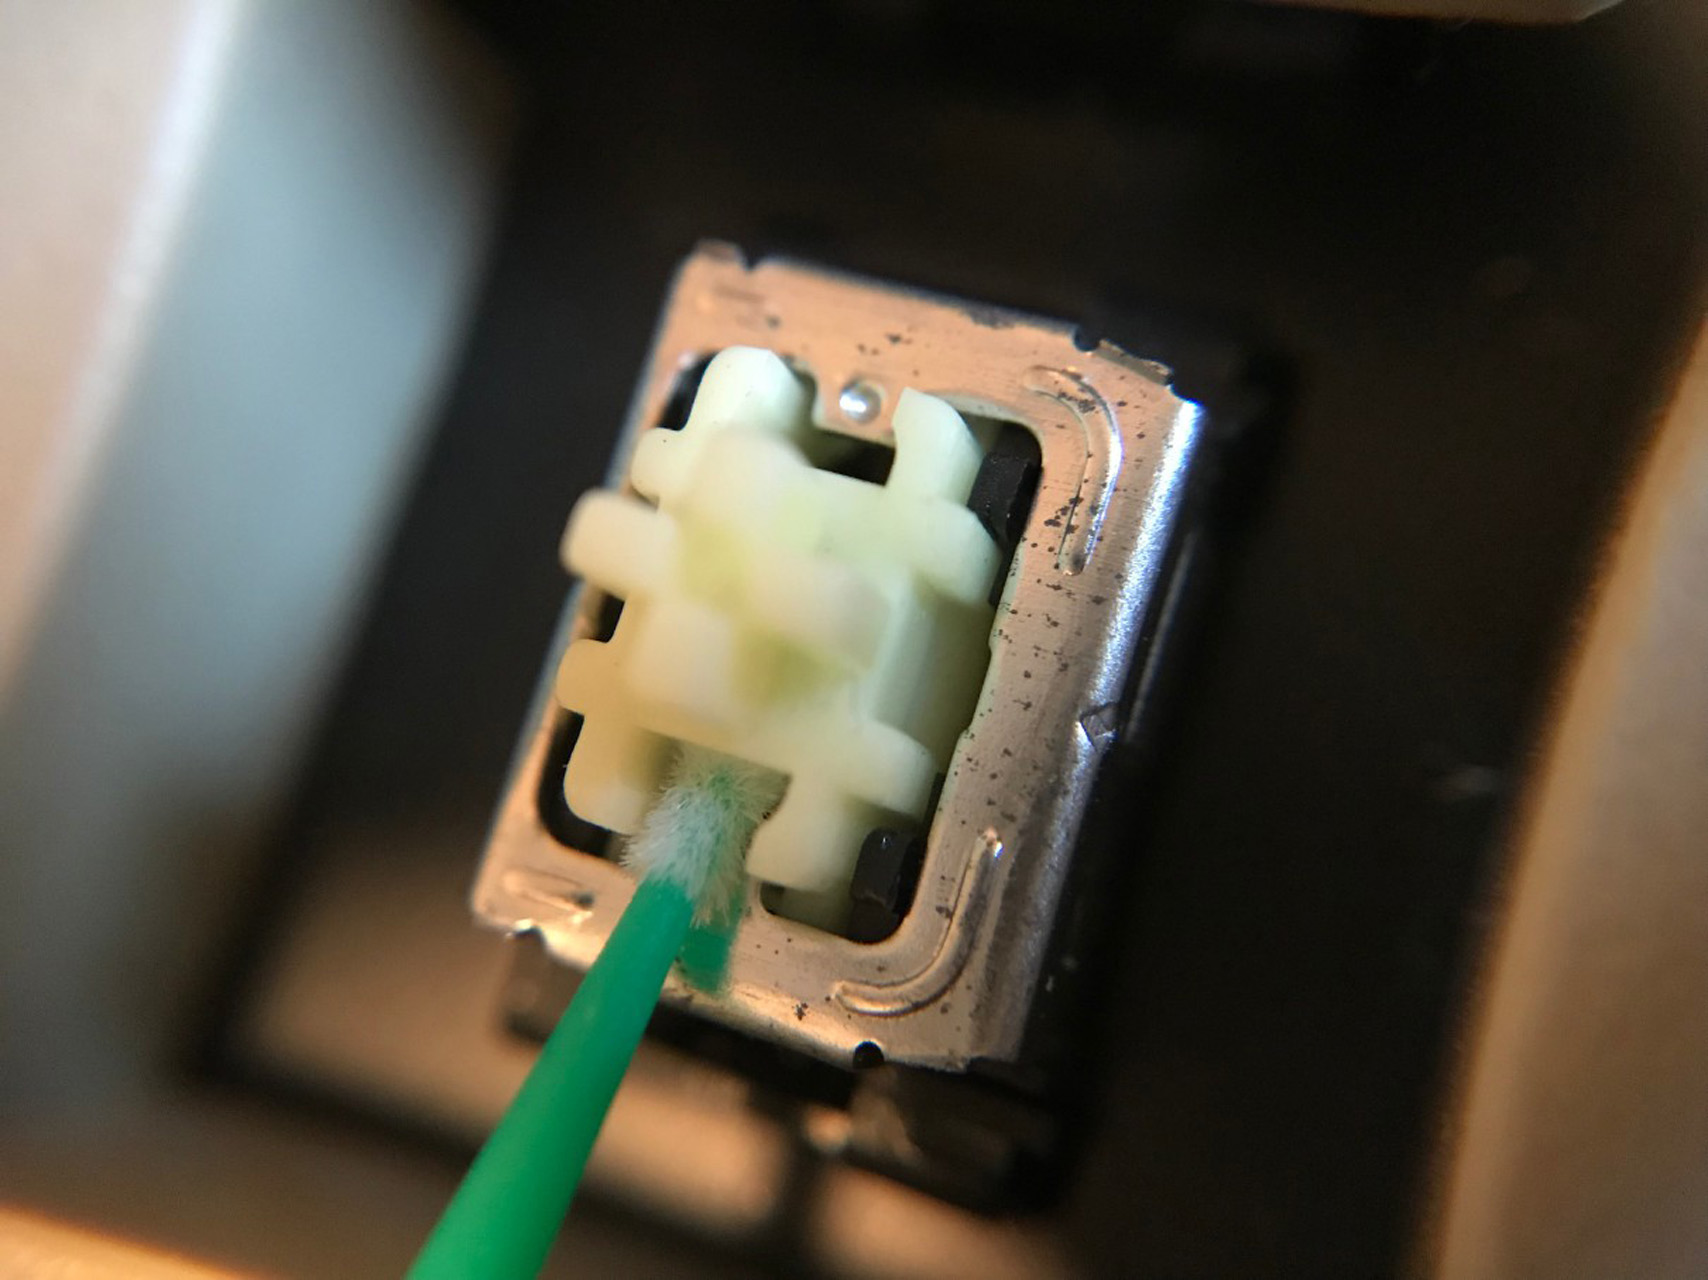
I asked around about how to lube these switches to make them feel nicer. What I was told is that they are extremely difficult to disassemble. So my plan to desolder the whole board and lube the switches quickly went out the window. I then asked if it’s possible to lube the switches while they’re still mounted on the board and much to my surprise this is actually something that people have had success with.
My first idea was to use a blunt-needle syringe to get some lube on the slider inside the switch housing. I purchased Tribosys Switch Lubricant from techkeys.us but found that the lube was way too viscus to even pull up into the syringe. Lucky for me, the kit included two little applicator picks which actually worked much better than I expected my idea to work.
I believe what causes the switches to be so scratchy is the fact that there are so many places that the sliders make contact to the switch walls. I did my best to apply the lube to all of the exposed sides of the sliders and even found that the picks were perfect size to reach the inner tracks.
O-rings / Dental Bands
The other aspect to the harsh keyfeel of this board is how hard the bottom-out is on the downstroke. I’d read some suggestions online that these might be well suited for o-rings. I’m not particually fond of o-rings so I decided to play around with a few different options.
First I tried with some proper red and blue o-rings that were included with a WASD switch tester I had purchased when I was first getting into the hobby. Even though the keys are MX compatible, I found that both of these options added too much cushion to the downstroke making the keyboard feel mushy.
I’m a 30 year old with braces. This typically doesn’t come with many advantages. One of the very few advantages that it does have is that I have a seemingly endless supply of elastic dental bands. These are another alternative that people have used in modding and I found that my “Mountain Gorilla” rubberbands from American Orthodonics provided the perfect balance that I was looking for.
Sound/Vibration Dampening
Another thing I like to do to improve the feeling of a board is to add something to the case to dampen sound and vibration. I’ve found that foam shelf liner works really well for this job. It’s very cheap, easy to work with, and it’s otherwise useful to have in the house. So I used a bit of it to try and achieve the desired feeling. In retrospect, I might go back sometime in the future and add some more to this board.

Final Thoughts
I’m pretty pleased with how this mod turned out. It was a lot of tedious work but I think that these things really did make an improvement to the feeling of the board. The switches now are still very tactile but don’t have the same scratchiness and hard bottom-out that they did before.
Oh and the layout that initially scared me has really grown on me. I especially like the position of the [Ctrl] and [Alt] keys. I even decided that I’d like to do a custom build inspired by this unique layout (hopefully I’ll be posting about that project in the future). Thanks for reading!
3D Model
I eventually did a photogrammetry scan of this keyboard.
Reconstructed in Agisoft Metashape (Standard v1.6.1) using 404 photos.