Introduction
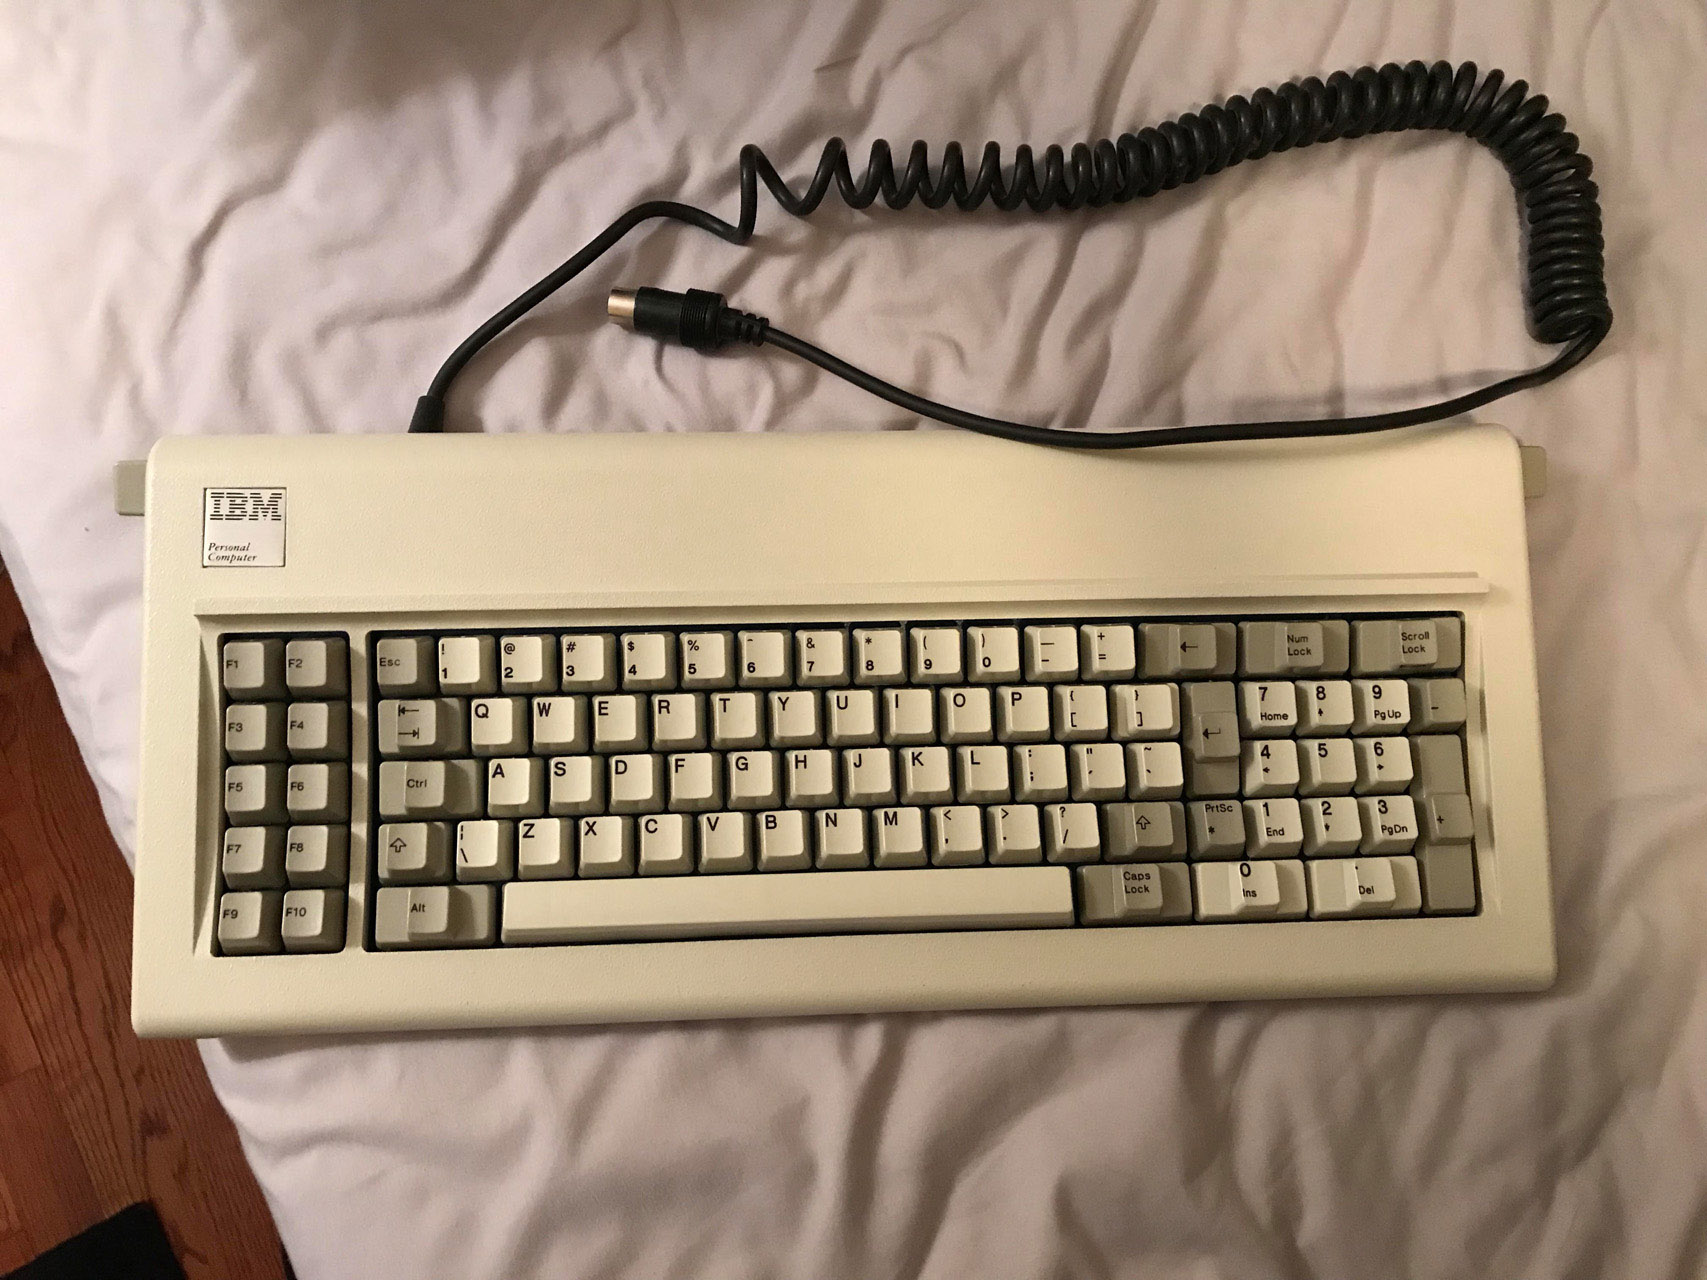
Ever since trying my first buckling spring board I’ve wanted to get my hands on an IBM Model F. The consensus seems to be this: it’s everything great about the Model M but even better. The case, plate, switches, keycaps, even the feet; all are better versions of the components in the Model M. The only downside I see to this board is that the layout is different than what I’m used to using.
I was excited to find one for sale at a good price. It needed a lot of cleaning but I figured it looked totally functional (forgot to ask this important question). I actually found out that the seller wasn’t able to test the board which is why he was selling at a discount (oops).
Process
Disassembly
A really charming quality of this keyboard is that it can be completely disassembled. That makes cleaning and repair work much easier.
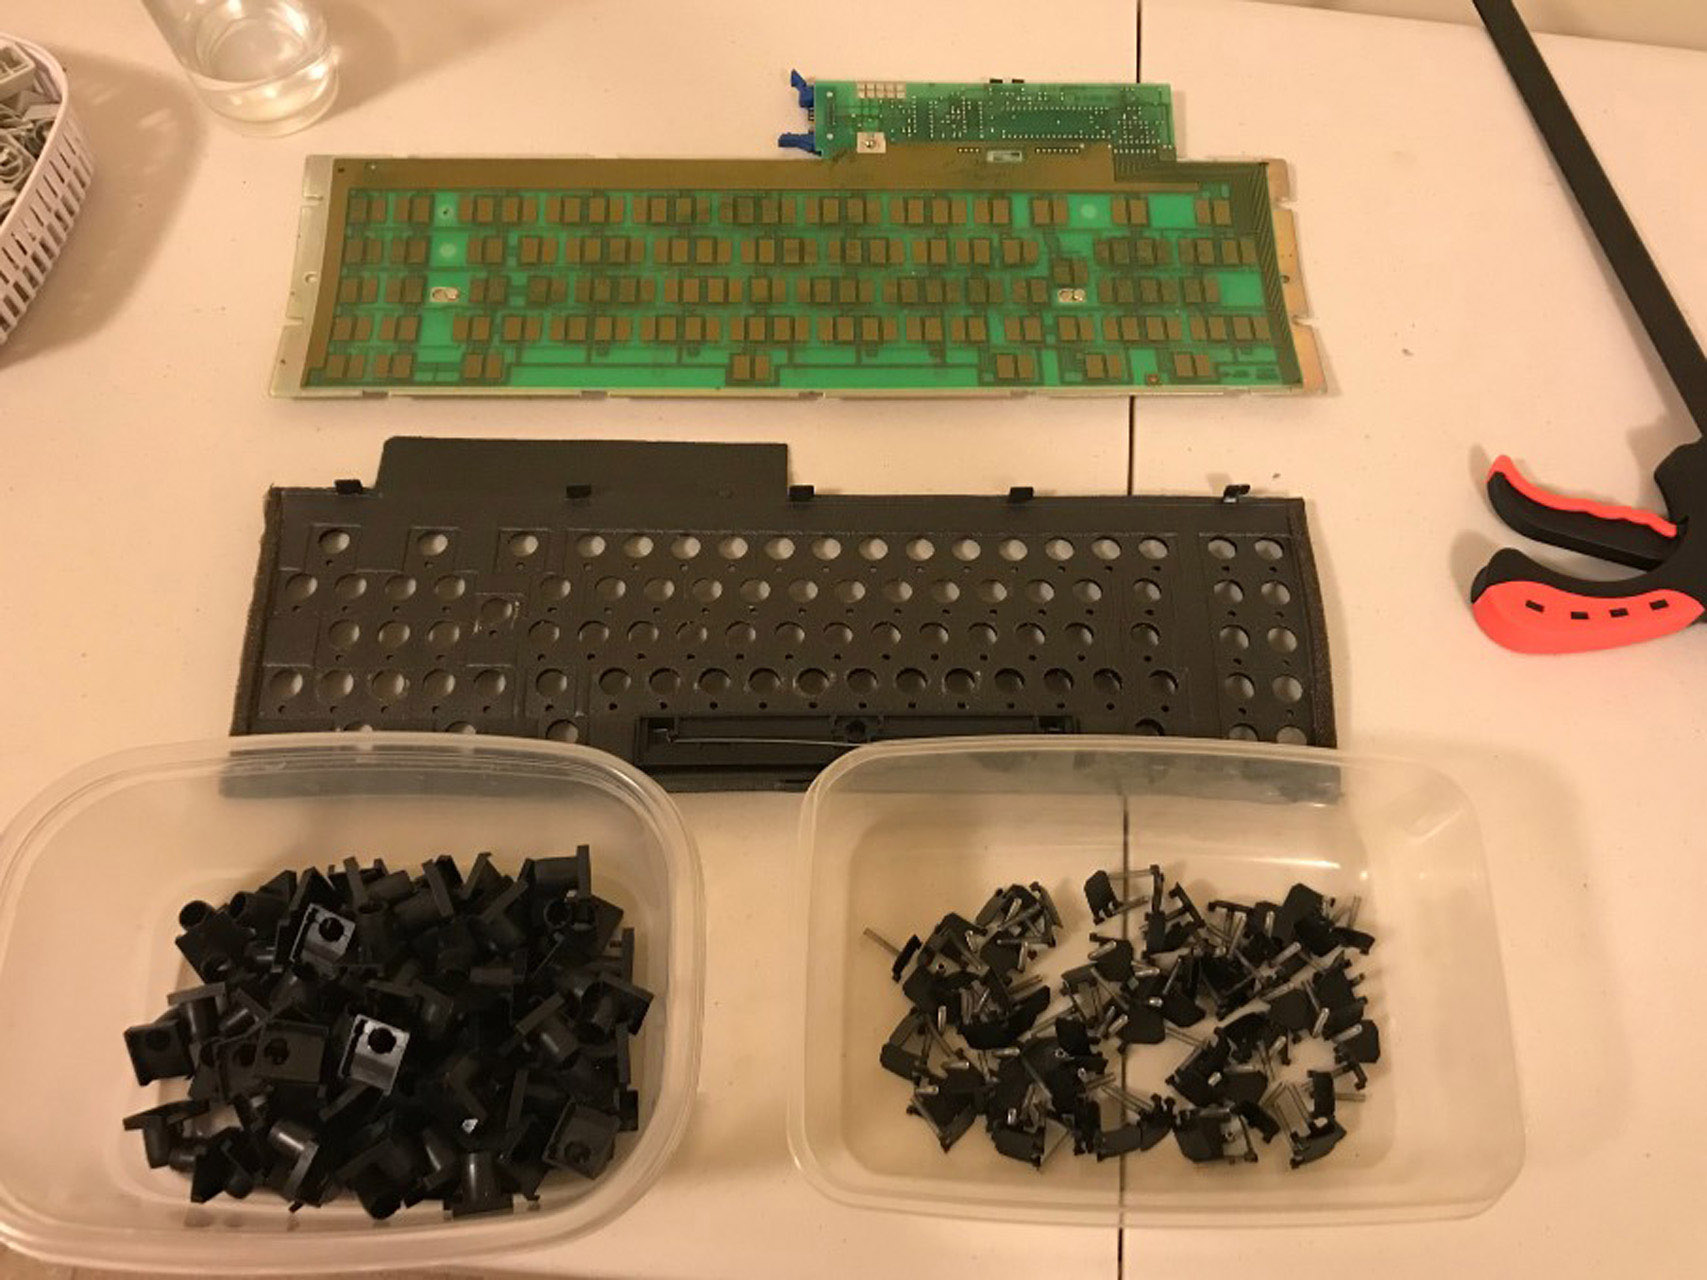
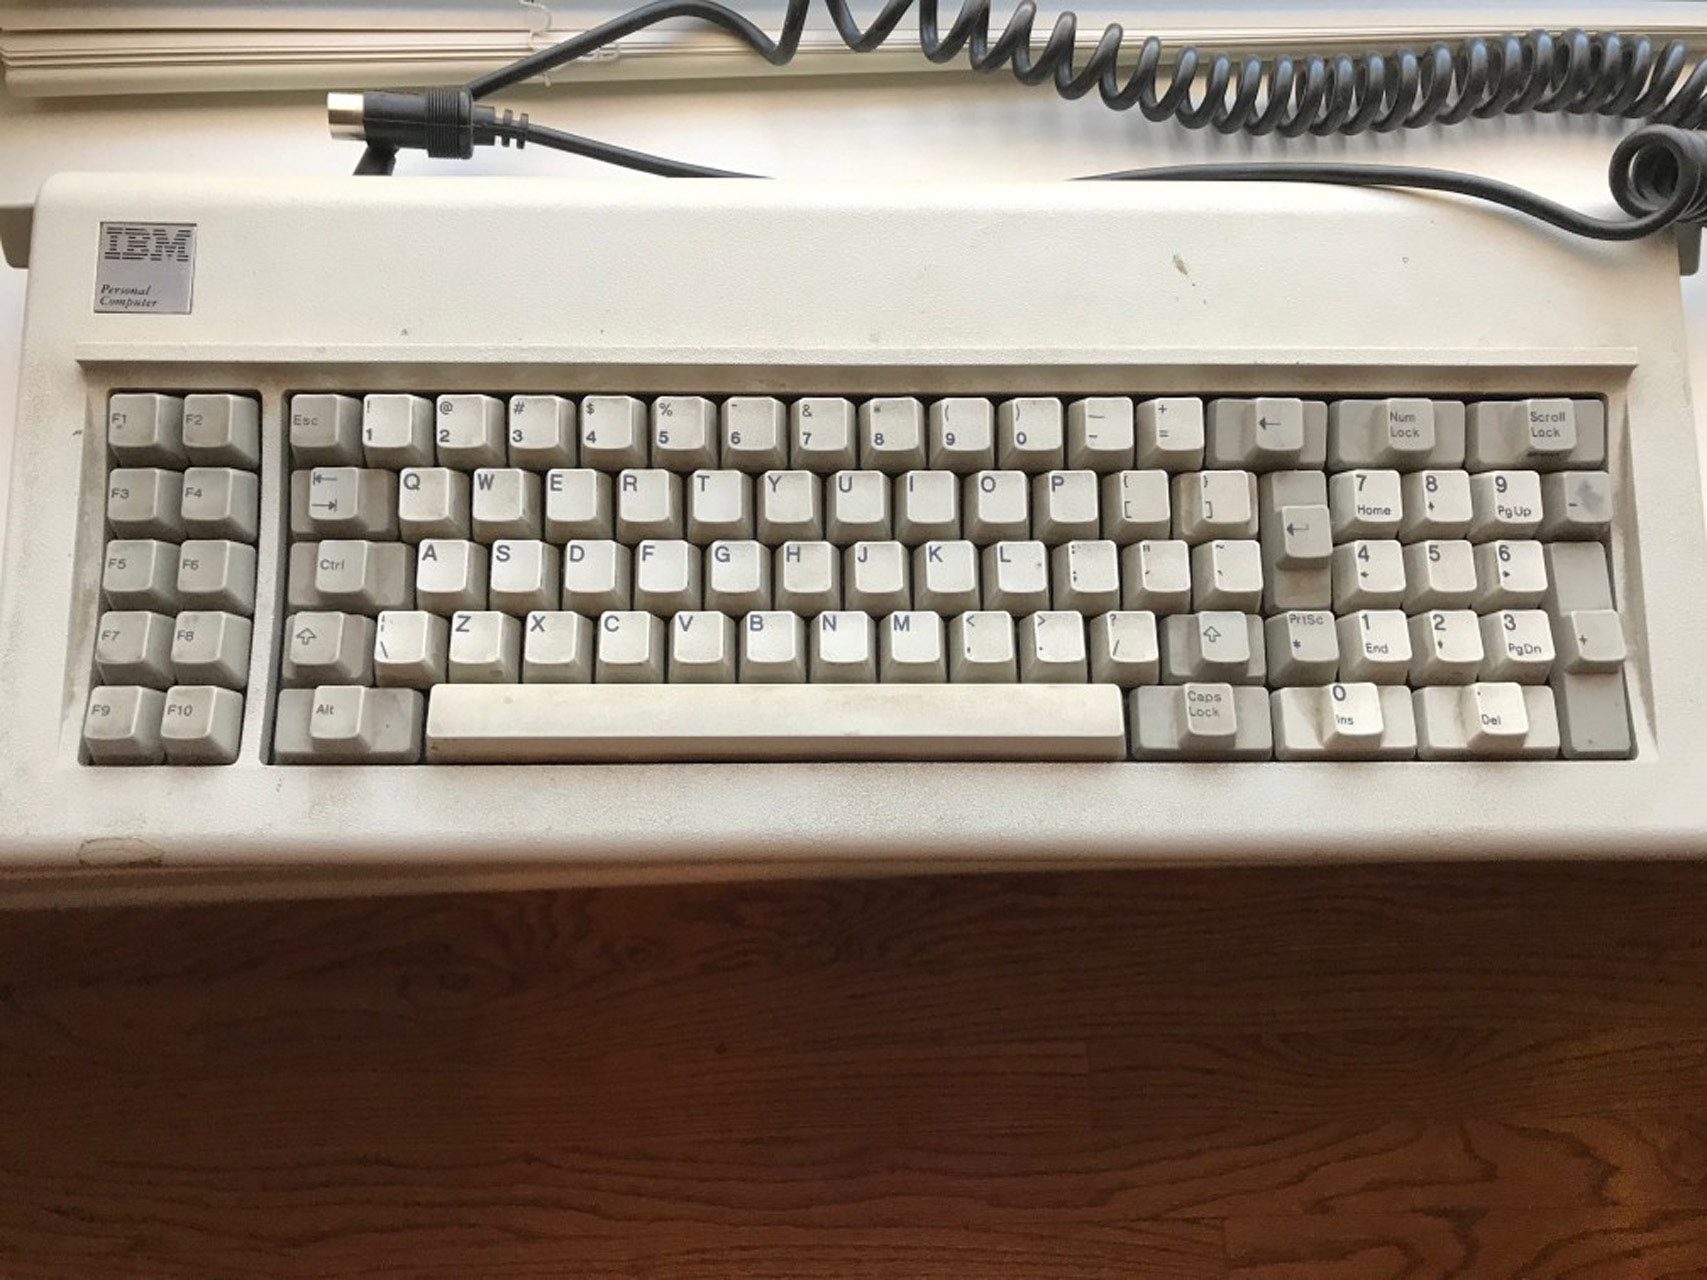
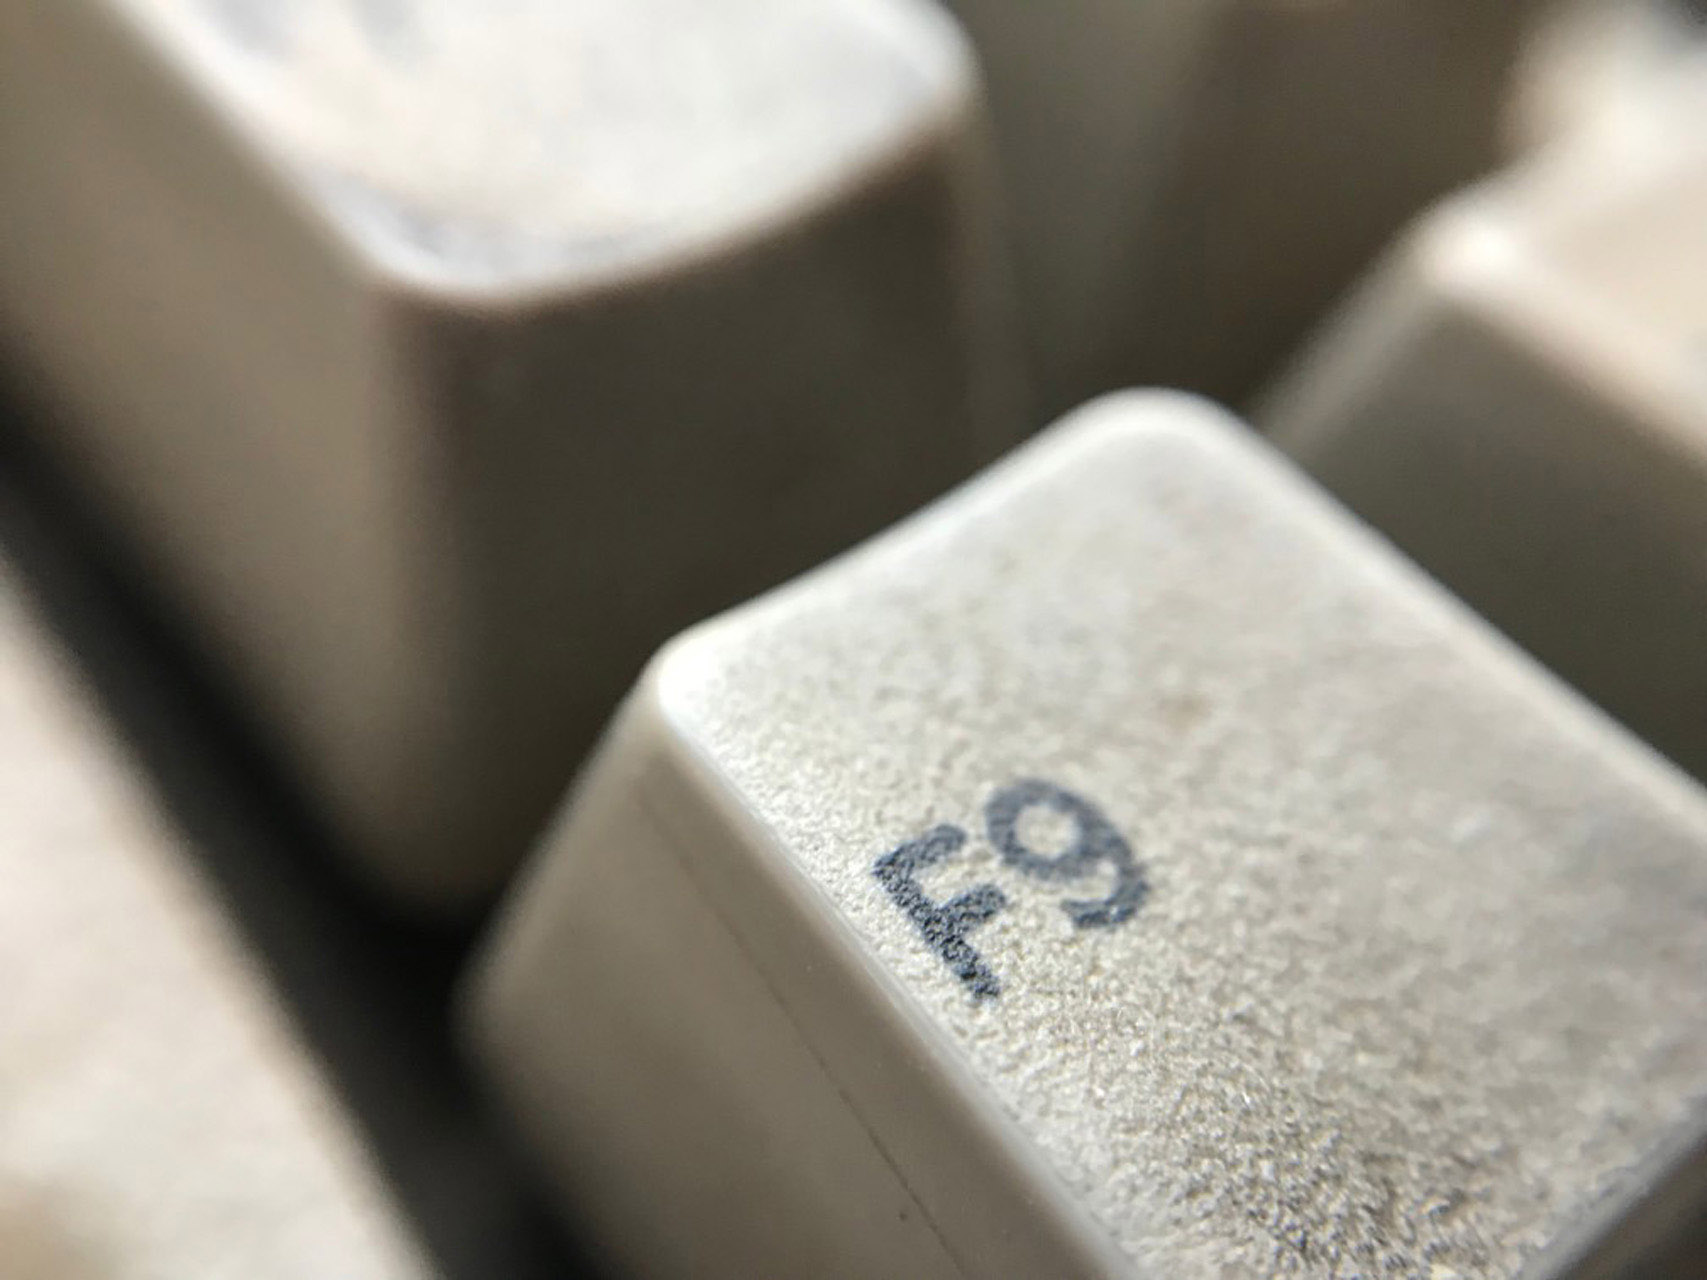
I started by removing and cleaning all of the keycaps in the ultrasonic cleaner. The caps are high quality dye sub PBT and are all one piece (my Model M keycaps are two-piece). This little bit of cleaning actually really brought the keys back to life and that’s when I started to see that this board was just dirty and not in bad shape at all.
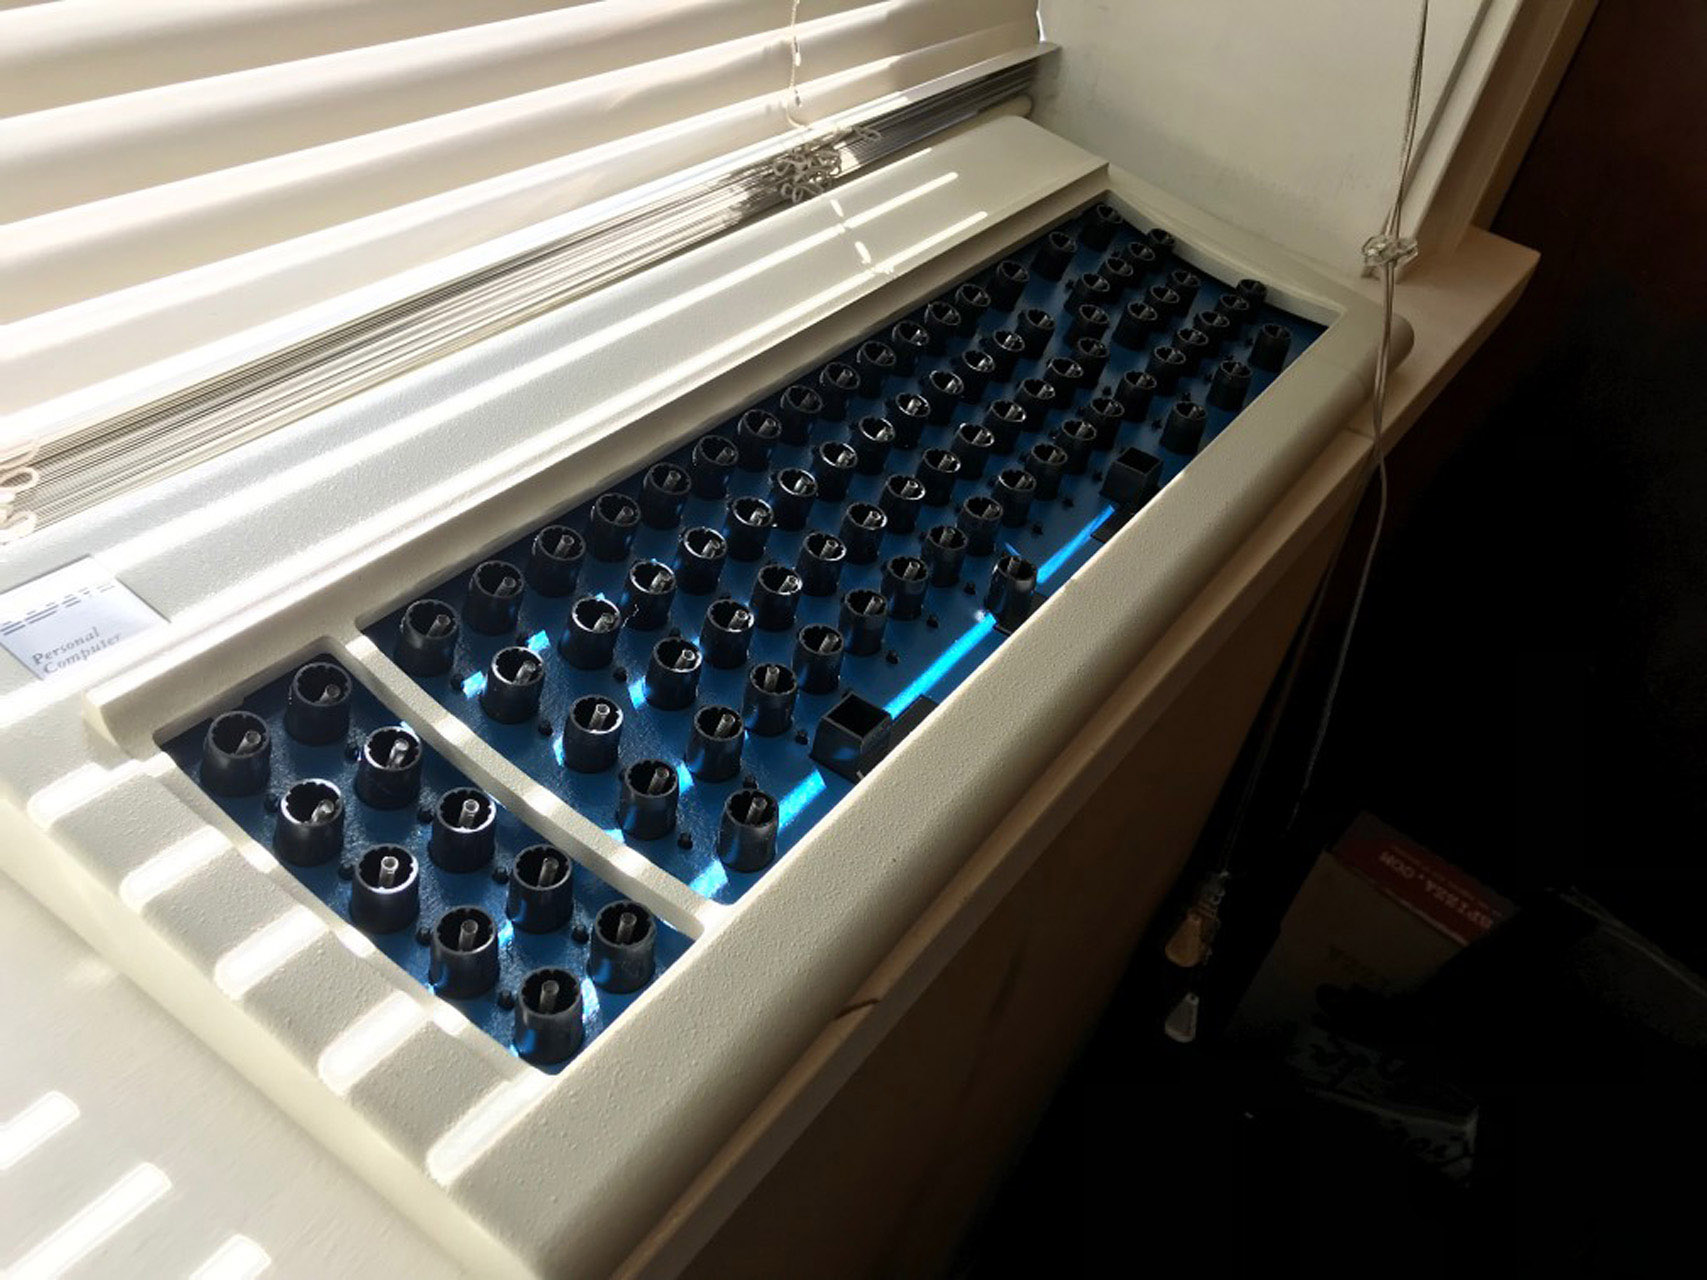
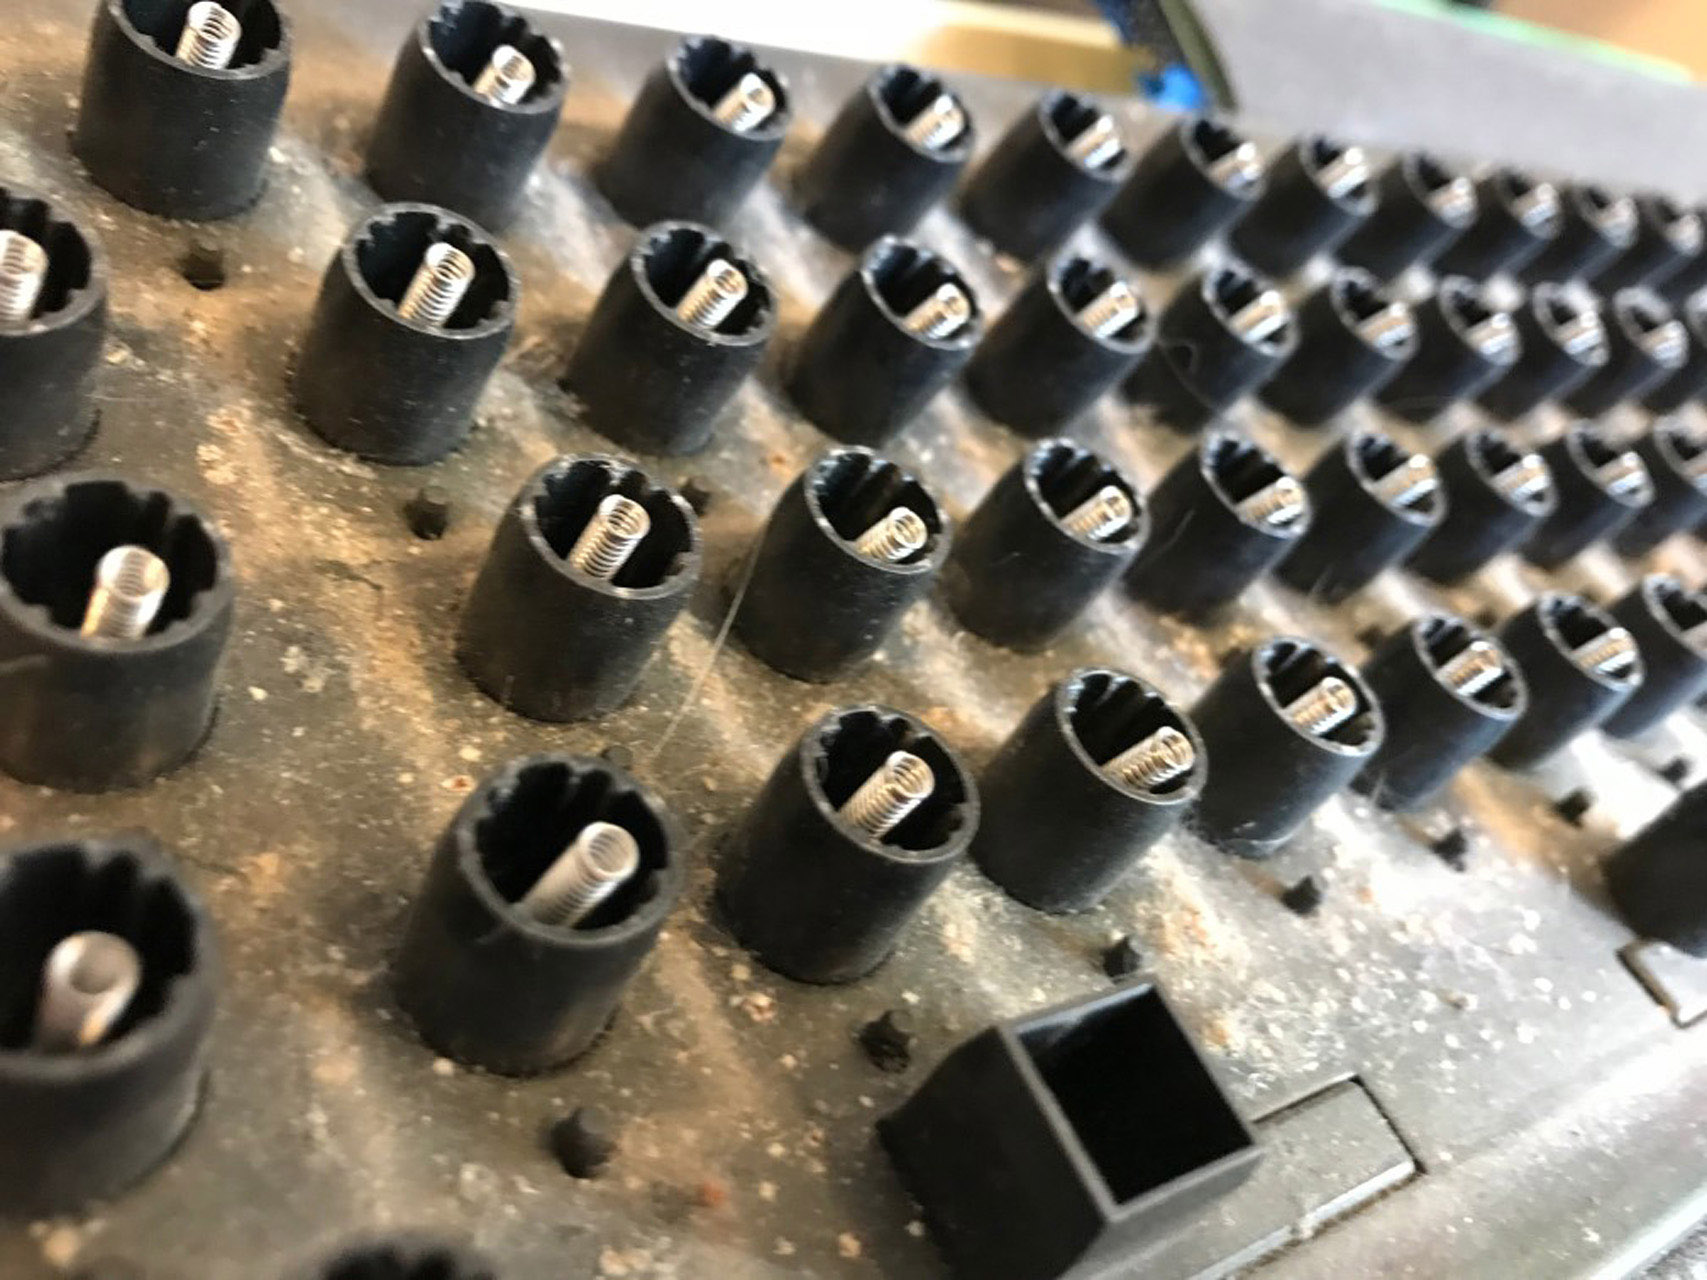
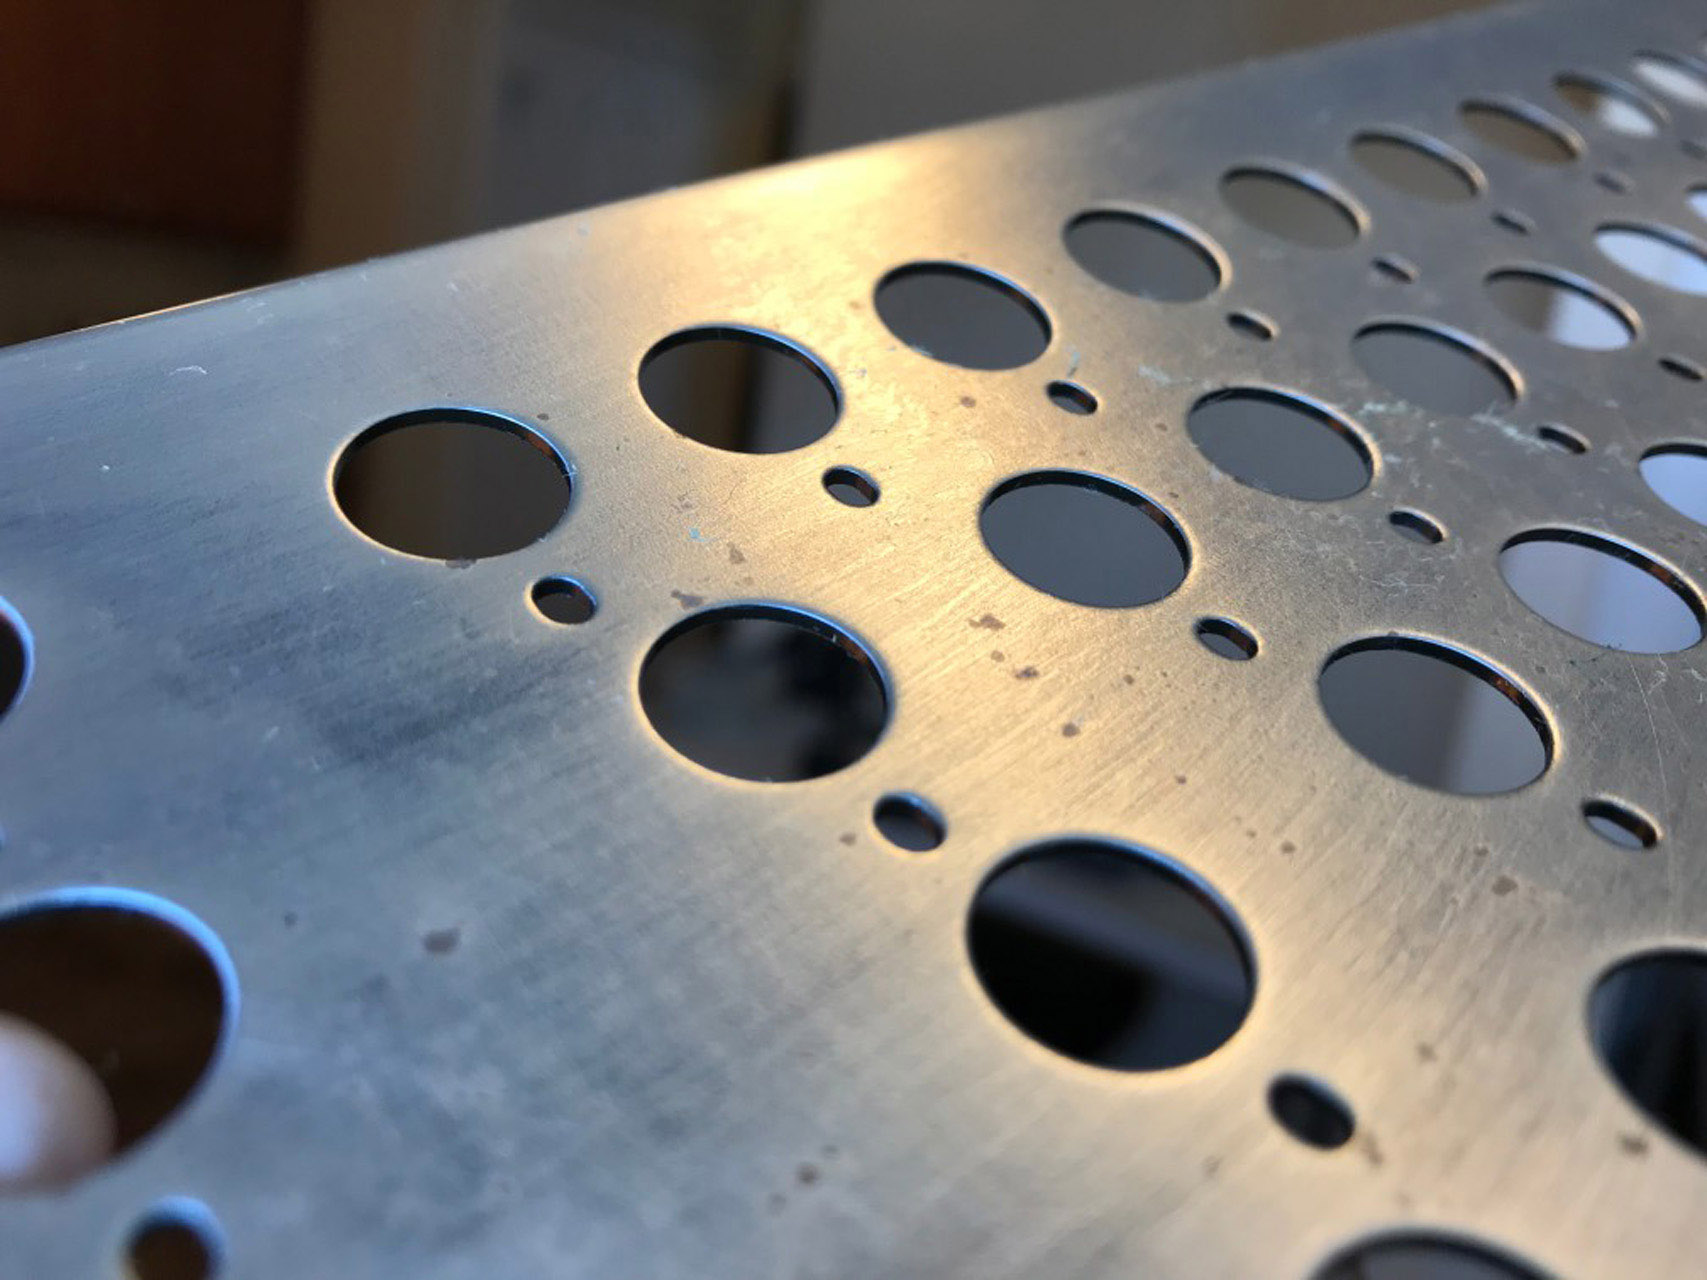
One very tricky part about disassembling this board is figuring out how to detach the plate from the PCB. Basically the plate has clips/tracks along the top/bottom and the PCB slides into place; sandwiching all of the little barrels with a sheet of foam. There’s really no elegant way to take these pieces apart. I tried tapping with a mallet but ultimately opted for the “slam it on the table” approach. Luckily this thing is a beast and will probably outlive me.
Cleaning
The plate had a few tiny spots of rust that I tried treating with a product called Evapo-Rust. This worked great at removing the rust but also started removing the paint as well. The paint is necessary to protect the steel from rusting so I knew I’d have to deal with this.
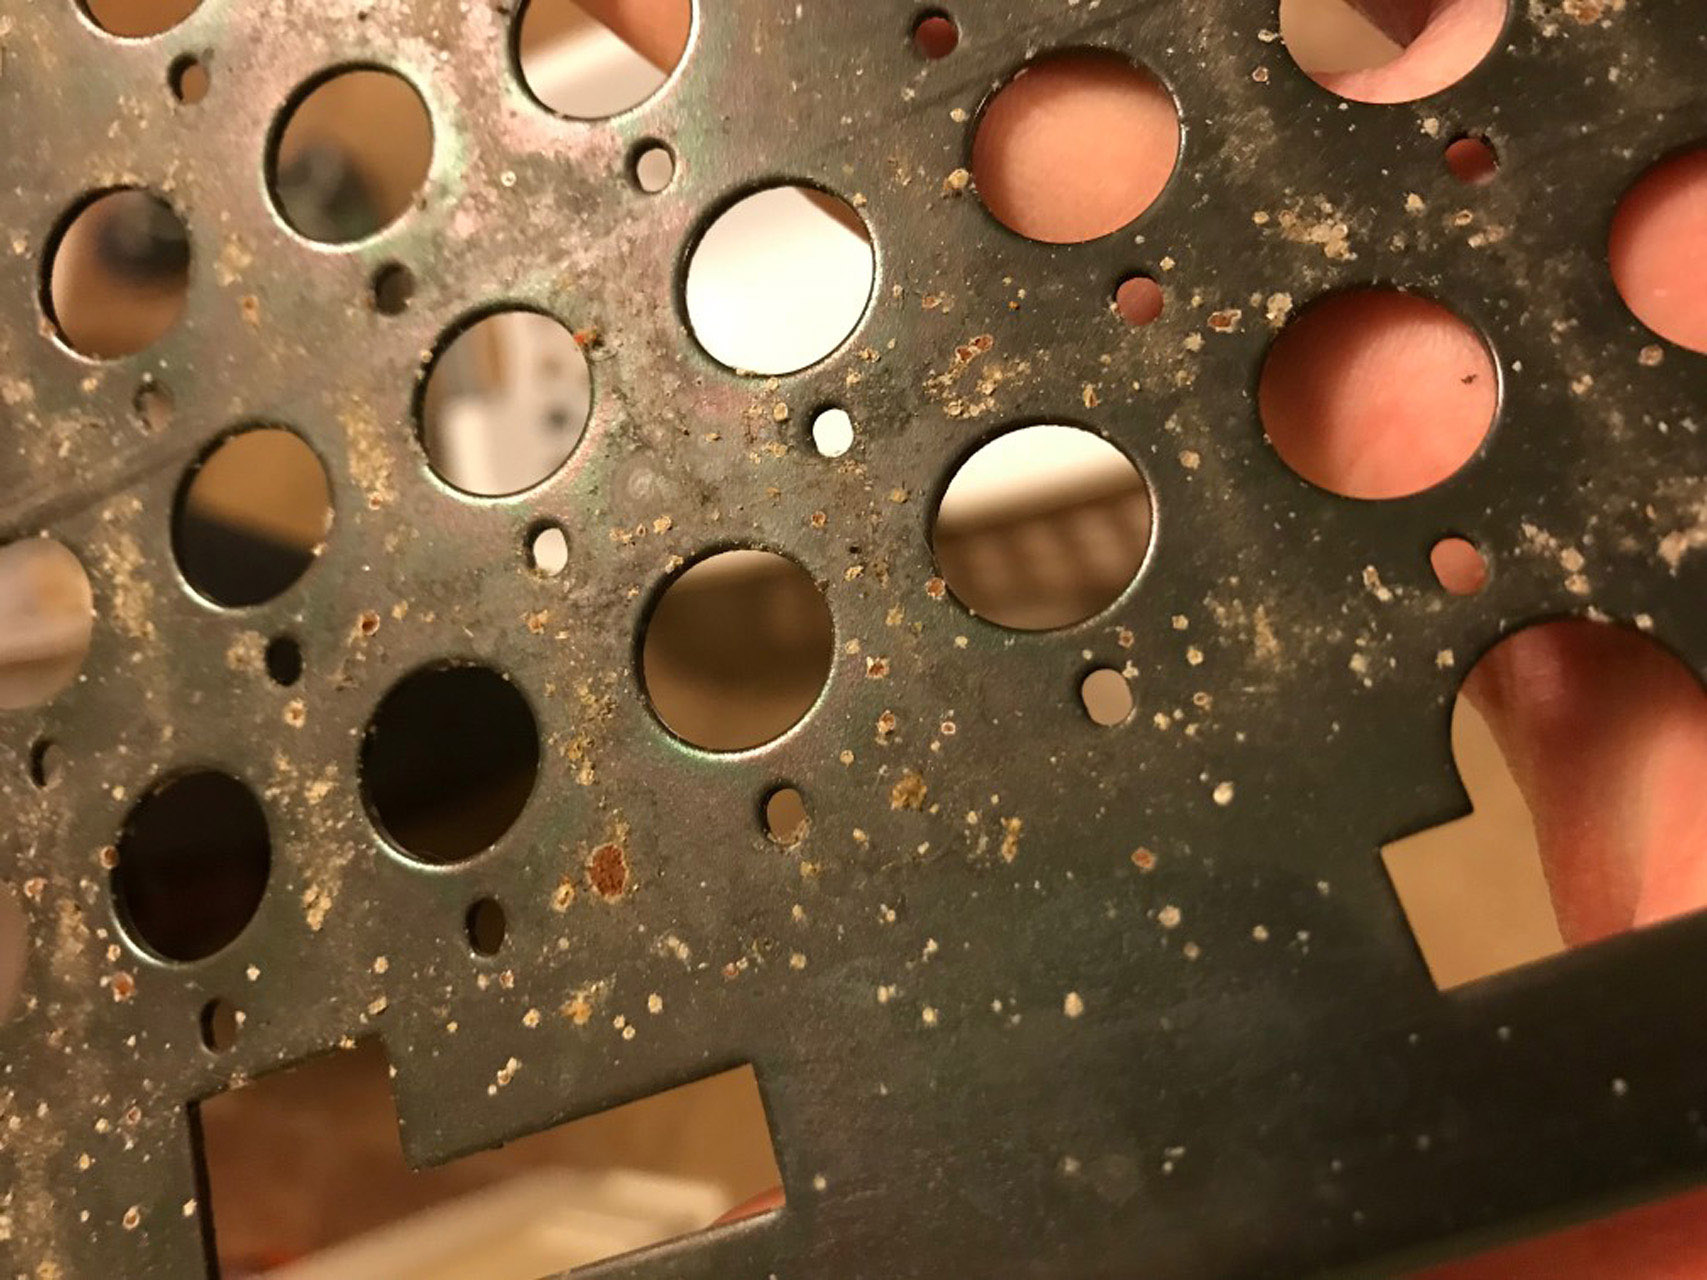
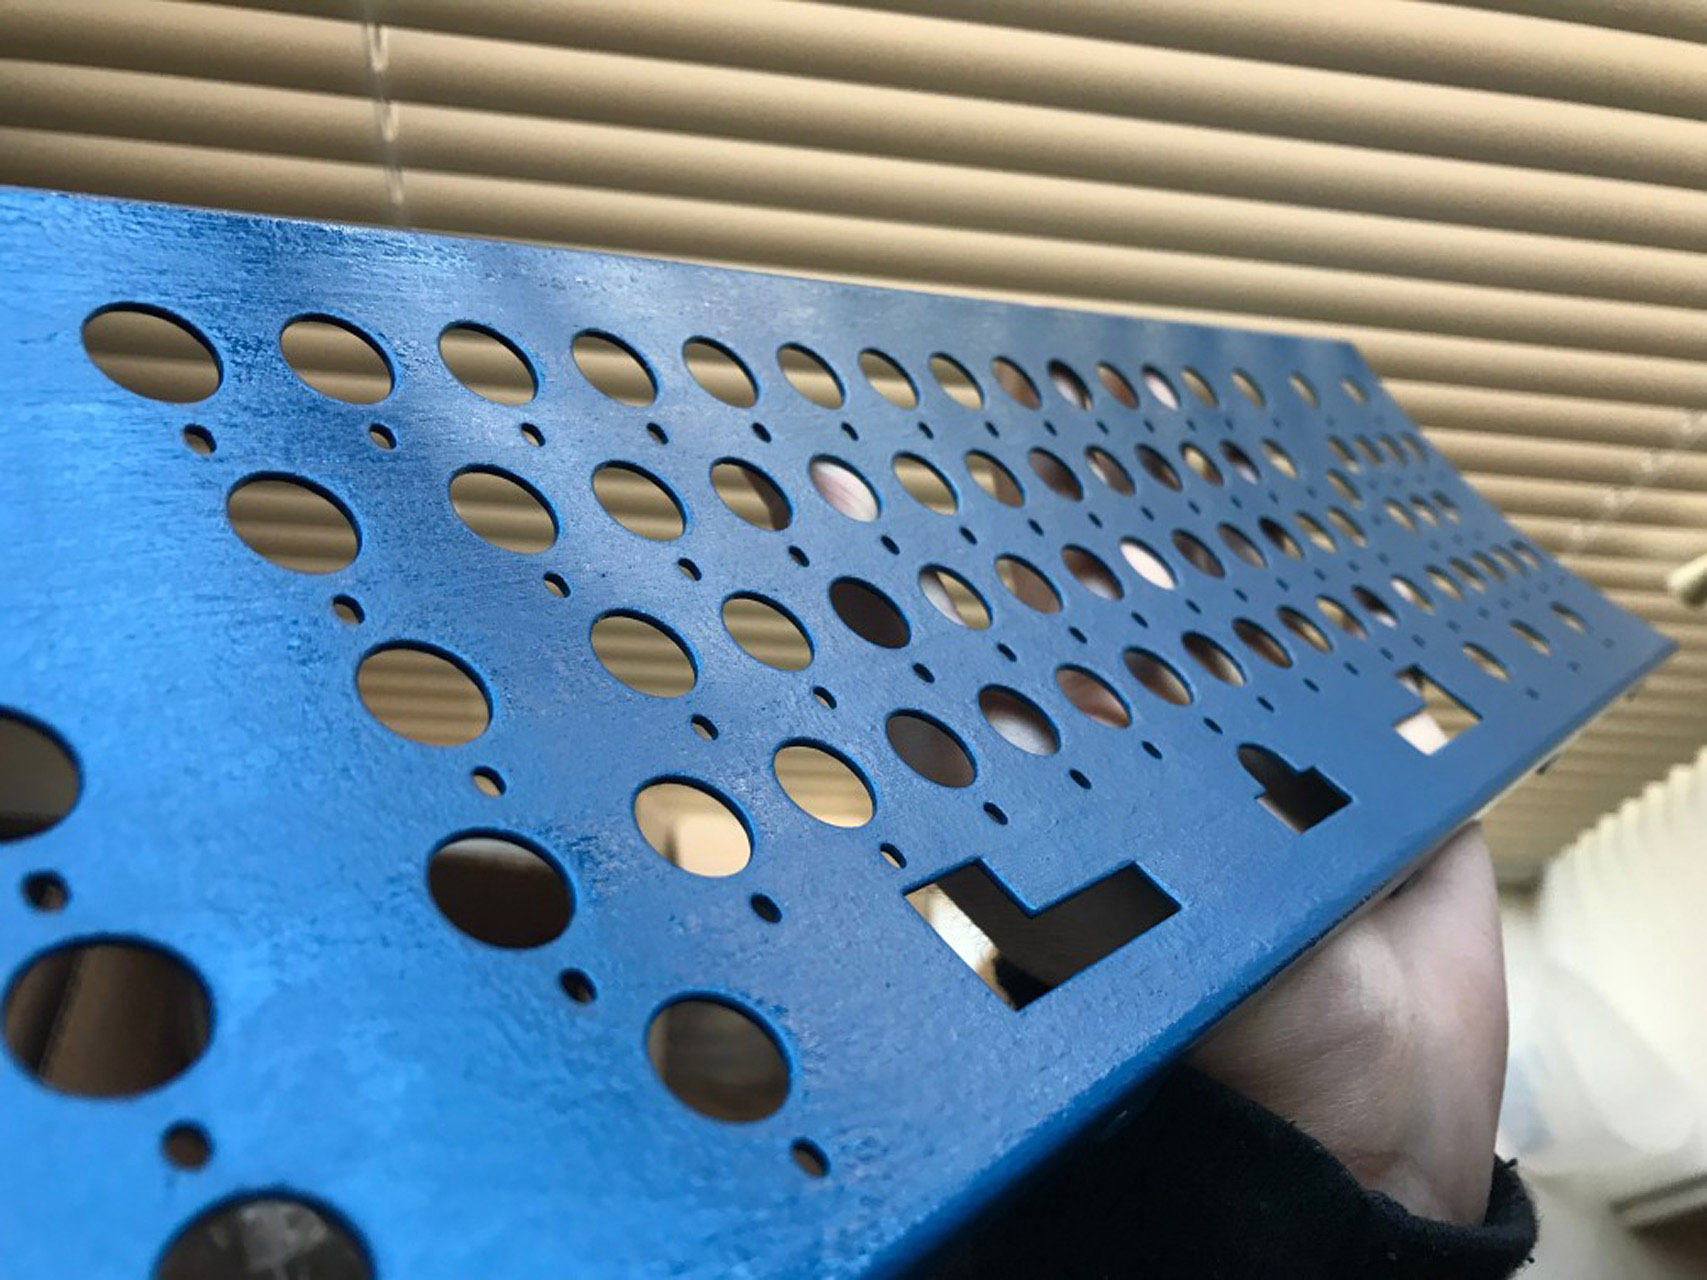
I decided to commit and ended up stripping the rest of the paint off completely so that it was just the bare metal. Then I re-painted it with three coats of Rustoleum acrylic paint. I was nervous that this might add too much thickness to the plate and pieces wouldn’t fit properly but it turned out totally fine. I actually think the blue looks pretty cool as well.
Reassembly
Putting this board back together is really easy if you do everything in the right order. This is the order that I should have followed in the first place:
- Put plate sandwich back together
- Put spacebar keycap on
- Put spacebar stabilizer wire on
- Reattach cord
- Close case
Final Thoughts
I now buy into all the the Model F hype. I’m very excited to receive my F77 from the “Brand new Model F” group buy project that Ellipse is running. I would love to see how it compares. Thanks for reading :)